How to Configure HTML Proof Viewer
To enable the ability to proof HTML formats, follow the below steps:
Go to Site Configuration → {Module} → Media File Holder.
Find the Media Holder where proofing has already been enabled (see Configuring Online Proofing) and click Edit.
Locate the Show Content of ZIP Files option and ensure the checkbox is selected.
Click OK to apply the changes
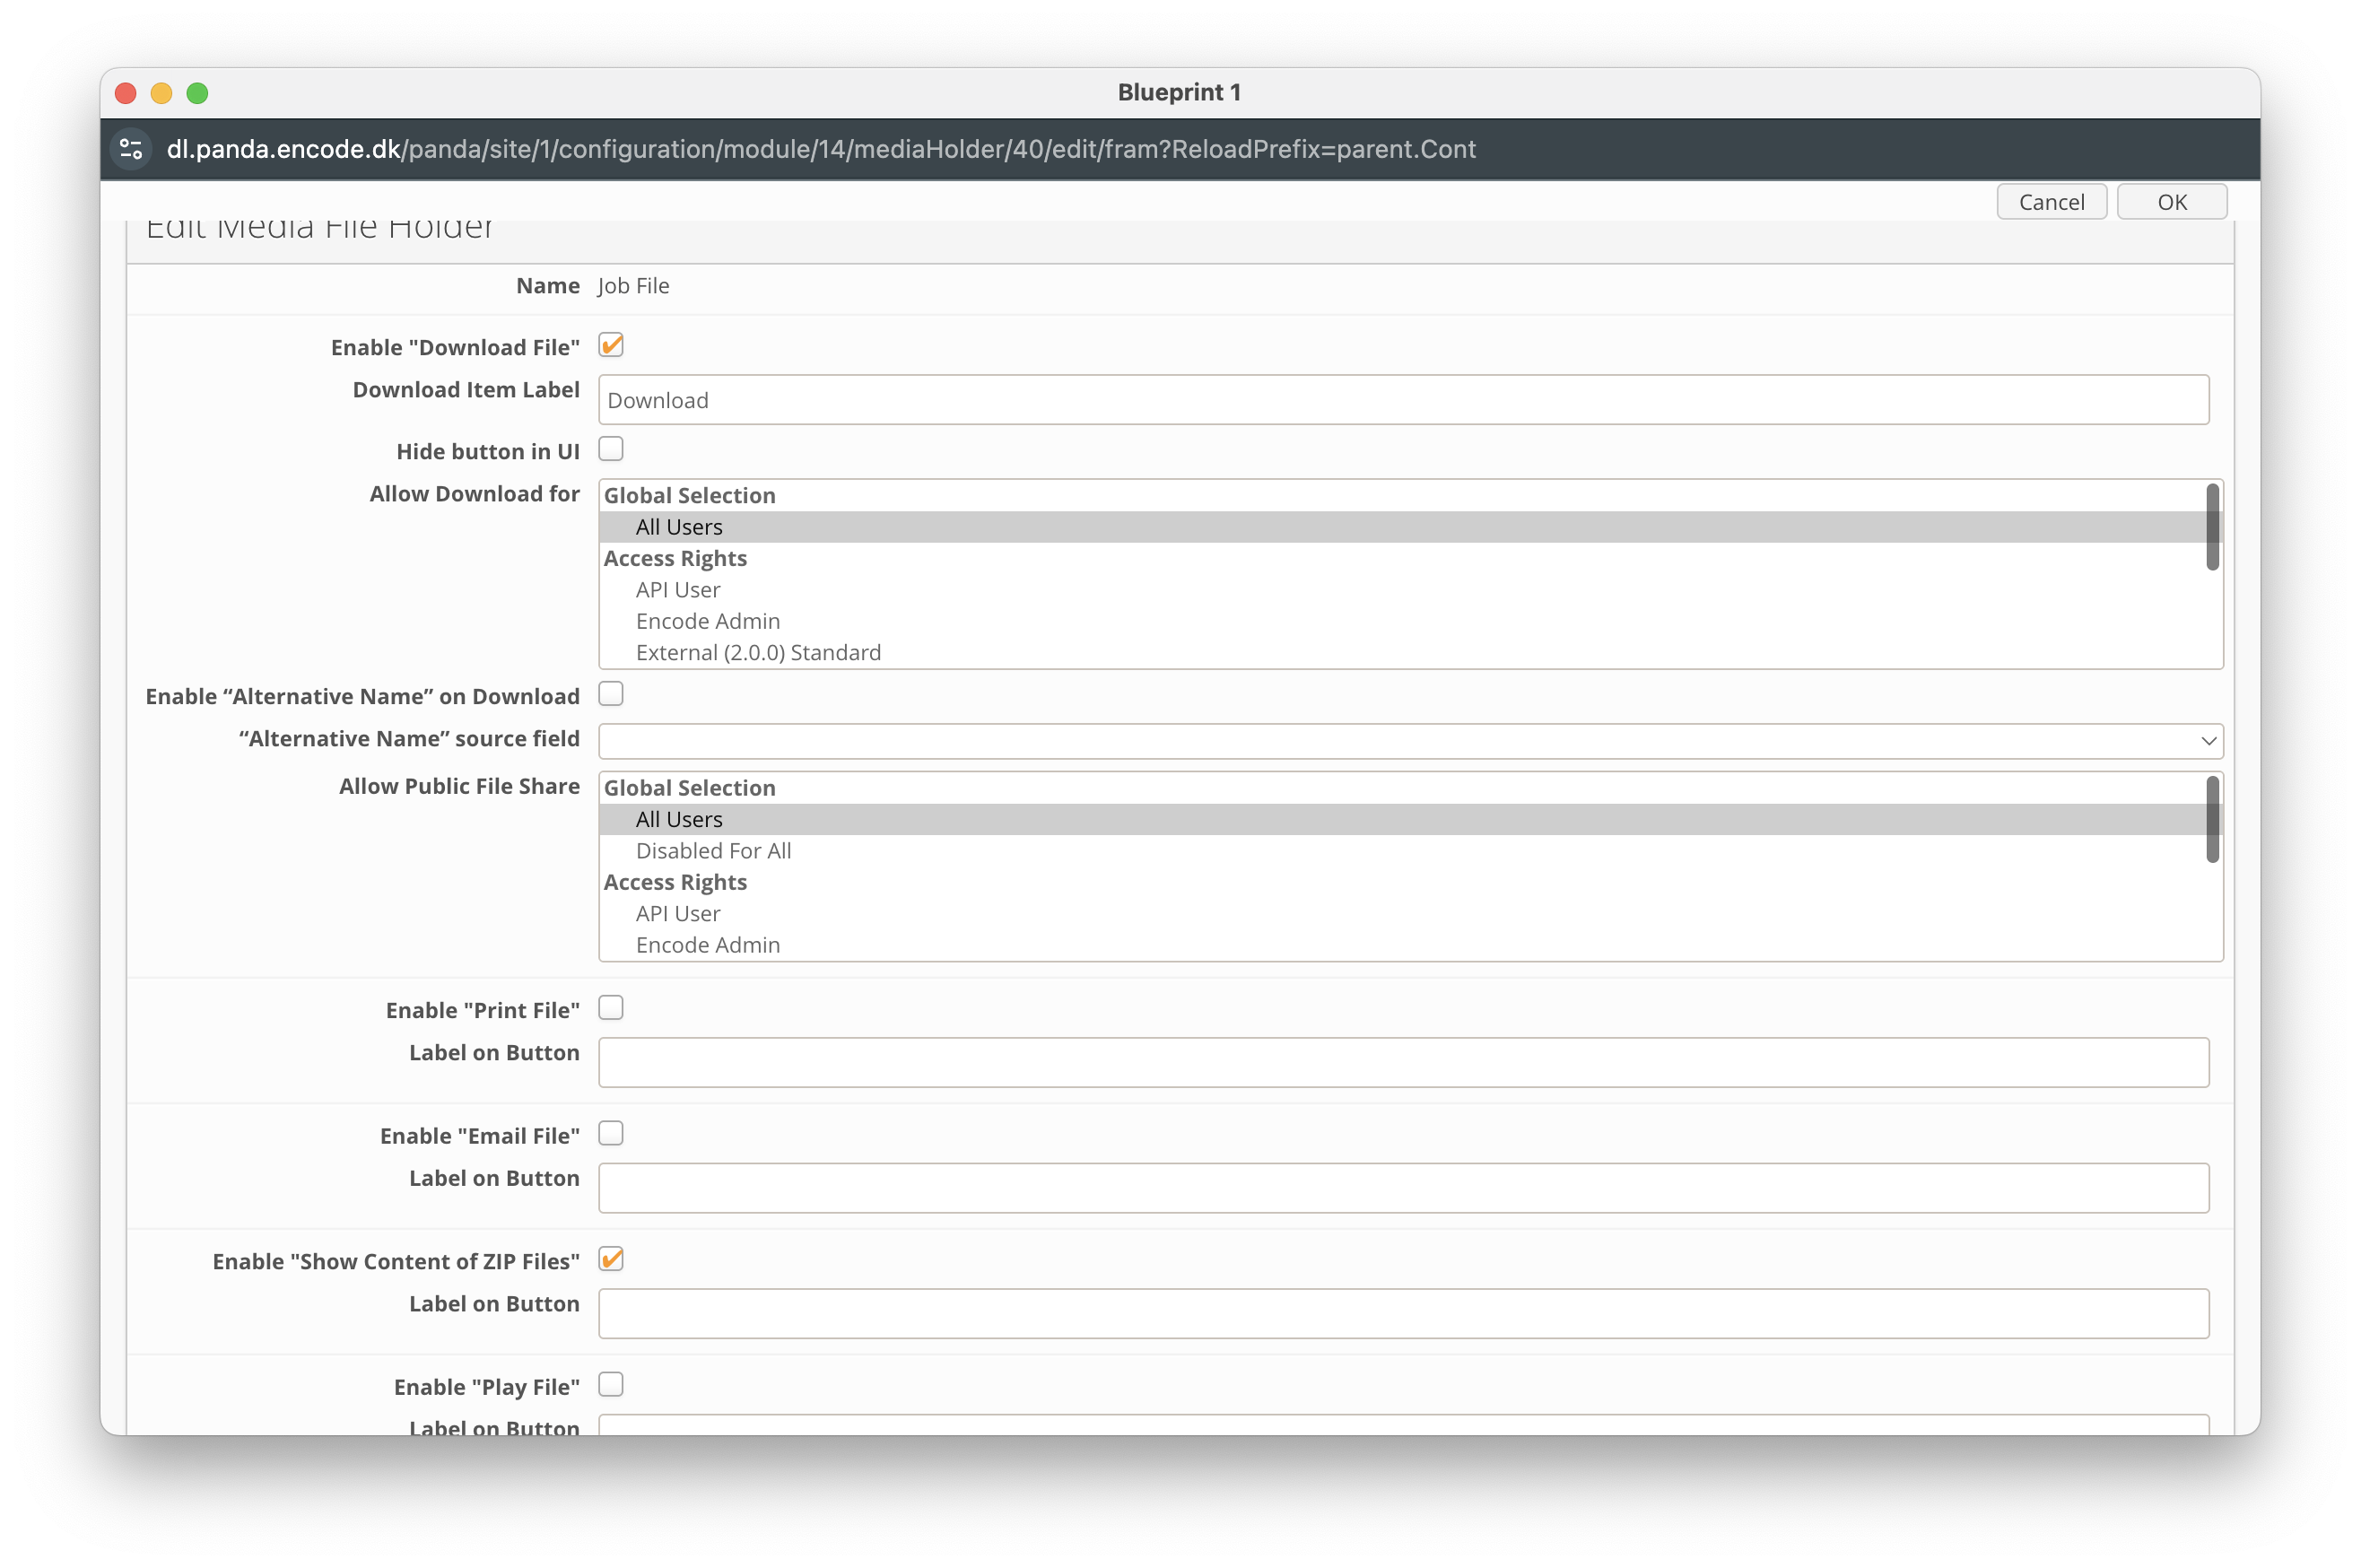
An image highlighting the 'Show Content of Zip Files' option
Then go to Site Configuration → {Module} → Proofing and Comments
Click Edit Settings.
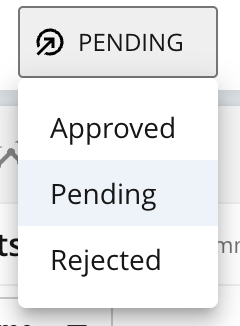
Locate the option Save URL as JSON and ensure the checkbox is ticked.
Click Save to apply the changes.
Important: Before enabling live proof generation for a website using the Save URL as JSON option, an Encodify administrator must first ensure that proxy servers are enabled within your infrastructure.
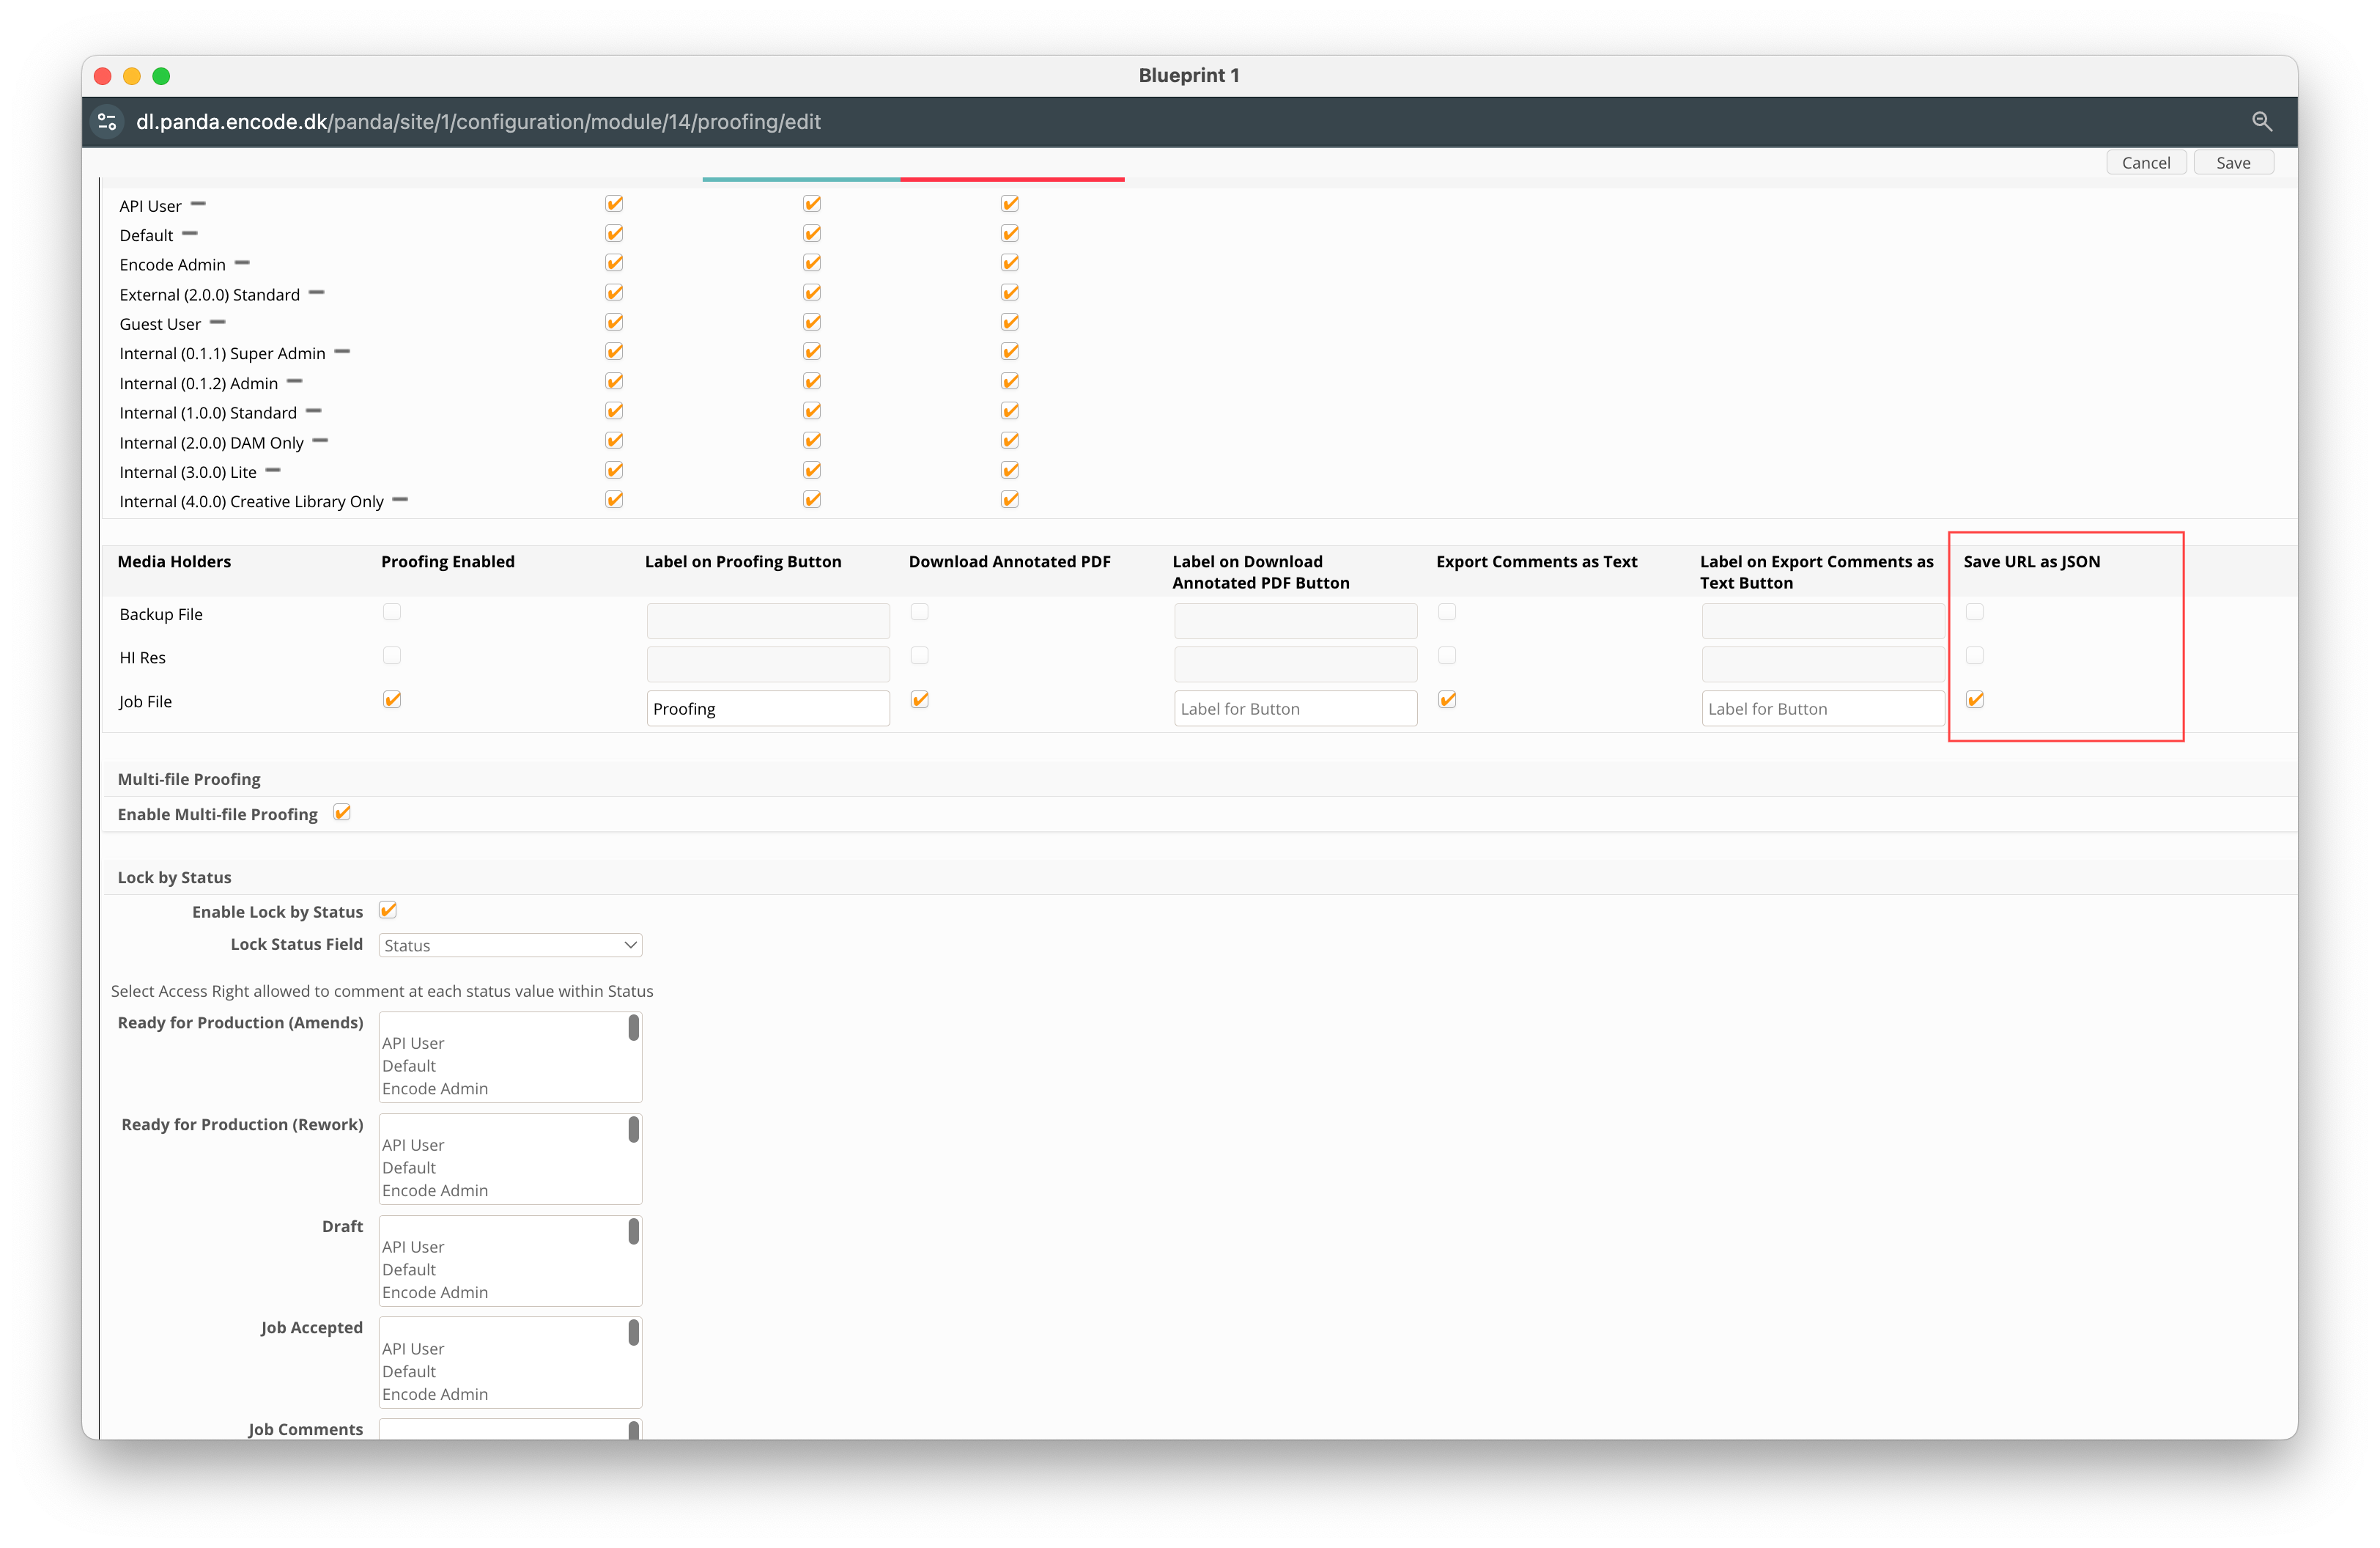
An image of Proofing and Comment settings highlighting the option 'Save URL as JSON'
Where to find Online Proofing
The ![]() button will be available from the following locations:
button will be available from the following locations:
Spreadsheet Widget – Within the search results and in the action menu for individual items.
Module Search View – Within the search results and in the action menu for individual items.
Form View – Within the actions toolbar.
Understanding the HTML Proof Viewer
Important: When annotation a live proof from a web URL, we recommend downloading our Chrome web store plugin here. This plugin automatically captures a screenshot of the associated annotation and adds it as a comment attachment. Therefore, enabling comment attachments is also required.
After clicking the![]() icon, you will be taken to the Proof Viewer, where the experience will adapt based on the specific file format. Below is an overview of the behaviour when previewing HTML formats, including HTML (either as HTML file, ZIP or live website URL capture)
icon, you will be taken to the Proof Viewer, where the experience will adapt based on the specific file format. Below is an overview of the behaviour when previewing HTML formats, including HTML (either as HTML file, ZIP or live website URL capture)
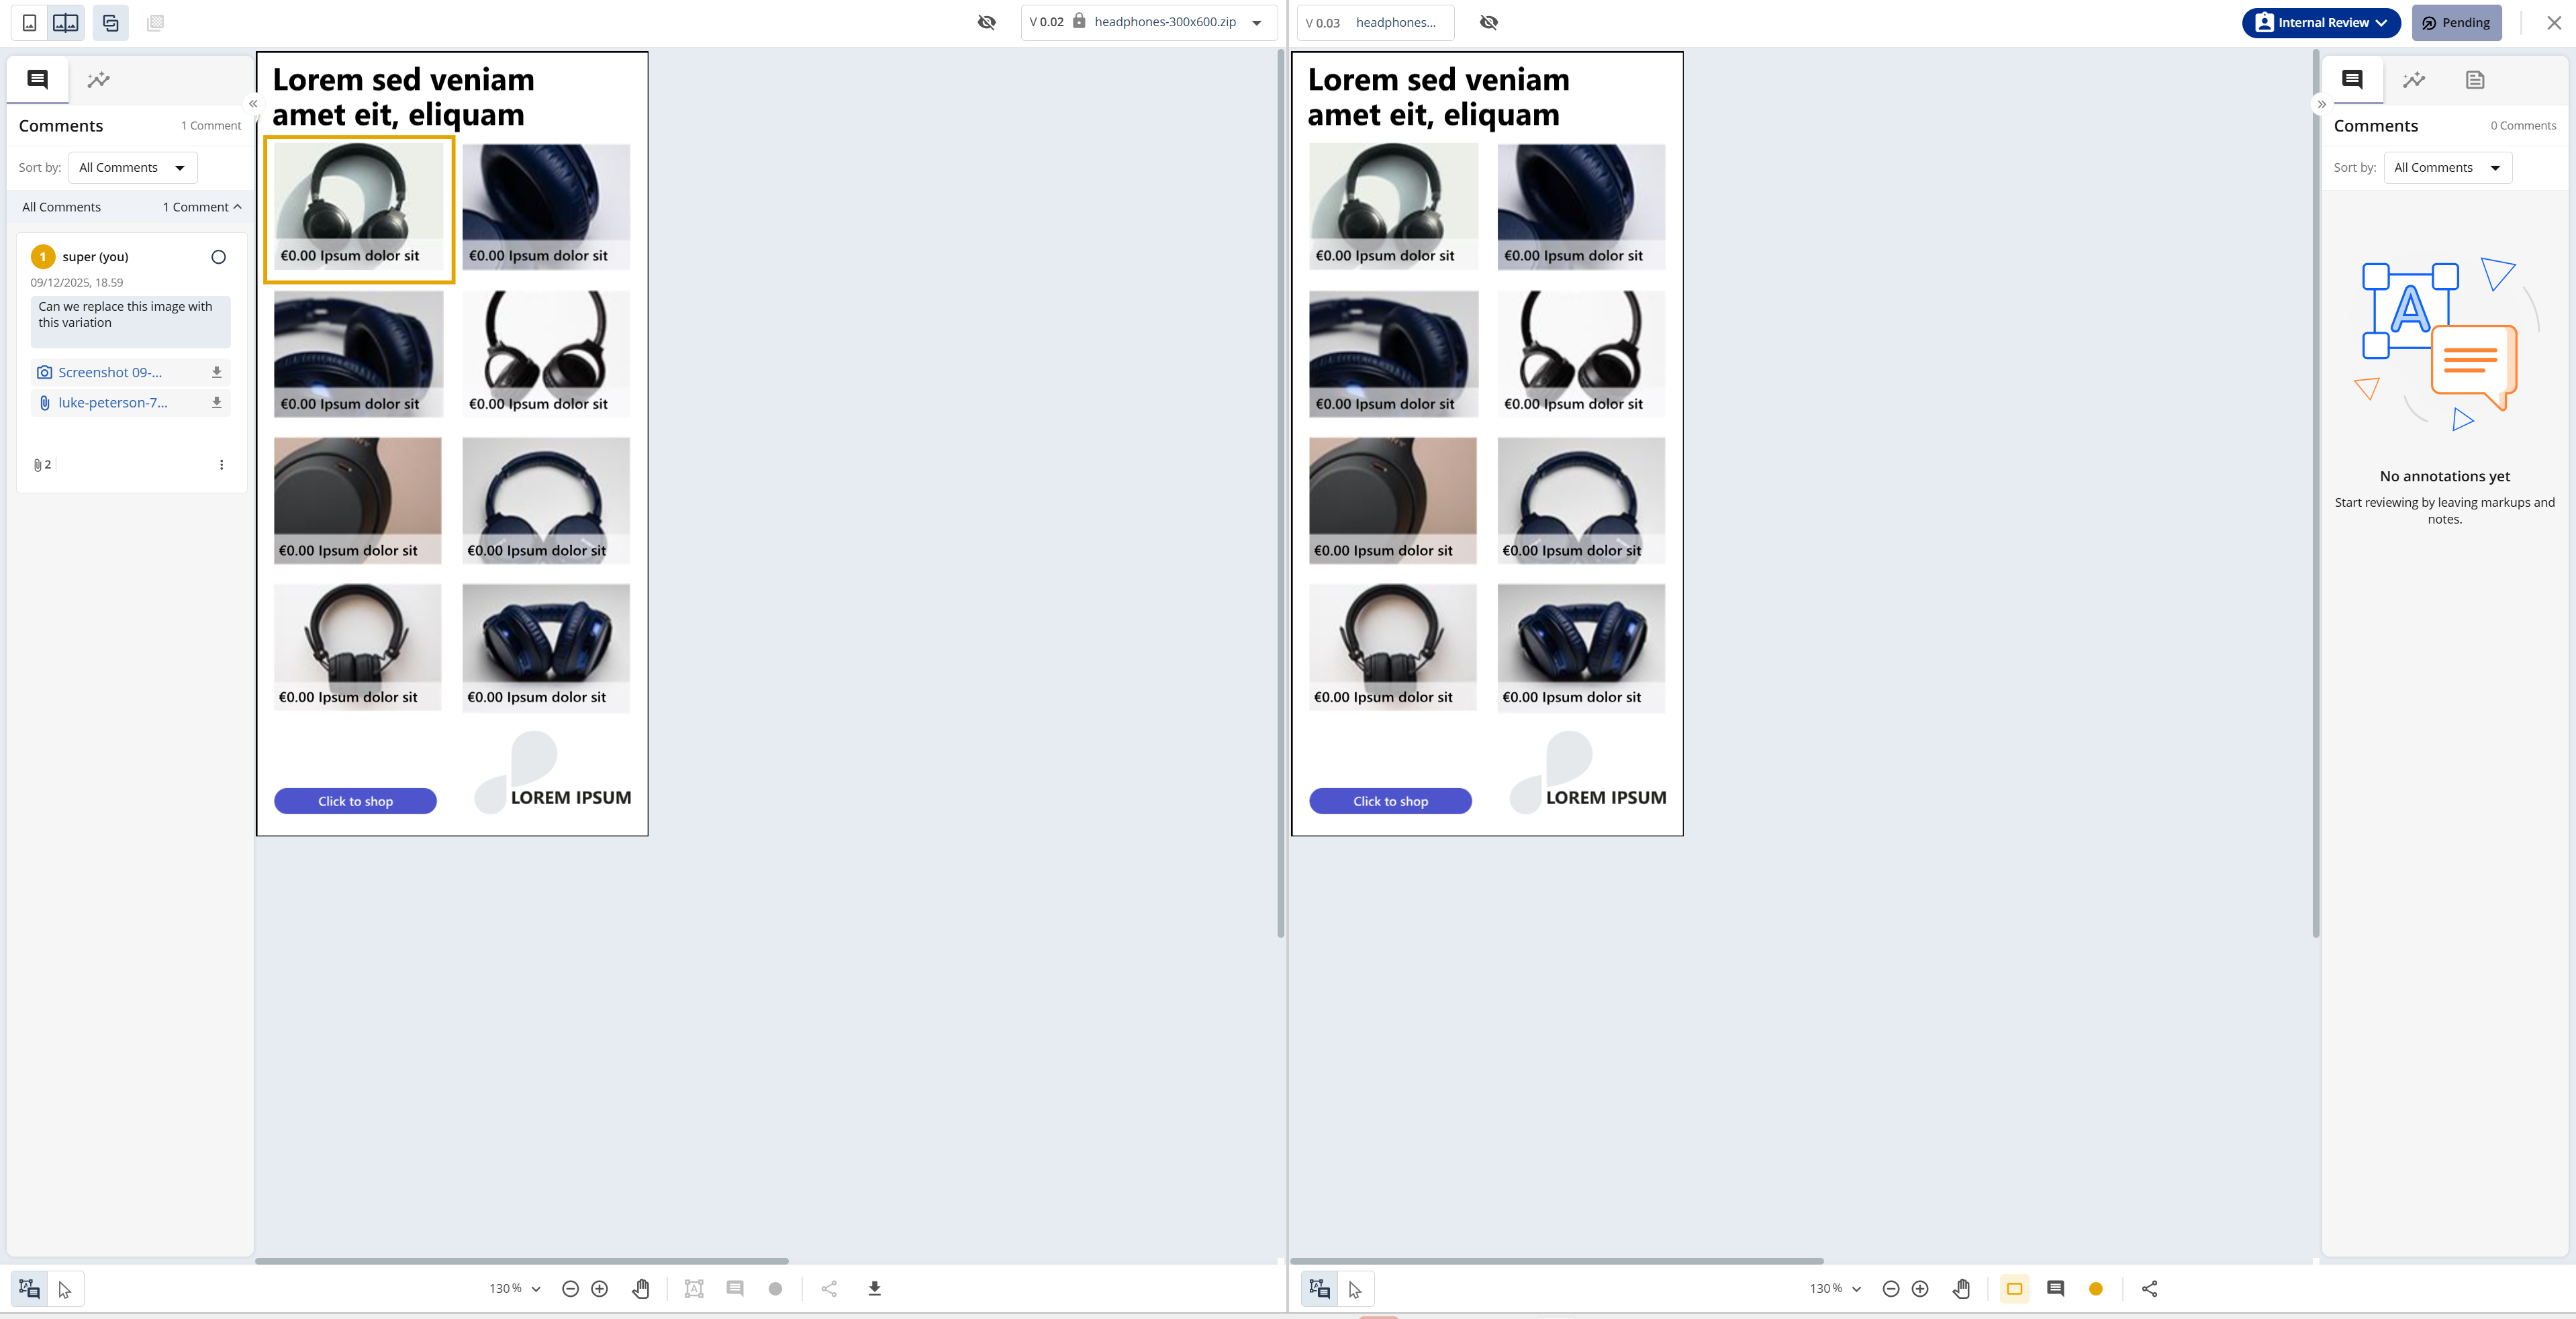
An image showcasing the HTML Proof Viewer
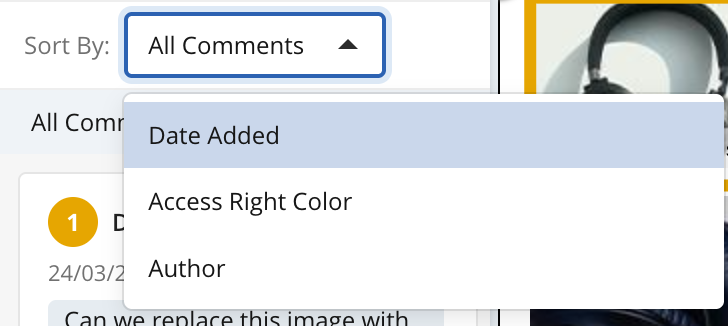
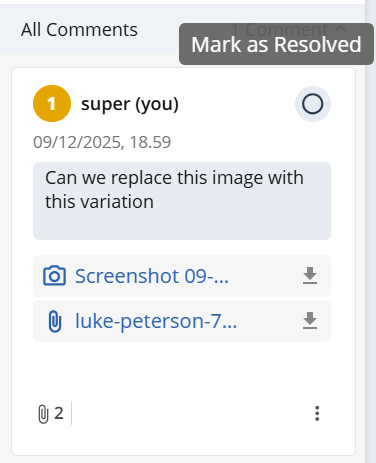
The table below provides a quick overview of HTML Proof Viewer:
Action | Visual Guide |
|
|
|
|
|
|
|
|
|
|
|
|
|
|
|
|
|
|
|
|
|
|
|
|
|
|
|
|
|
|
|
|
|
|
|
|
|
|
|
|
|
|
|
|
|
|


Known Limitations:
Some HTML, ZIP, Web previews can be left-aligned in the item info sheet or proofing;
Firefox: MP3 file gets downloaded on exporting annotations of some Zip file;
Only first get parameter will be included in url for proofing preview (Example: https://www.domain.com?key1=value1&key2=value2, where key2 will be ignored in proofing).