Where to find Online Proofing
The ![]() button will be available from the following locations:
button will be available from the following locations:
Spreadsheet Widget – Within the search results and in the action menu for individual items.
Module Search View – Within the search results and in the action menu for individual items.
Form View – Within the actions toolbar.
Understanding the Video Proof Viewer
After clicking the![]() icon, you will be taken to the Proof Viewer, where the experience will adapt based on the specific file format. Below is an overview of the behaviour when previewing video formats, including AVI, F4V, FLV, MOV, MPG, MP4, OGV, WEBM, MWV and MXF.
icon, you will be taken to the Proof Viewer, where the experience will adapt based on the specific file format. Below is an overview of the behaviour when previewing video formats, including AVI, F4V, FLV, MOV, MPG, MP4, OGV, WEBM, MWV and MXF.
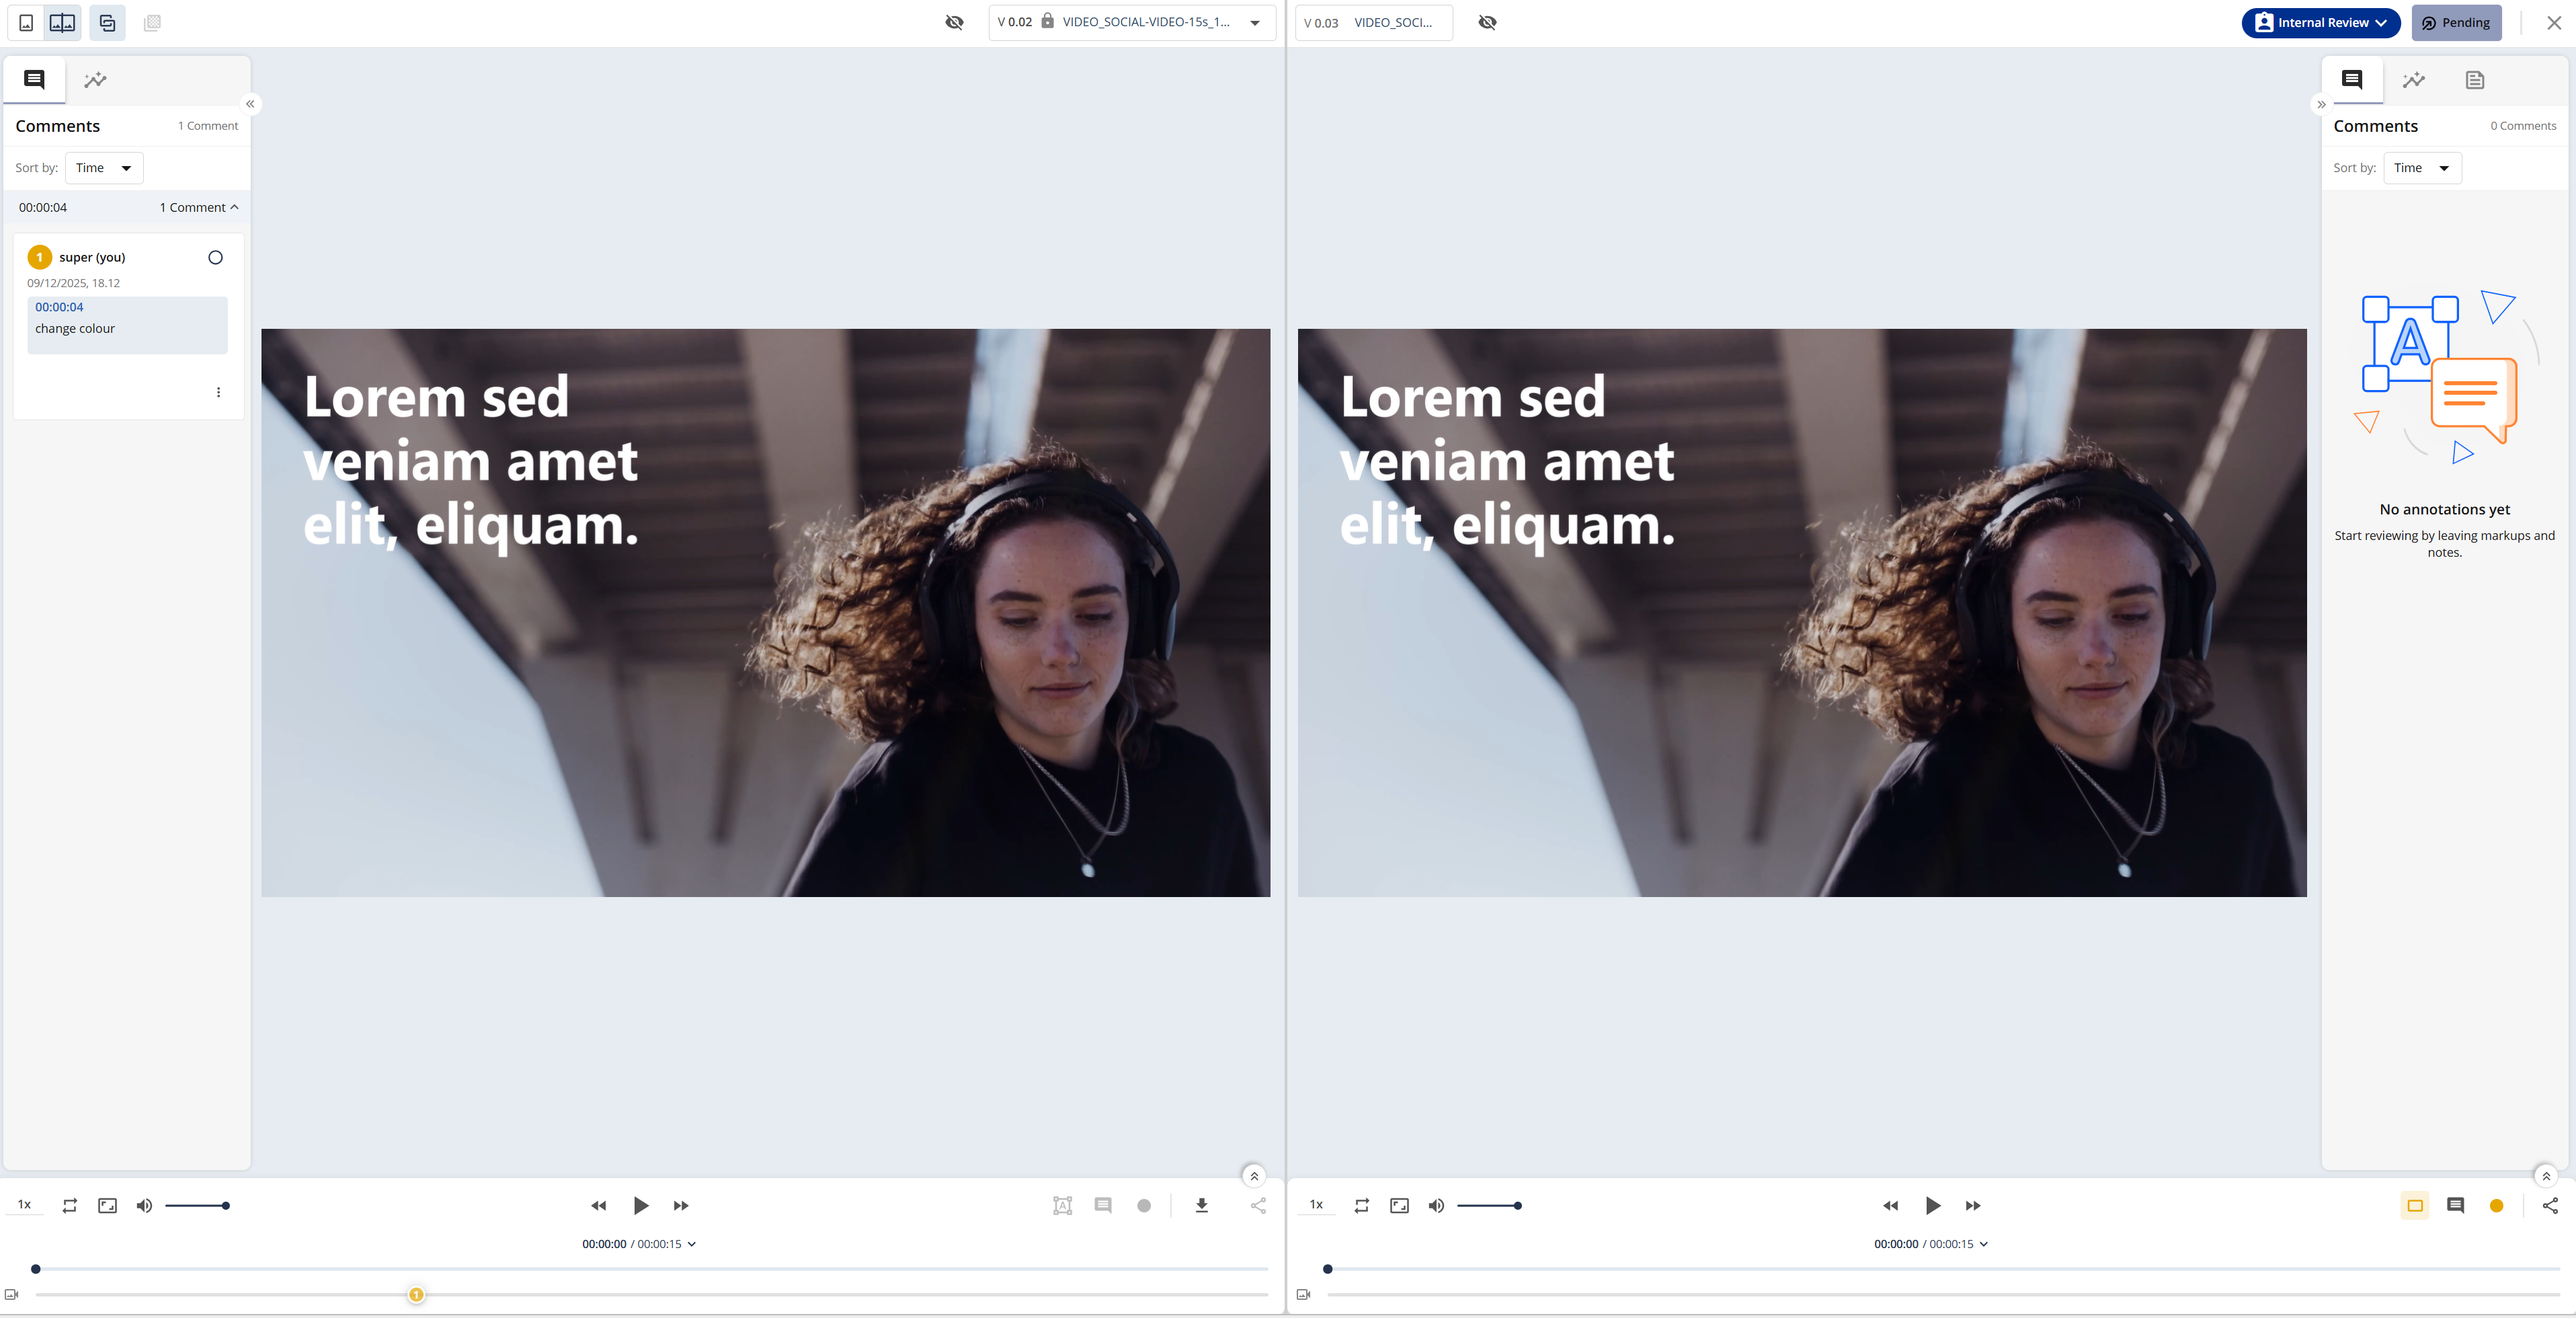
An image showcasing the Video Proof Viewer
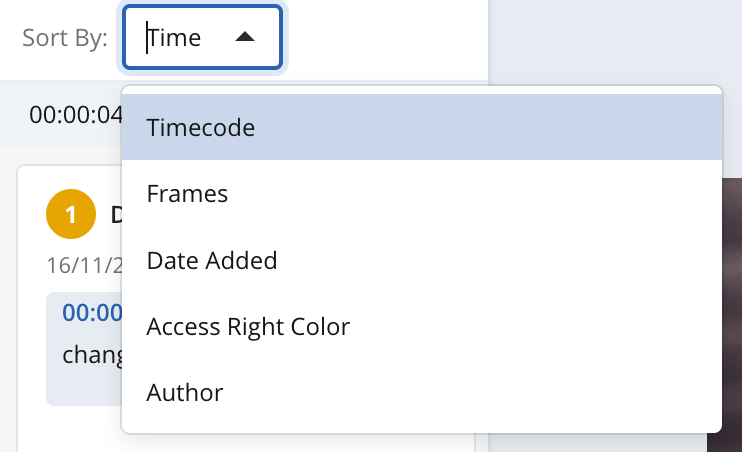
The table below provides a quick overview of Video Proof Viewer:
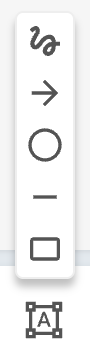
Action | Visual Guide |
|
|
|
|
|
|
|
|
|
|
|
|
|
|
|
|
|
|
|
|
|
|
|
|
|
|
|
|
|
|
|
|
|
|
|
|
|
|
|
|
|
|
|
|
|
|
|
|
|
|
| Press Ctrl/Cmd + mouse wheel or use the laptop trackpad |
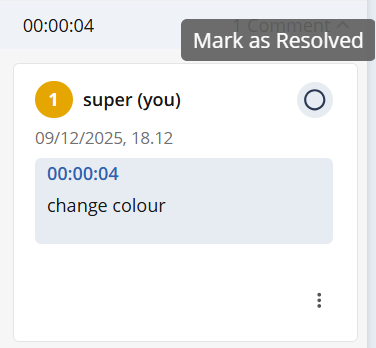


Range-Based Comments
Encodify allows users to add precise, range-based comments to specific parts of a video file.
To create a range-based comment, follow these steps
Play or scrub to the desired timestamp to locate the relevant moment in the file.
Add an annotation or comment to the file. This will define the start point.
Drag the handle icons to specify the exact range the comment should apply to. This will define the endpoint.
Enter a comment
Click Post to confirm the creation of the comment.
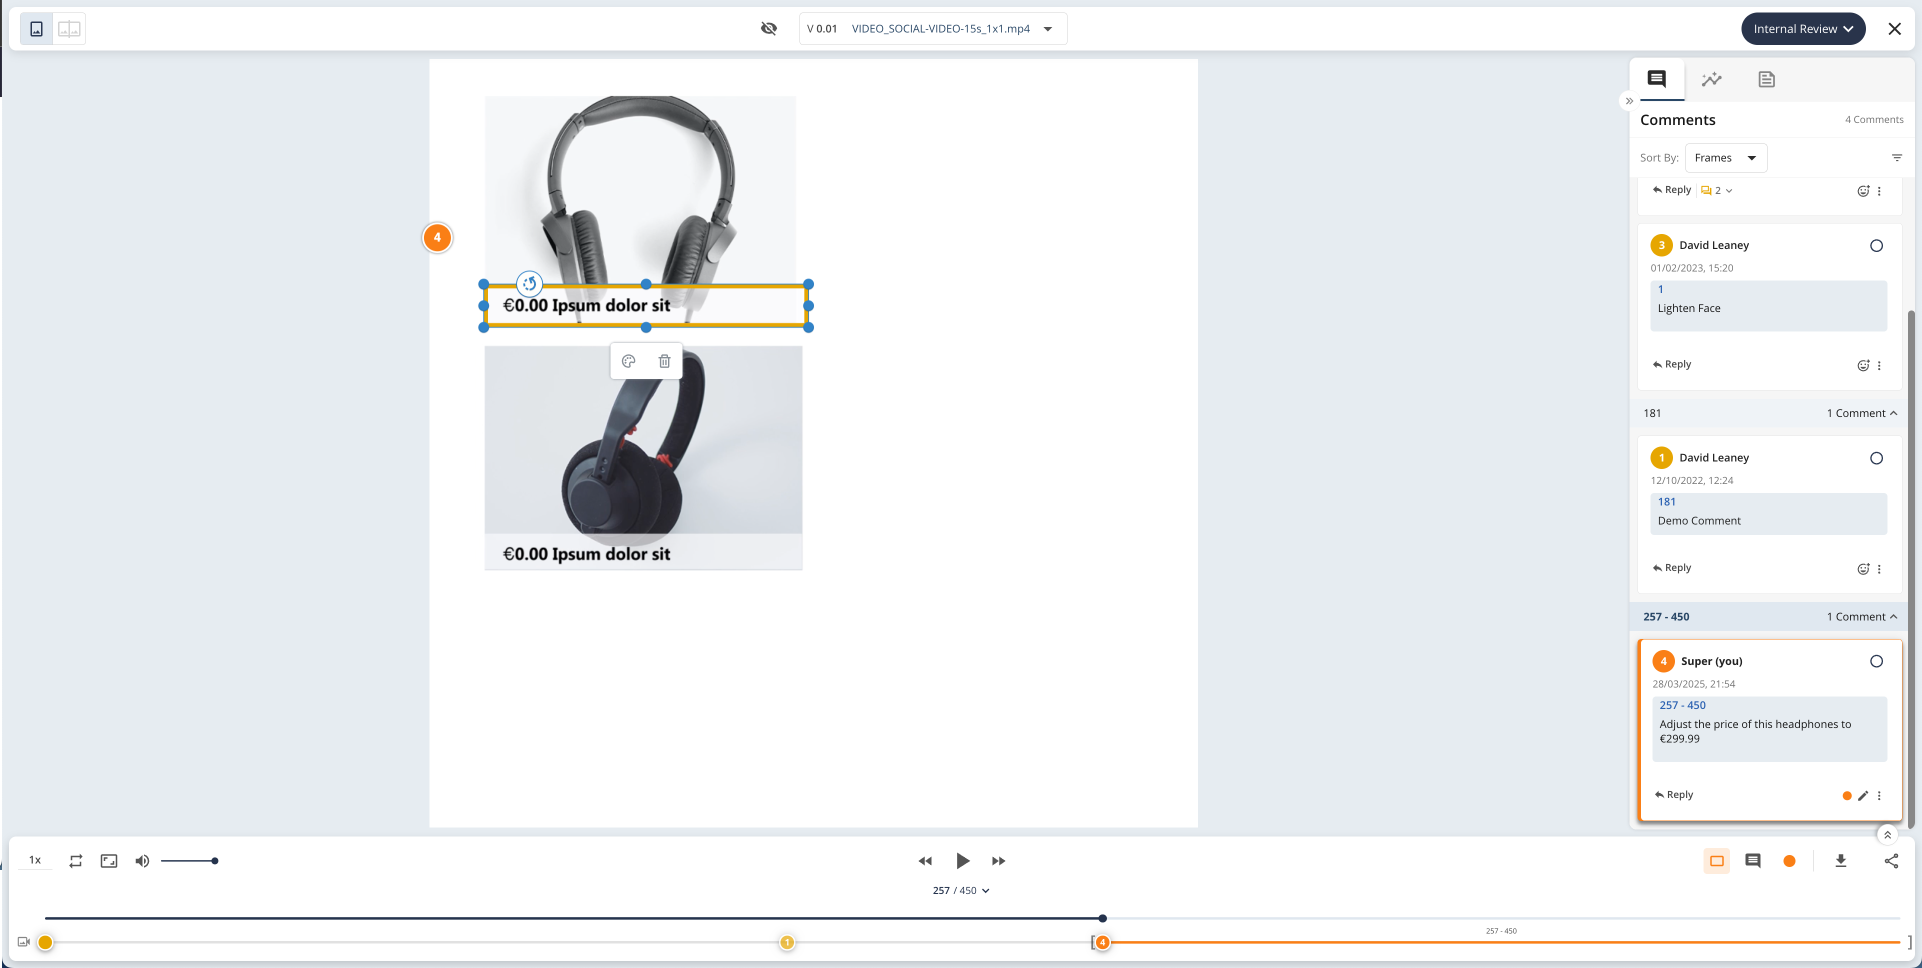
An image highlighting a range-based comment from frame 257 to 450
The time duration for each comment is visible on the timeline, providing users with a clear understanding of the comment's span within the file. When multiple comments are specified in the same range, they are grouped together on the timeline. Each group is colour-coded according to note access rights colour, and clicking on the group opens a small overlay presenting the individual comments within that group.
Once the comment’s time range is defined, users can easily extend or reduce it by dragging the handle icons on the timeline.