Logging Time against Task/Job/Projects
(Project and Job levels supported from Version 23 onward)
Important: When entering a duration, you can use the following format:
m,h,d, orwto represent minutes, hours, days, or weeks respectively. For example,2dwill be saved as24h.
When adding time entries at the Task/Job/project level, you will be required to complete the fields specified in the app configuration - Project, Job, Task, Start Date, and Duration.
The table below provides an overview of where time can be added - at the Task level in versions up to 22, and at the Project, Job, and Task levels starting with version 23.
Location | Description | Visual Guide |
|---|---|---|
Form View | In Form View, you can add a new work log entry from two different locations:
|
|
Spreadsheet View | In Spreadsheet View, you can add a new work log entry from three different locations:
|
|
Split View | In Split View, you can add a new work log entry from five different locations:
|
|
Kanban View | In Kanban View, you can add a new work log entry from three different locations:
|
|
Gallery View | In Gallery View, you can add a new work log entry from two different locations:
|
|
Timeline View | In Timeline View, you can add a new work log entry from three different locations:
|
|
Timeline 2.0 View | In Timeline 2.0 View, you can add a new work log entry from two different locations:
|
|
.png)
.png)
.png)
.png)
.png)
.png)
.png)
.png)
.png)
.png)
Admin Log
An Admin Logs allows you to create a list of non-chargeable job entries, which are used to record time that does not directly contribute to billable work. These entries help provide a more complete view of how time is spent across the working week.
Typical uses for Admin Log entries include:
Absences – such as annual leave, sick leave, public holidays, or other types of authorised time off.
Meetings – including internal team meetings, one-to-ones, company updates, or other collaborative sessions that aren't chargeable to a specific project.
Personal development – such as training courses, learning sessions, research time, or skills development activities.
To create an Admin Log, you will need to create a new job for each chargeable job entry required, ensuring the checkbox for Is Admin Job is checked (see Configuring Time Tracking App for more details)
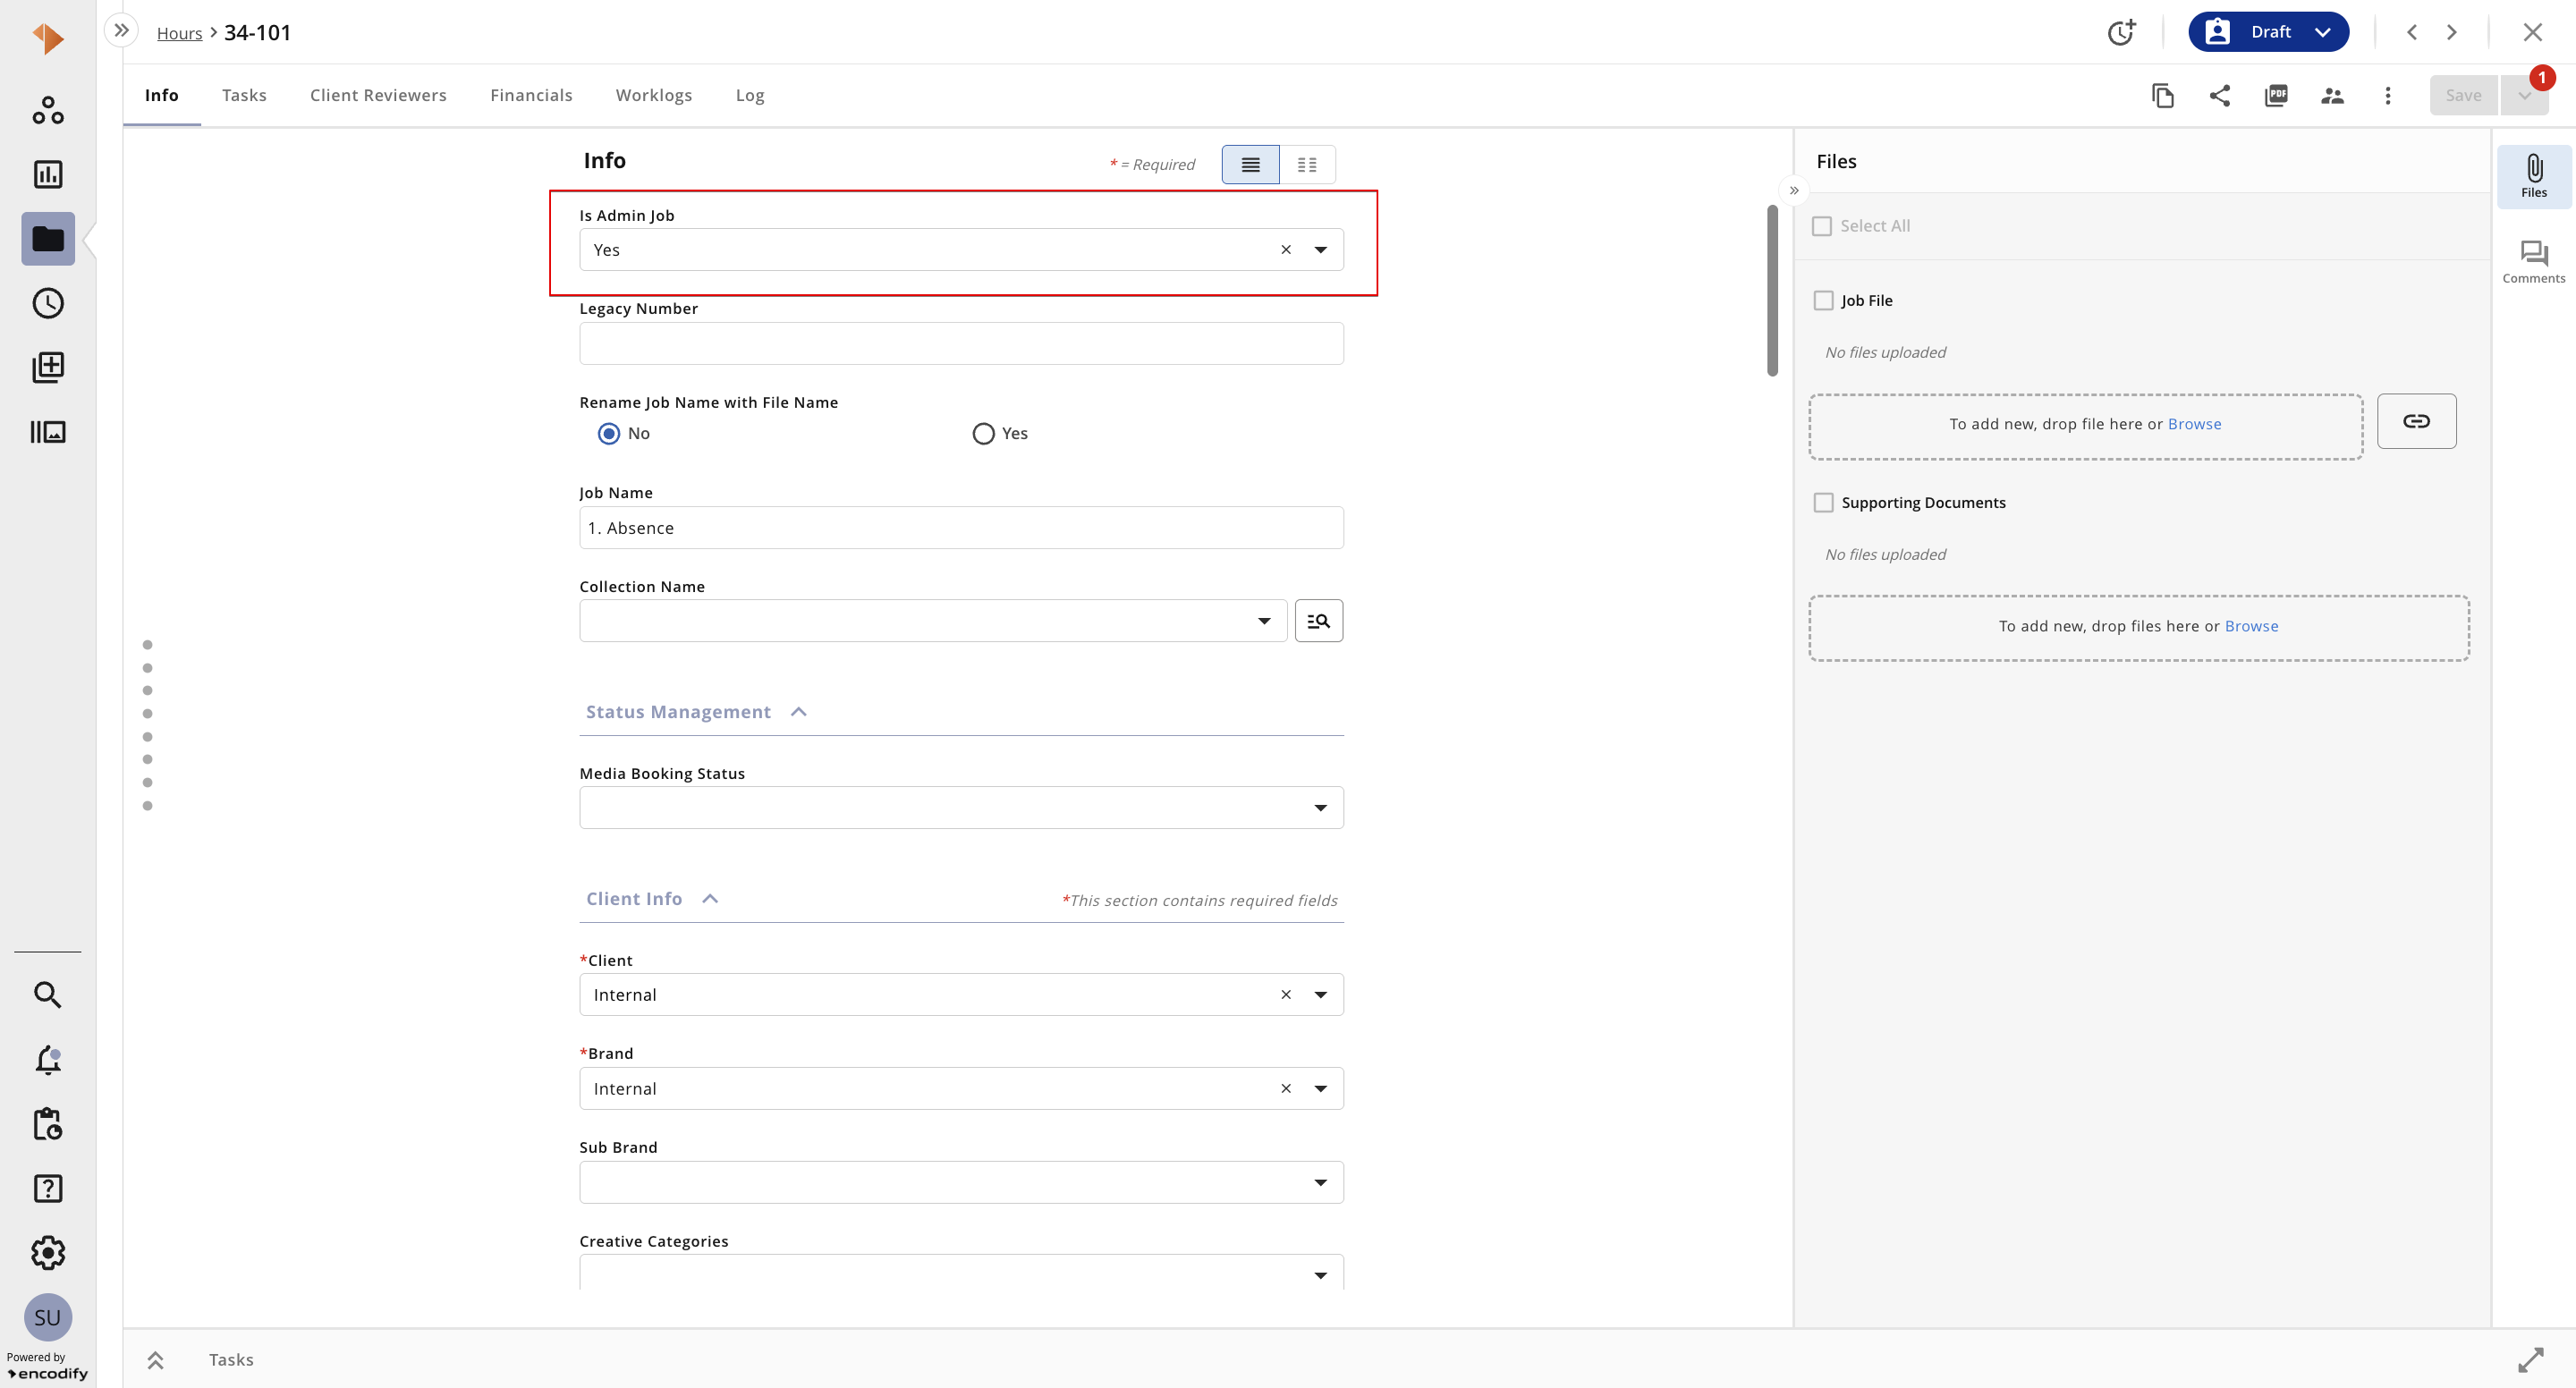
An image displaying the Item Info Sheet with an option to mark the job as ‘Is Admin Job’
.png)
An image displaying Administrative Logs section in Timesheet
.png)
An image displaying the Administrative Logs section in the Calendar - Week View
.png)
An image displaying Administrative Logs section in Calendar - Month View