Overview
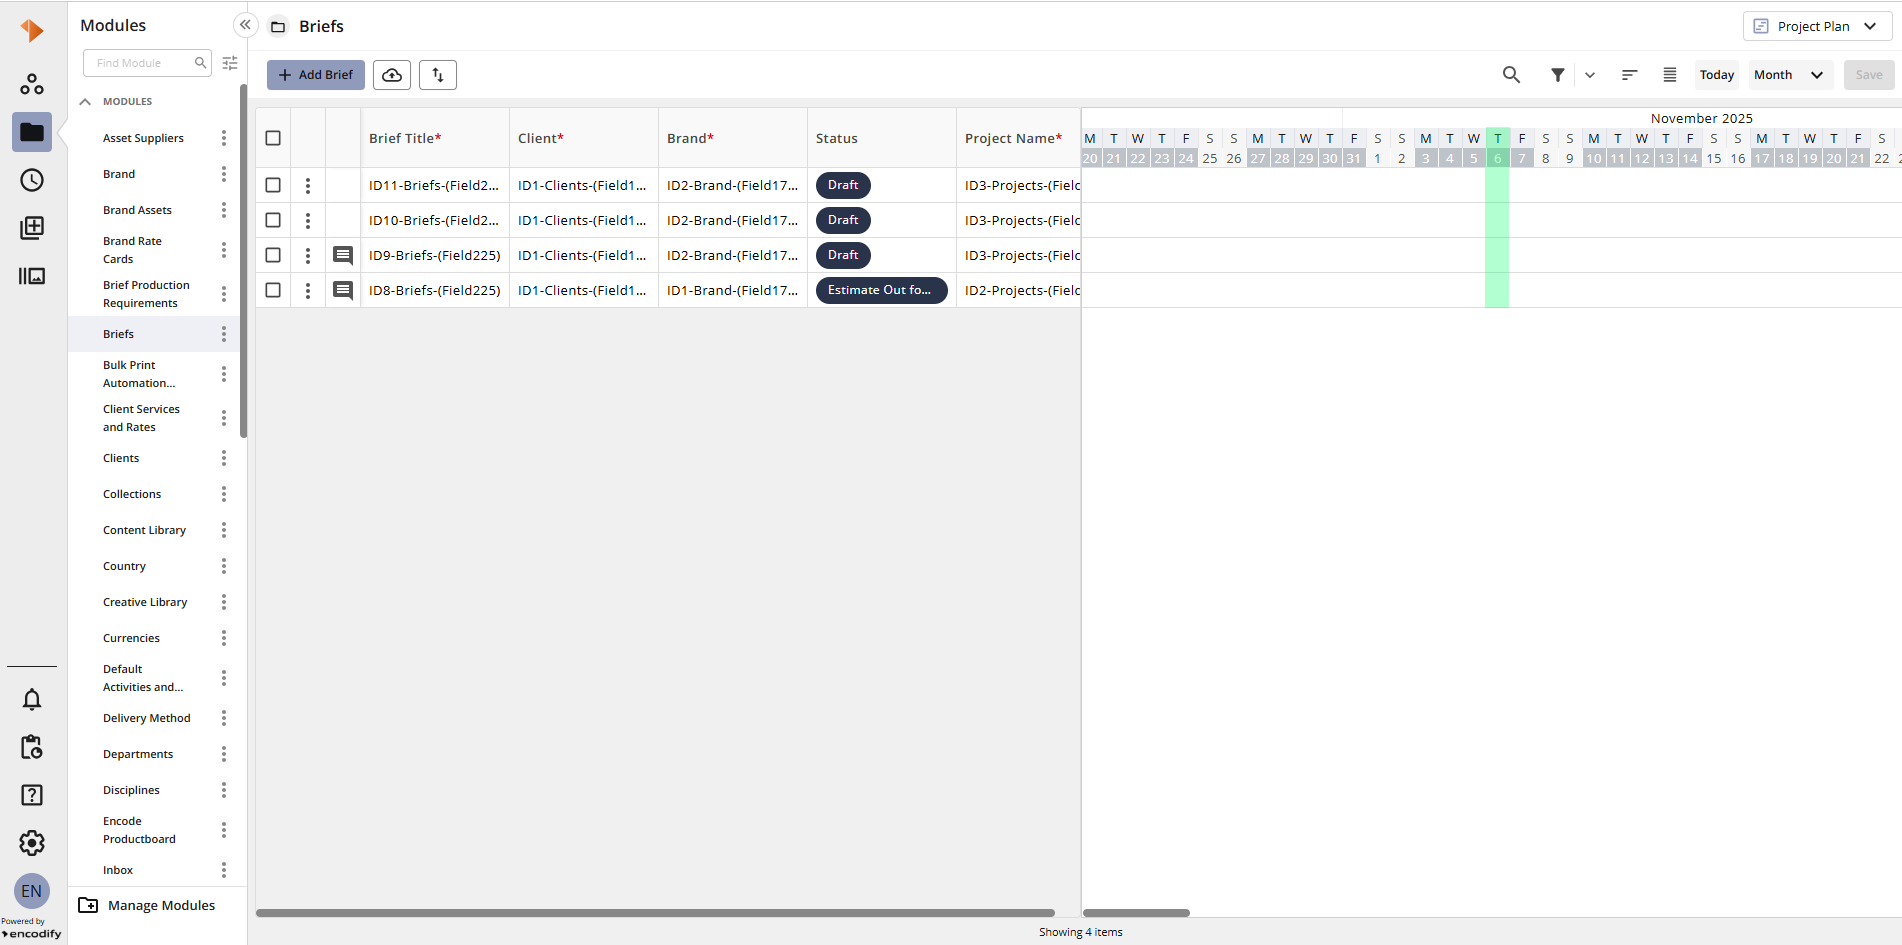
Timeline View allows you to visualise key dates for your items on a horizontal timeline providing a high-level overview of deadlines, start dates or other time-based events.
Understanding Timeline View
Once the Timeline View has been configured, it will be selectable within the Module View Selector.
The table below provides a quick overview of Timeline View:
Action | Visual Guide |
The Module View Selector allows you to switch between all configured views within a specific module.
| .png)
|
Add a new item to a specific module
| 
|
The Bulk File Uploader provides a quick and efficient way to upload multiple files that share the same metadata.
| .png)
|
Export the data from a specific module in Excel, HTML or CSV format.
| .png)
|
Search by keywords across module items and files (see Quick Search for more details)
| 
|
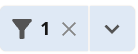
The Filters panel allows you to define specific search criteria to narrow down results and quickly find relevant items. You can apply one or multiple filters based on fields such as status, date, user, or custom metadata—helping you refine your view with precision. (see Filters for more details)
| 
|
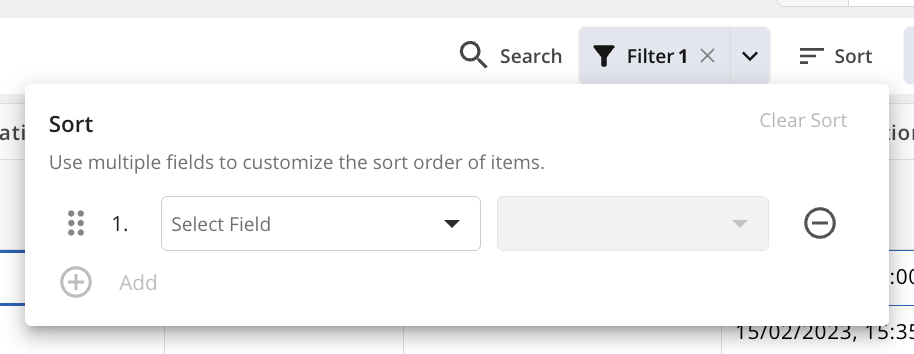
The Sort panel allows you to define a custom sort order by selecting up to five fields and specifying the sort direction for each (ascending or descending). This enables users to apply a different sorting logic than the default defined in the view configuration. Your chosen sort order will be saved and automatically applied the next time you access the view, ensuring a consistent and personalised experience.
| 
|
Navigate directly to Today
| 
|
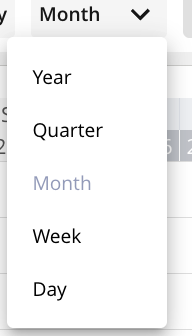
Adjust the view to display the timeline by Day, Week, Month, Quarter, or Year, depending on the level of detail you need.
| 
|
Adjust the Row Height. Options include short, medium and tall. A users preference will be remembered for the next time they access that view.
Note: When Preview Media Files is enabled, the Short and Medium options will utilise the Media File Holder for Search Result as List defined within Module Settings. For the option Tall, we utilise the Media File Holder for Search Result option.
| .png)
|
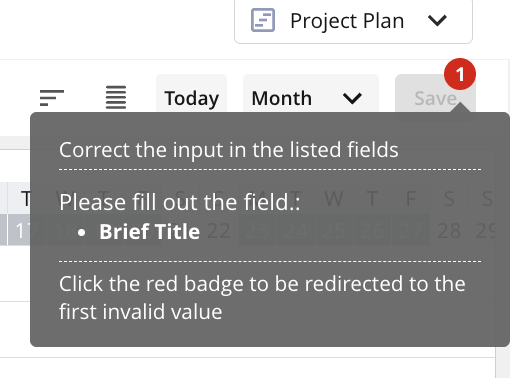
The Save button becomes active once changes have been made to any visible cells within the item view. If any required fields are missing or validation errors are present, a red badge will appear to indicate the issue—providing clear guidance on why the Save button may remain inactive.
| 
|
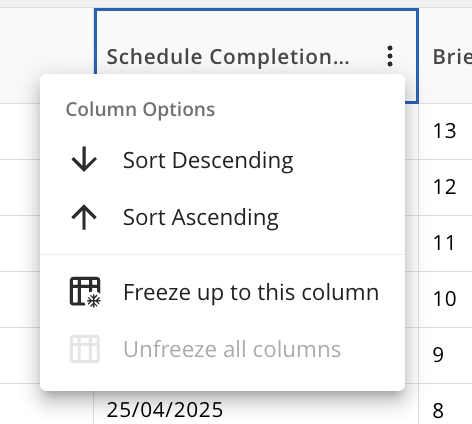
Clicking the actions menu from a column header allows you to perform the following actions to tailor your view: Add the field to your custom sort order – Define how results are ordered by including this field in your personalised sort sequence. Freeze the column – Keep the selected column visible while scrolling horizontally, improving readability in views with many fields.
| 
|
The checkbox at the beginning of each row allows you to select multiple items for Bulk Operations. To select all items at once, use the checkbox in the column header. You can also select a range of items by clicking one checkbox, then holding Shift and clicking another—everything in between will be selected automatically.
| 
|
The actions menu, located at the beginning of each row, provides access to a range of additional features—including changing status, copying the item, launching online proofing, and more.
| .png)
|
Launch Online Proofing for the specific item
| 
|