Where to find Multiple File Proofing
To access the Multiple File Proof Viewer, follow these steps:
Navigate to the parent module.
Select and open the required item.
Expand the inline module (where Multiple File Proofing is enabled).
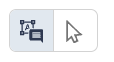
Click the .png) icon from the toolbar or access it from an individual item via the action menu.
icon from the toolbar or access it from an individual item via the action menu.
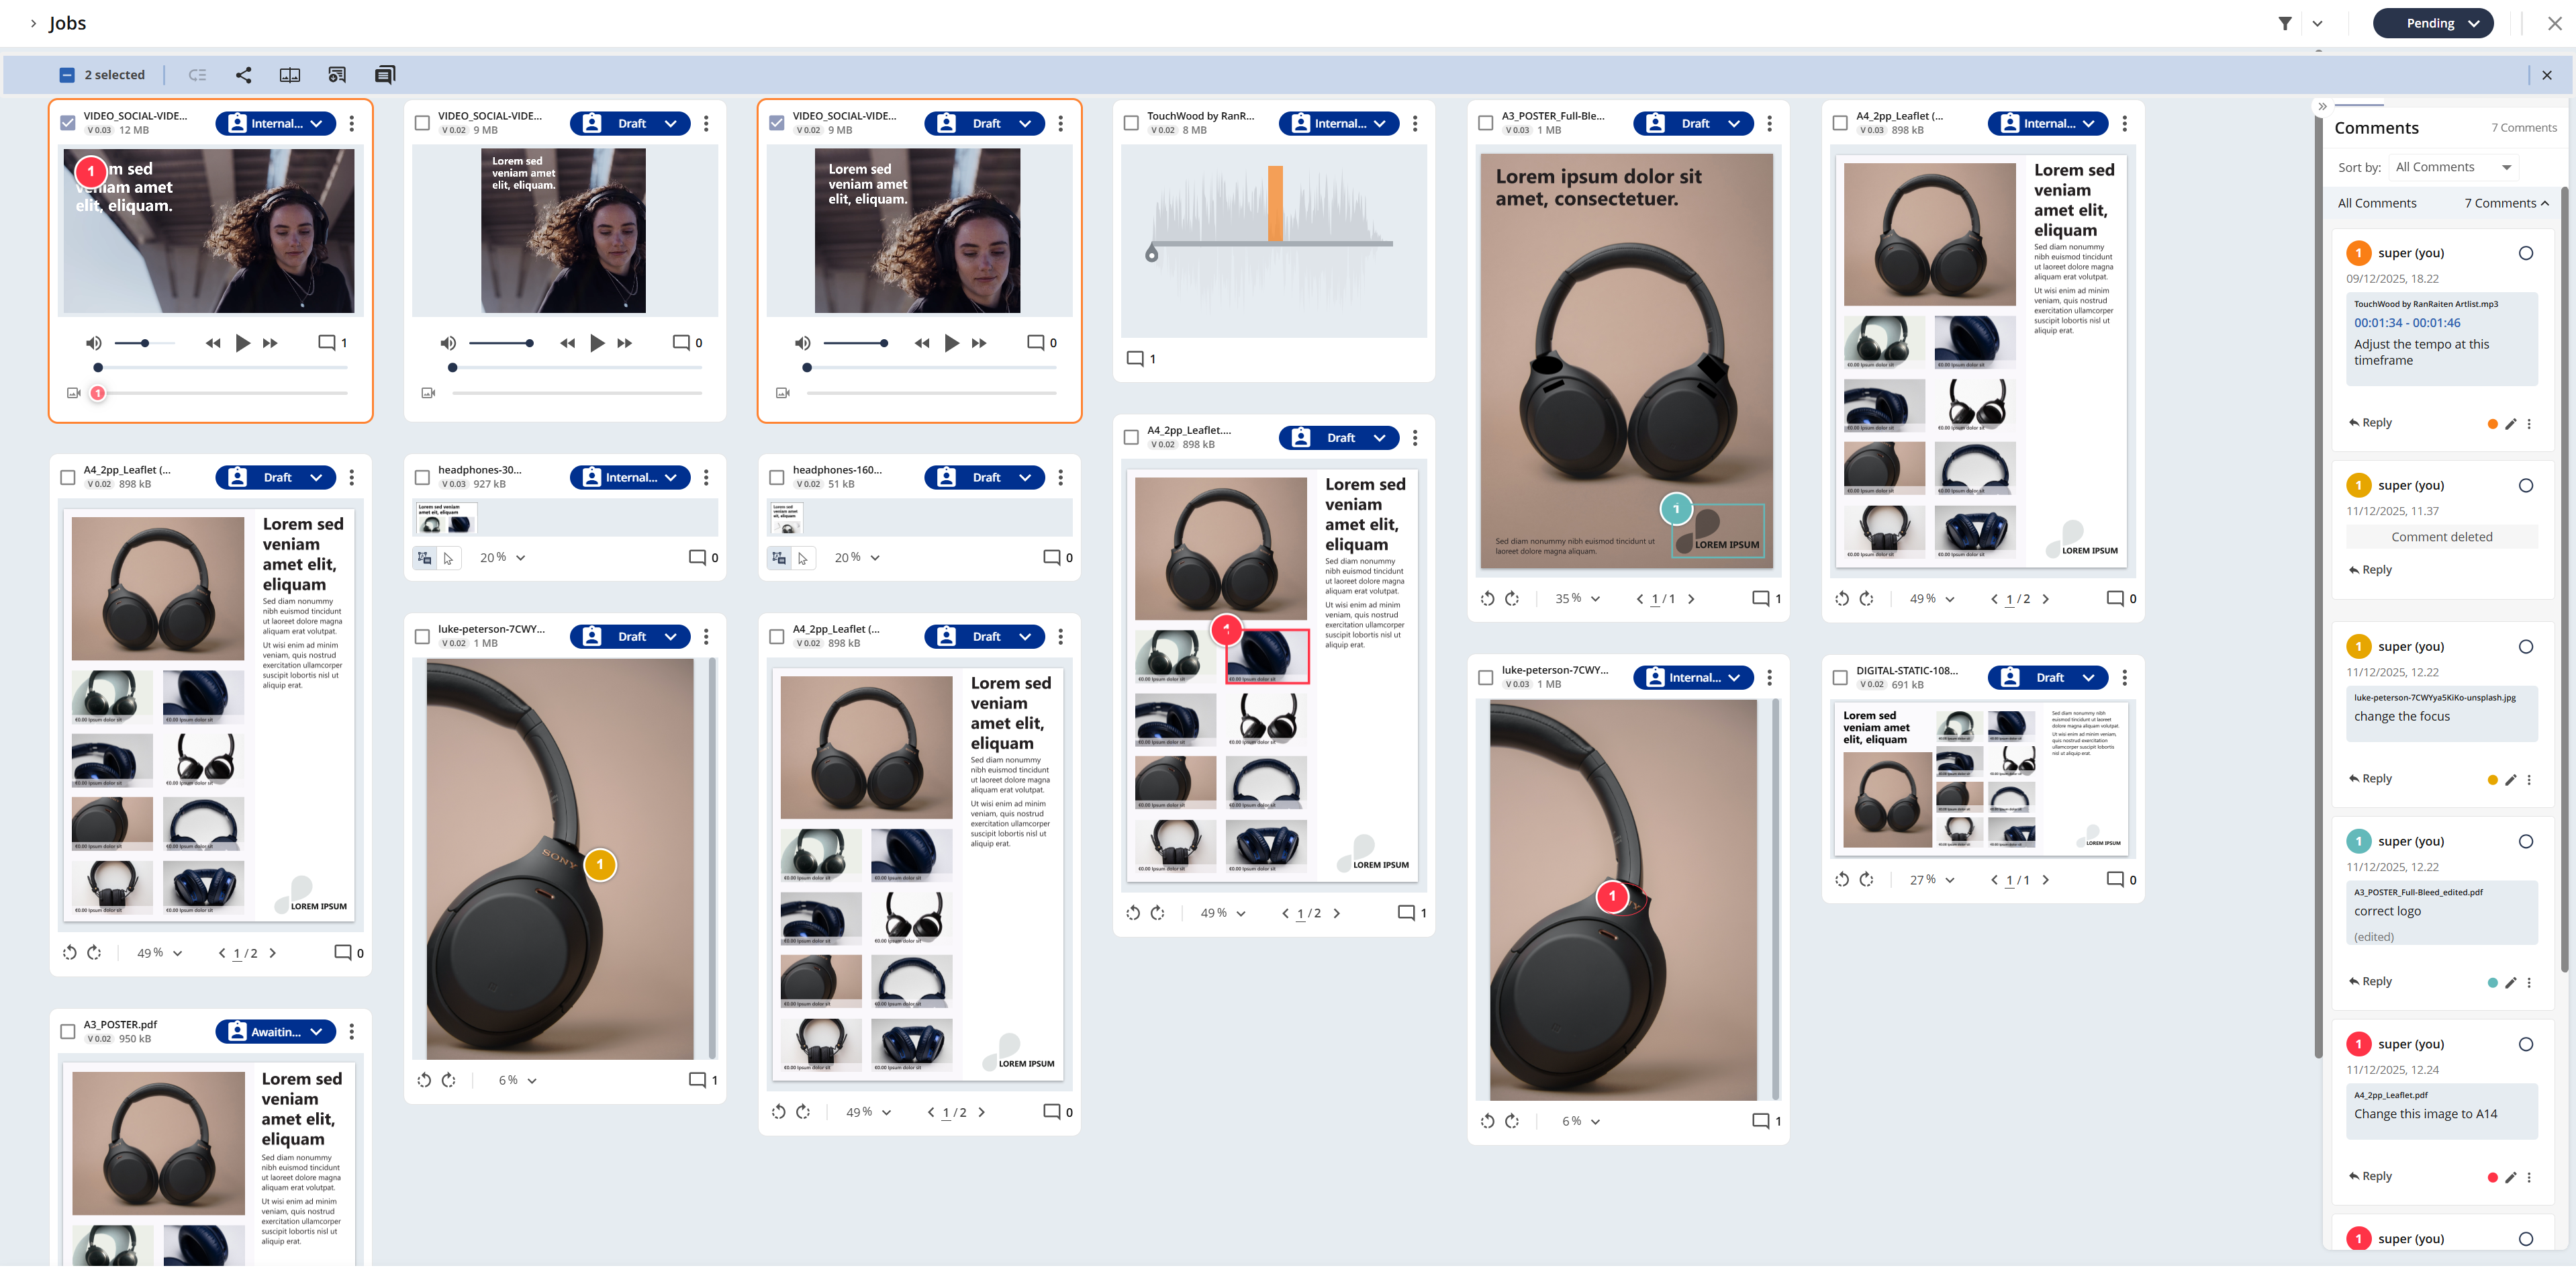
Understanding the Multiple File Proof Viewer
After clicking the .png) icon, you will be directed to the Multiple File Proof Viewer, where each item from the inline module—whether a document, image, video, audio, or HTML file—is displayed as an individual gallery card.
icon, you will be directed to the Multiple File Proof Viewer, where each item from the inline module—whether a document, image, video, audio, or HTML file—is displayed as an individual gallery card.
The table below provides a quick overview of Multiple File Proof Viewer:
Action | Visual Guide |
Change the status of the parent item
| 
|
Change the status of multiple selected items in bulk
| 
|
Compare files from two selected items.
| 
|
Download annotations for multiple selected items in bulk.
| 
|
Add Comments in Batch for multiple selected items
Note: Screenshots will not be added to the batch comments created for the HTML files.
| 
|
Change the status of a child item from the inline module.
| 
|
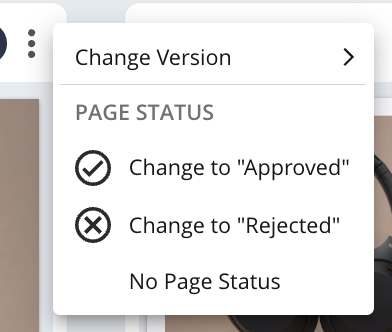
From the action menu on each gallery card, you can Change Version or Apply Page Status. (Documents only)
| 
|
Rotate the document left or right. (Documents only)
| 
|
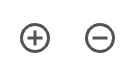
Adjust the zoom level of the displayed proof.
| 
|
Navigate between pages within the document. (Documents only)
| 
|
Use video or audio playback controls, including volume adjustment, rewind, play, and fast forward.
| 
|
Switch between Annotation mode and Browse mode. (Live proof from website only)
| 
|
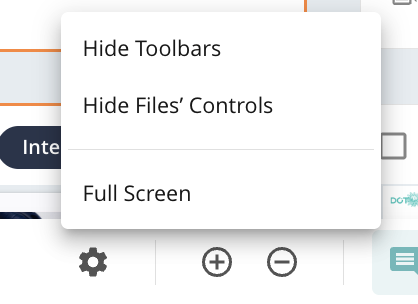
Adjust the layout of the multiple file proof viewer. Options include Hide Toolbar, Hide File Controls and Full Screen
| 
|
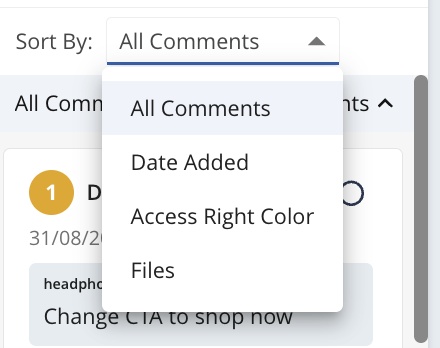
Adjust the sorting method within the comments panel. Options include All Comments, Date Added, Access Right Colour or Files.
| 
|
Resize the gallery cards by adjusting the zoom level.
| 
|
Defines the note type when adding comments in batch
| 
|
Defines the note access right colour when adding comments in batch
| 
|
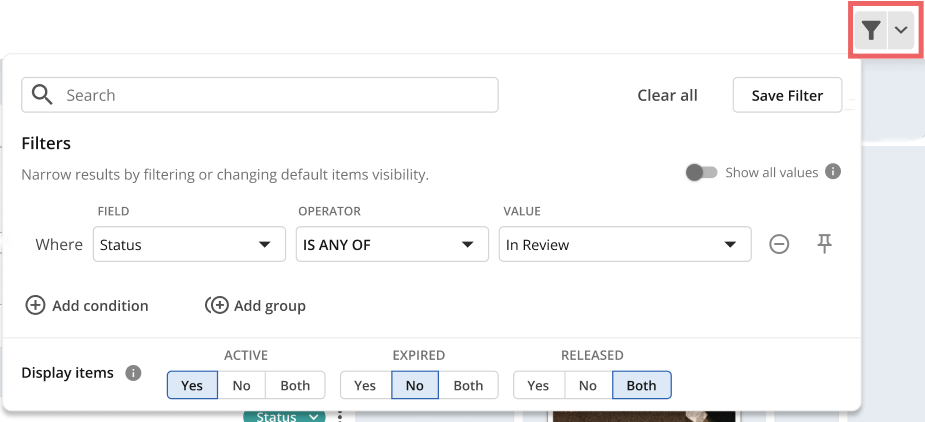
Allows applying saved/custom filters within an inline module when launching multiple file proofing. Note: Applying favourite filters is not applicable in the multiple file proofing view.
| 
|
An empty state is displayed if no matching items are shown in the proofing view. Users can still navigate to multiple file proofing even when the applied filter results in no search results.
| .png)
|
Hide Technical Layers. Selected by default for PDFs and recommended for color accuracy. Hides print production marks and shows only the final output. This setting applies globally, defaults to hidden, and remembers the user’s selection for future sessions.
| .png)
|
Show Technical Layers. Shows all layers and print marks, but colors may appear less accurate. Use this to inspect all design elements.
| .png)
|
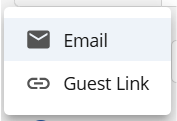
Share Multi-file proofing. Internal users can share multi-file proofing with guest users by clicking Share icon.
| .png)
|
Multi-file proofing can be shared with guest users via email or through a guest link from Share modal. For more details, read this article on how to configure guest user access.
| 
|