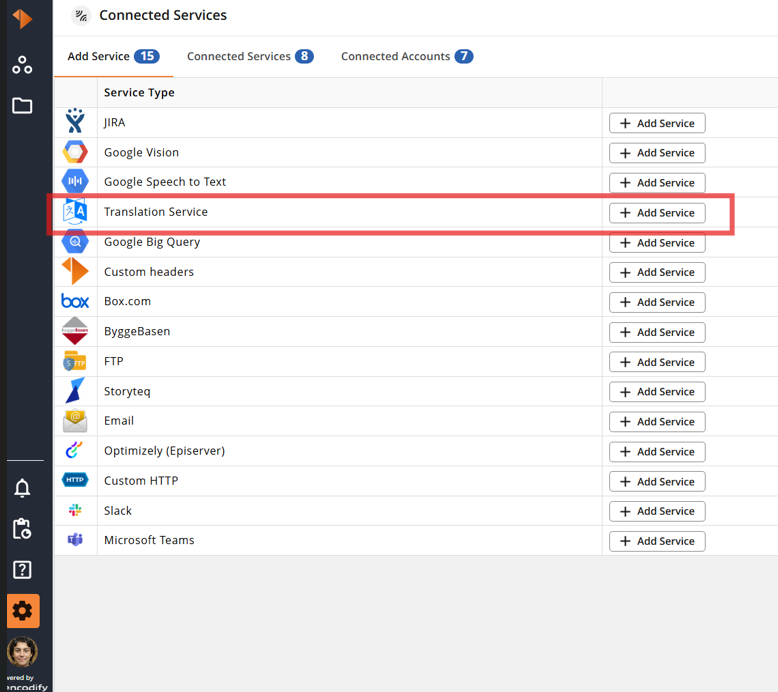
Overview
Important: Before enabling Google Translate Connected Service, an Encodify administrator must first ensure that it’s enabled within your infrastructure.
In order to see Google Translate Connector in the list, "enable.connections.google_translate" feature flag should be enabled in System.properties file.
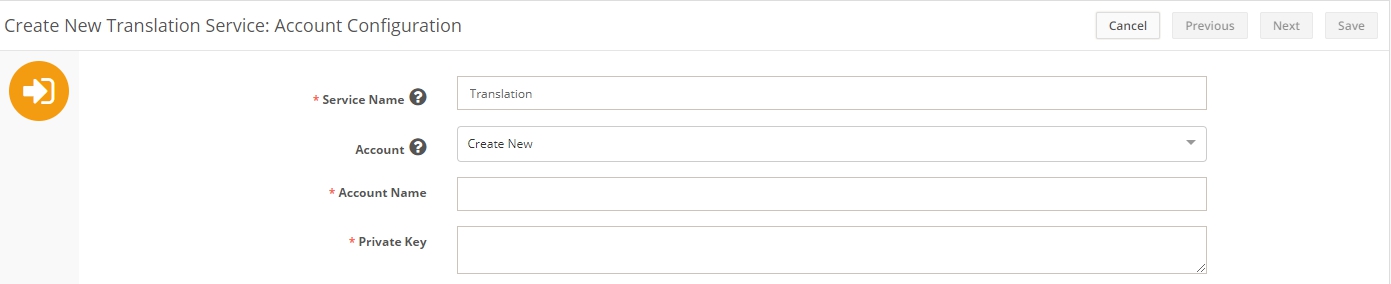
Translate Service Configuration
Parameter | Description |
Service Name | Descriptive name of the integration service. |
Account | You can select from existing accounts or leave “Create new…” to create the new one on this step |
Private Key | This field accepts the content of the JSON file, which is provided by Google and can be downloaded on your Cloud Platform Console Credentials page. Open the JSON file with a text editor and Copy-Paste its content into this field Please, follow this link if you need help in creation of service account key |
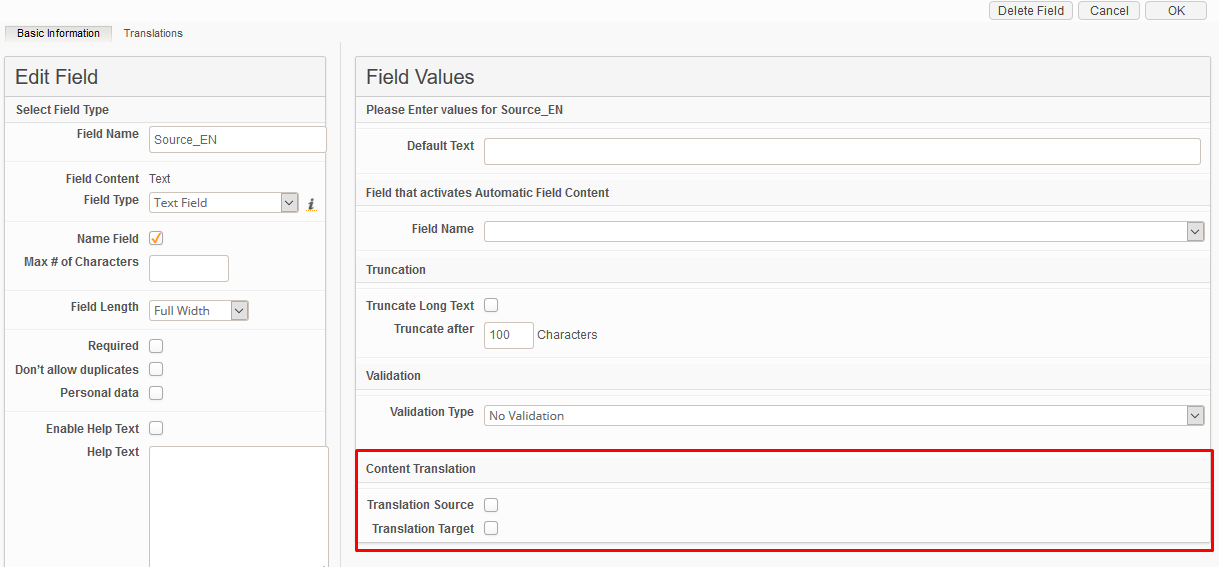
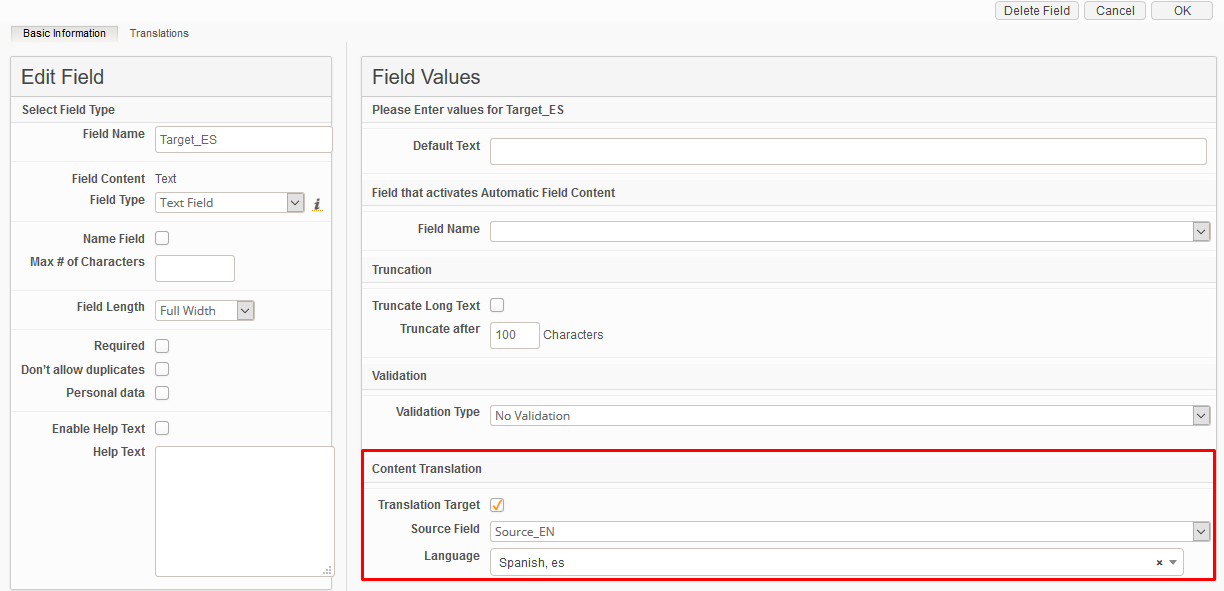
Field Definition Configuration
When the Translation Connected Service is configured, the text field should be mapped as the source of the text to translate.
In the Text or Text Box field definition, select Translation Source in the Content Translation section.
After that, specify the existing Translation Service and Source Language.
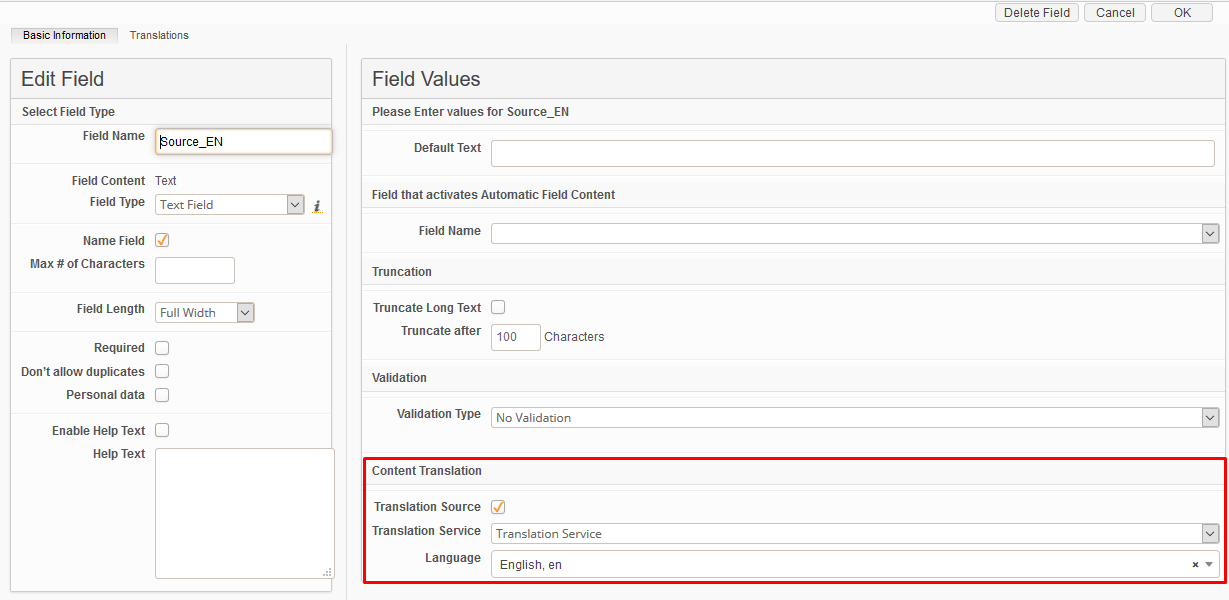
Do the same for another Text field and select Translation Target. Choose the language of the desired translation.
Triggering Translation in the Item
To have access to the Translation mechanism, users need to have "Edit" and “Translate” access to the module.
When the configuration is done, the translation service can be used on the New UI. Currently, it is available on Item Form.
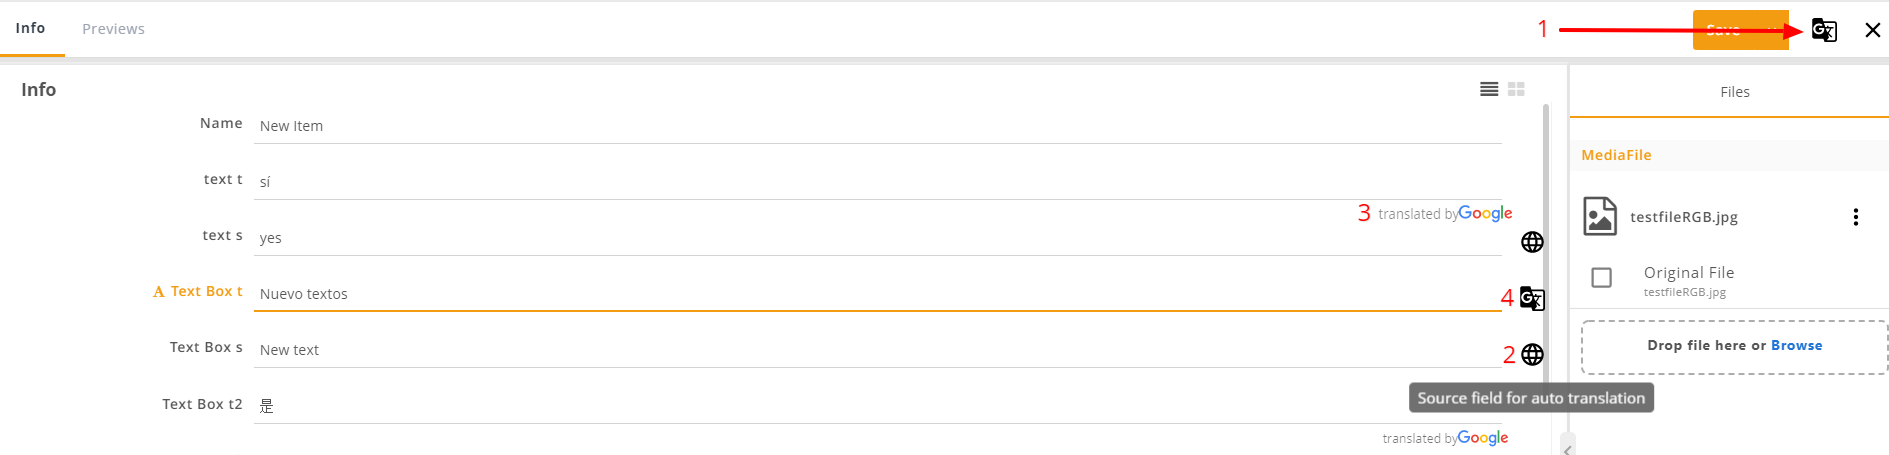
Fields that were mapped as the source of the text to translate are marked with the special icon on the Item form (2). Source fields need to be filled in with text before translation can start.
To start translating, click on the "Translate" button on the topbar of the Item Form (1).
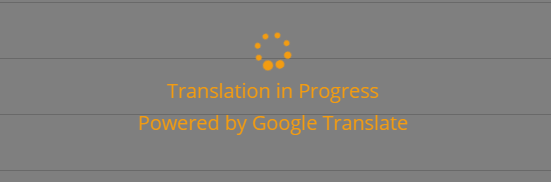
Spinner will be shown on the Item Form once translation is started.
Once translation is finished, the spinner will disappear, and the Translation Target fields will be filled in with translations. Google mark will be shown near the auto-filled Translation Target fields (3).
It is also possible to update Source or Target fields. Note that the icon near the Target field will be changed afterwards (4).
Limitations:
Functionality is available only on Item Form and Split view.
All icons, excluding the Source field, disappear after saving an item.
A user without "Edit" access to the target field can not translate.
The target field becomes empty on the form if the source field is hidden on the form.
Translation is not available from split view in inline modules.
Translation icons are not shown on the info sheet when Media focus is enabled.
All fields that are involved in translations (both source and target) must be displayed on the form.