(Note: "MakeAd" functionality within Classic UI is decommissioned in v.21.0.0)
This section explains how you can edit your Ad by putting text and graphics on it, preview the result, export text from all the text fields of the created PDF, and save the final PDF file to other modules.
The Ad Editor window (or Make Ad) is the main window of the AdBuilder. From here you can perform the following functions of the AdBuilder system:
Open the Template Editor by clicking Edit Template on the toolbar.
Go back to the Template module, by clicking Back to List on the toolbar.
Generate final PDF and save it to other modules by clicking Generate PDF and Save PDF.
Download the created PDF by clicking Download PDF.
Export text from all the text fields into HTML file by clicking Export Text.
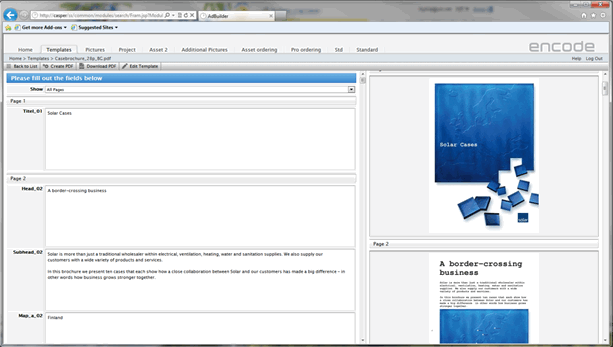
Page Preview Display
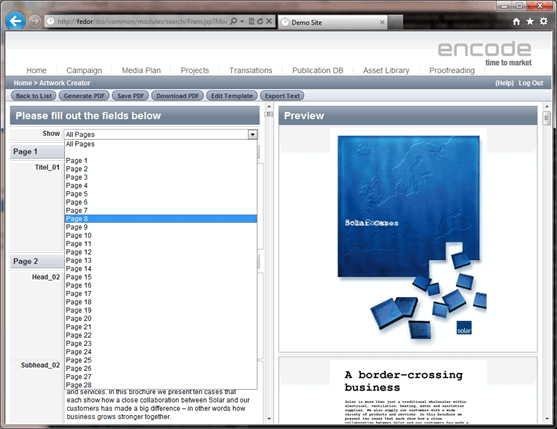
The preview of an Ad that you are editing is displayed in the Preview pane on the right. If your Ad consists of more than one page, you can choose whether you want to see in that pane the preview of one particular page or all pages of the Ad. To preview a particular page, select this page in the Show list. To preview all pages of the Ad at once, in the Show list, select All Pages.
Preview can be zoomed using +/- buttons in the bottom of preview or with the mouse wheel.
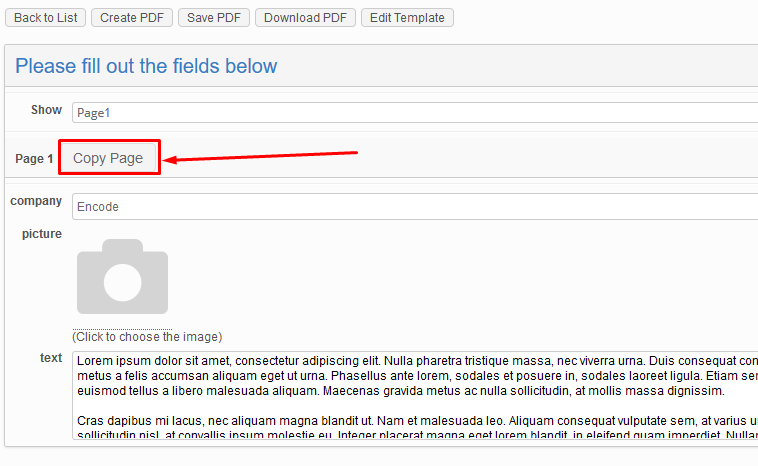
Copy page
It is possible to add a copy of the ad page using the Copy Page button. All the filled in data including text and images will be copied to a separate page. This allows use single page template on the input and produce multiple standardized ads without leaving the Ad Editor window.
The copied page is not saved into the original template XML file and will be vanished on reopening the Ad Editor window.
Selecting from the pre-designed layouts
It is possible for users to change template in Ad Editor by selecting page layout from the variety of pages existing in XML template (created in Edit Template window).
Functionality is enabled by "Enable Template Selection" option in Edit Template > Basic Settings.
When the checkbox is checked, a text field labeled "# of Pages" will appear where the admin can enter the number of pages the final ad will contain (The number of pages in the template is the default value). A button labeled "Select Layout" will appear for each page of the "Make Ad"-window.
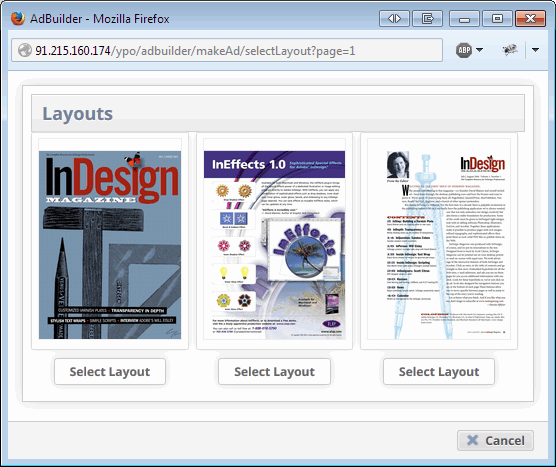
Clicking the "Select Layout"-button will open a modal window with a list of available page layouts. Then the user can click on the thumbnail or the "Select Layout"-button below the thumbnail, the window will close and the layout will be applied to the page.
So if a 4-page XML-template is uploaded and the admin set the "# of Pages" to "2", the user will be able to apply the layout of any of the 4 pages to the 2 pages on the final ad.
Any previously text entered for this particular page in the Make Ad-window will be reset to default text from the XML-file.
Adjusting the size of the output PDF document
If the corresponding option is enabled in the Template Editor, you will be able to customize the size of your output PDF document. To define the size of the document:
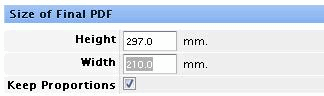
Under Size of Final PDF, specify the required dimensions in the Height and Width boxes.
Unless the template is configured to do this automatically, you will be able to choose whether or not the original proportions of your Ad should be kept after the resizing. If you want to preserve the original proportions, select the Keep Proportions checkbox.
If the values that you specify do not fit in the preset range of valid values, the system will prompt you to adjust your parameters to make them valid.
Adding text and images
Text and Picture Elements are represented in the Ad Editor by text and picture boxes respectively, into which you insert the necessary text and images.
Text Element
There may be three ways to add text to a Text Element, depending on how the element is configured:
If there are no predefined values assigned to the element, just type the text that you need in the text box provided
If the element is configured to provide you with a list of text values to choose from, select the text that you need from the drop-down list
If you have Rich Text Editor enabled, click the “Pencil” icon to open the window for entering the text
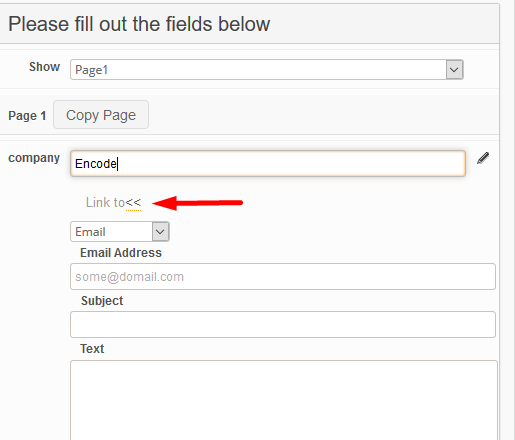
Text Element as a Hyperlink
If the Enable links feature is enabled for the Text Element in the Template, it is possible to add a link to this Text Element: web link or mailto link. The link will be embedded in the result PDF.
Picture Element
With Picture Elements, you have to select an image from the set of images assigned to the field in question. Sometimes an image will be already preselected for the field. In that case you can still select a different picture for your field if there are other images assigned to it.
To insert an image in the Picture Field, follow these steps:
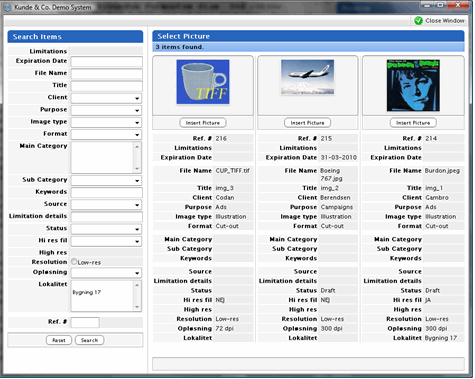
Click on the Picture box on the page.
In the dialog box that opens, search for assigned pictures using the Search Menu on the left.
To select a particular image from those returned for your search, click Insert Picture under it.
Generating a PDF file
The changes that you make to the Ad you are editing will not take effect until you generate a PDF document from the modified template. To generate a PDF, click the corresponding button on the toolbar. The spinning wheel will appear indicating the process of PDF generation, in the meanwhile the toolbar and the left pane of the Make Ad window will be locked. The newly generated document will then be displayed in the Preview pane.
Export Text from the PDF (decommissioned in version 14.0.0)
If configured in AdBuilder settings, the Export text button will let you to export text from all text elements of the PDF template (including text elements configured to extract text from the other module).
Clicking the Export Text button will extract the text from all text elements into an HTML file. The exported text is correspondingly allocated according to pages.
Note that text from hidden fields will also be exported.
Saving the PDF to a linked module
To save the PDF to a module configured to be the "Saved PDFs" module in your AdBuilder system, follow these steps:
On the toolbar, click the button configured for this purpose.
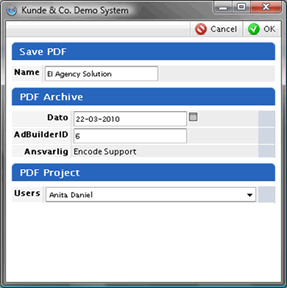
In the dialog box that opens, type in a name for the Ad you are saving and specify any other data you may be prompted to enter.
Note! If apart from the Module, the AdBuilder is configured to additionally save your Ads to an additional (Project) module mapped as "Show in Module" in AdBuilder configuration, you may be prompted to enter some data relating to the item in that module that the Ad is being saved to.
Click OK to save the Ad to the linked module(s).
Editing PDF in the linked module
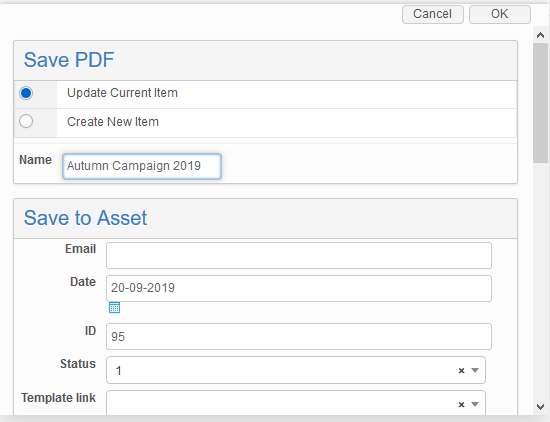
It is possible to open and edit PDF in the module it was saved to. When entering the saved item there is a button Edit available which opens the standard AdBuilder screen, so the user could make changes and save. When saving PDF after editing there are 2 options:
Update Current Item — changes will overwrite the current item including the XML template, and regenerate PDF.
Create New Item — the changes will be saved to the new item in the "Saved PDFs" module.
Sending the final PDF to an Insertion module
To save your PDF to Insertion module, follow these steps:
On the toolbar, click the button configured for sending Ads to the Insertion module.
If prompted, specify a name for the file you are saving in the dialog box that opens, and then click OK.
If proper action is configured for Insertion module, an email with a link to PDF will be sent to defined users.
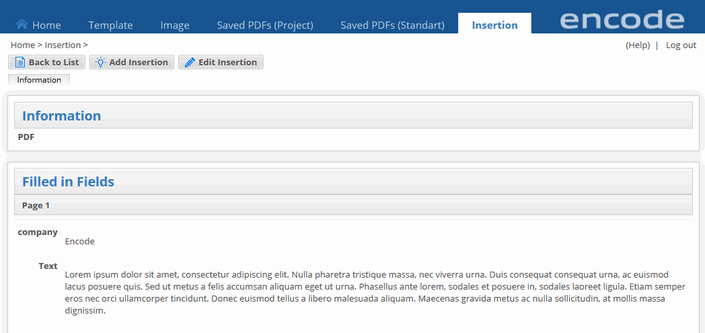
Go to Insertion module and click on the name of new item created.
Text information used in Ad can be observed on Information tab in section Filled in Fields.