Overview
Timeline 2.0 View - in comparison to Timeline View - allows for a more advanced visualisation of key dates while visualising their interdependencies. This view is excellent for managing complex projects where understanding relationships and sequencing is critical to delivery.
Understanding Timeline 2.0 View
Once configured, the Timeline 2.0 View will be selectable in the Module View Selector.
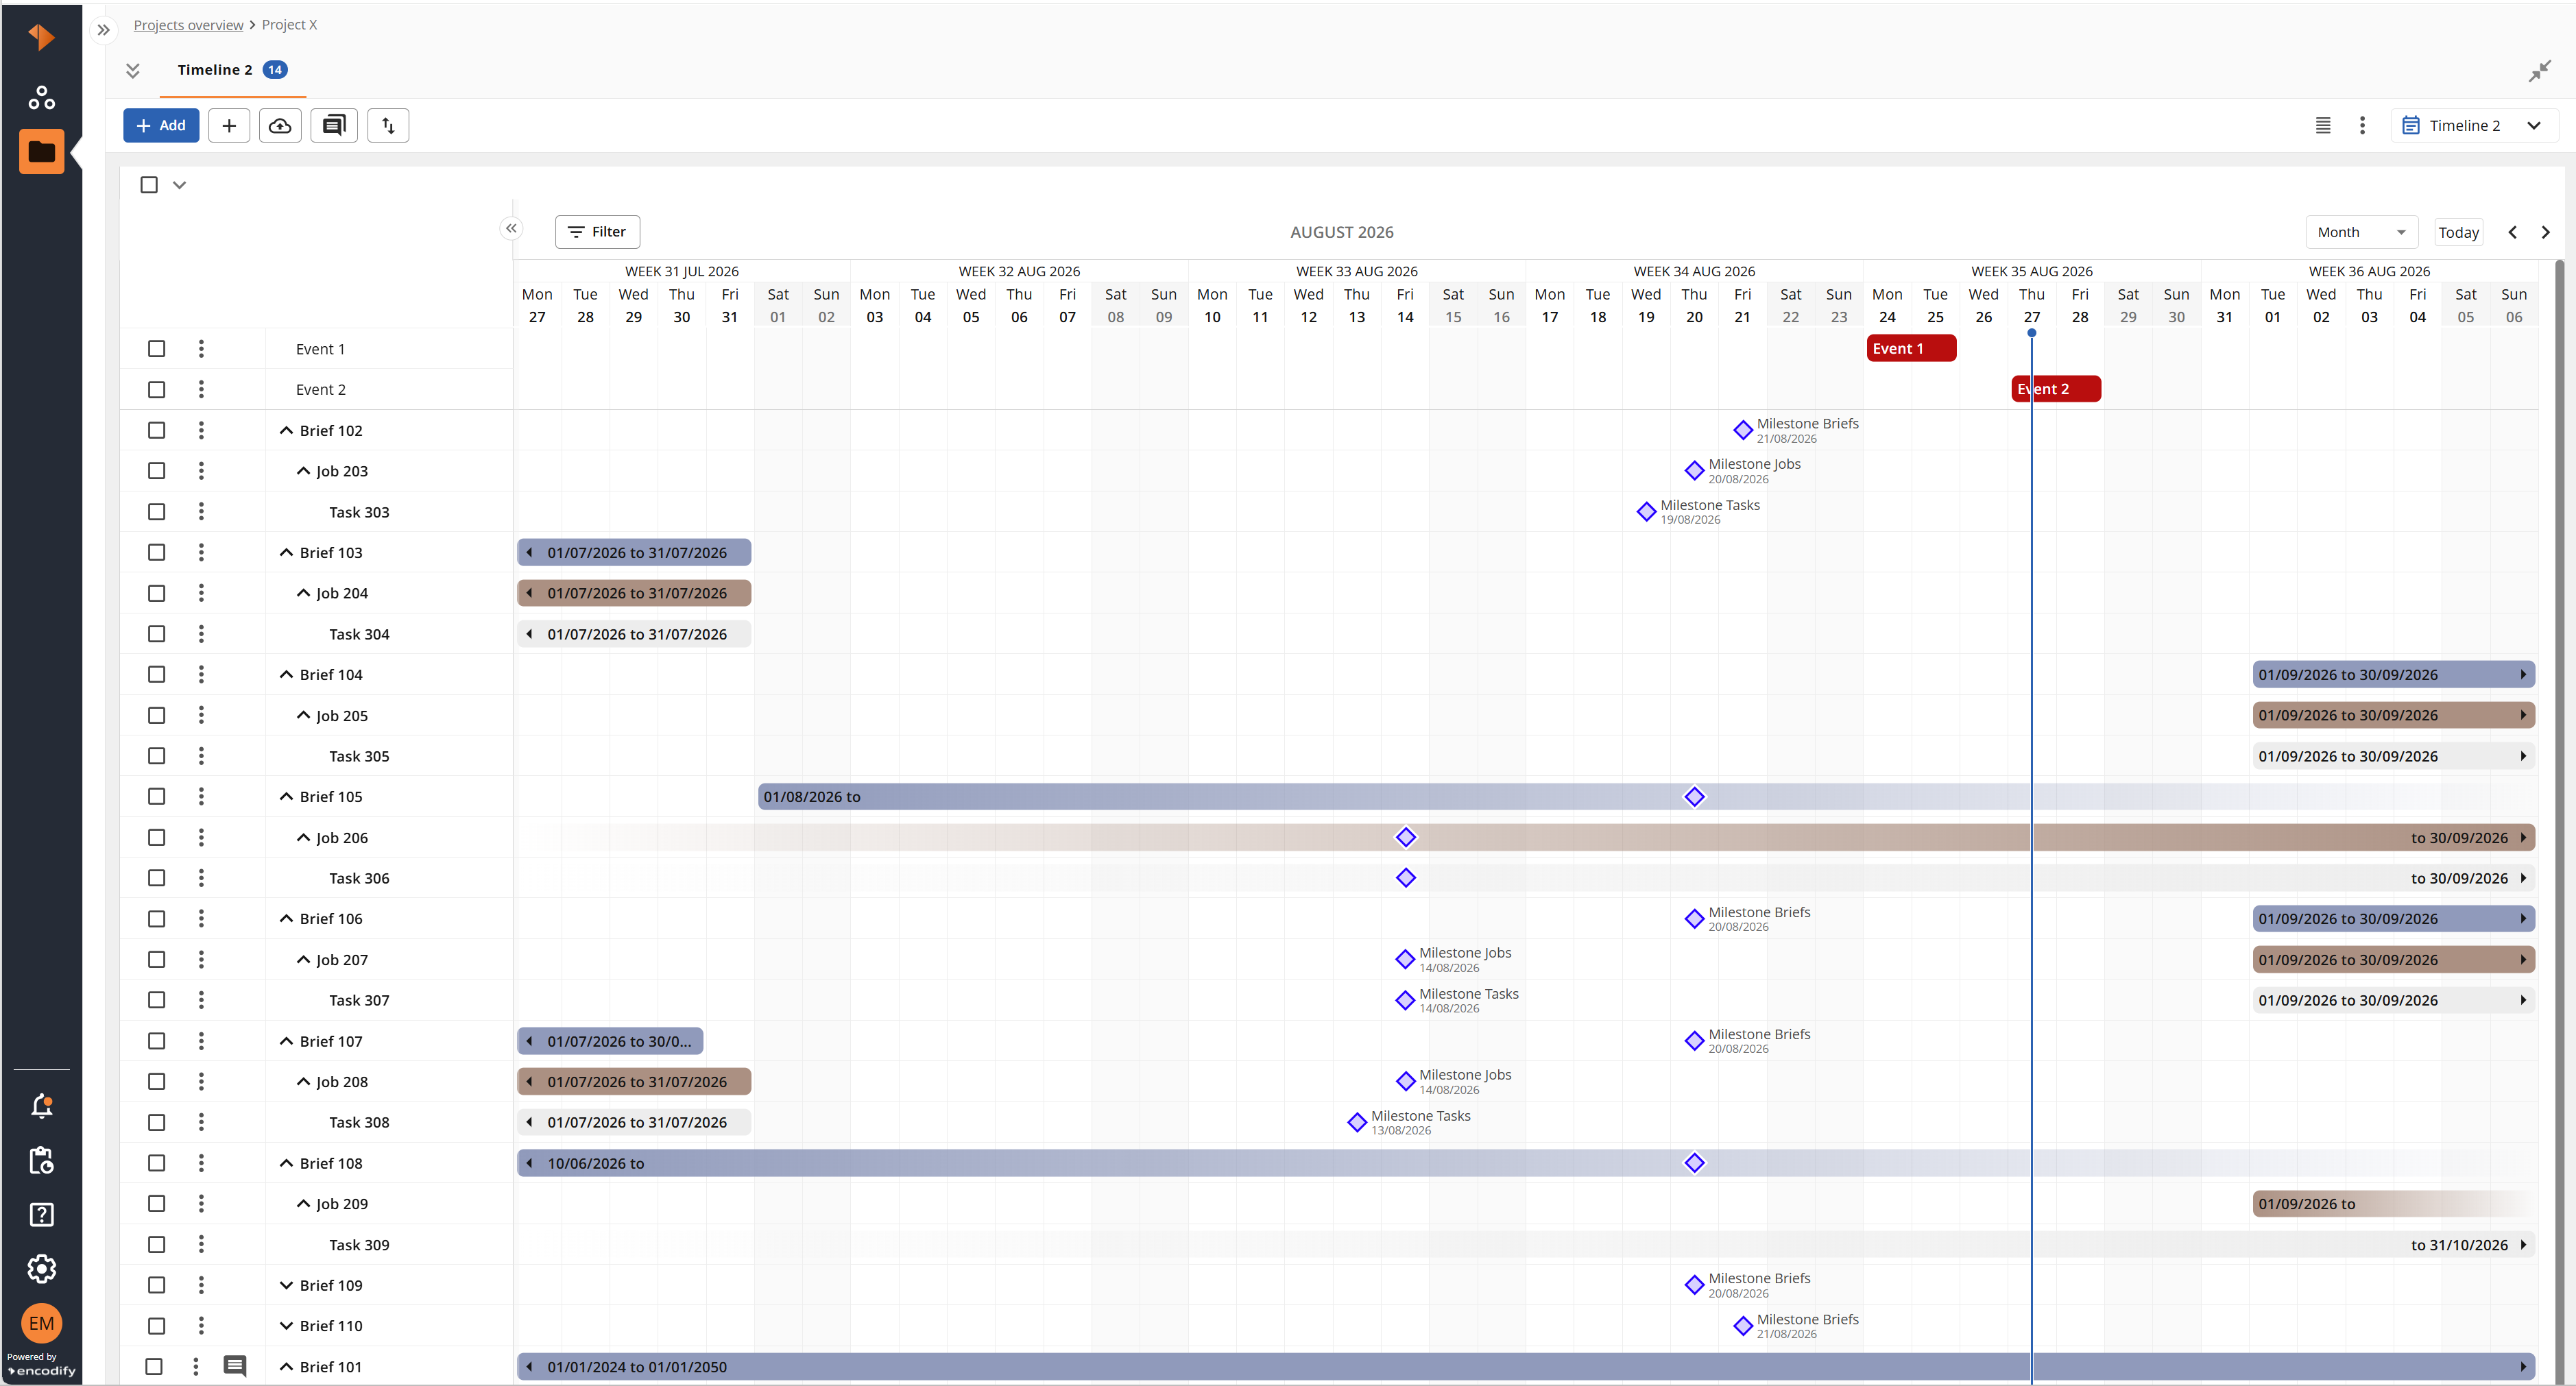
The table below provides a quick overview of Timeline 2.0 View:
Action | Visual Guide |
The Module View Selector allows you to switch between all configured views within a specific module.
| .png)
|
Add a new item to a specific module
| .png)
|
Add a new Event (see more details within Events App)
| .png)
|
The Bulk File Uploader provides a quick and efficient way to upload multiple files that share the same metadata.
| .png)
|
Export the data from a specific module in Excel, HTML or CSV format.
| .png)
|
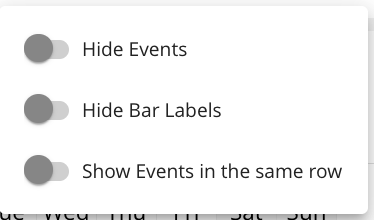
Clicking the actions menu from a toolbar allows you to perform the following actions to tailor your view: Hide Events – When enabled, this will remove the events from being displayed on the timeline Hide Bar Labels – When enabled, this will remove the bar labels from being displayed Show Events in the same row - When enabled, this will ensure that all events are condensed to a single row, if space allows
| 
|
Adjust the Row Height. Options include short, medium and tall. A user’s preference will be remembered for the next time they access that view.
Note: When Preview Media Files is enabled, the Short and Medium options will utilise the Media File Holder for Search Result as List defined within Module Settings. For the option Tall, we utilise the Media File Holder for Search Result option.
| .png)
|
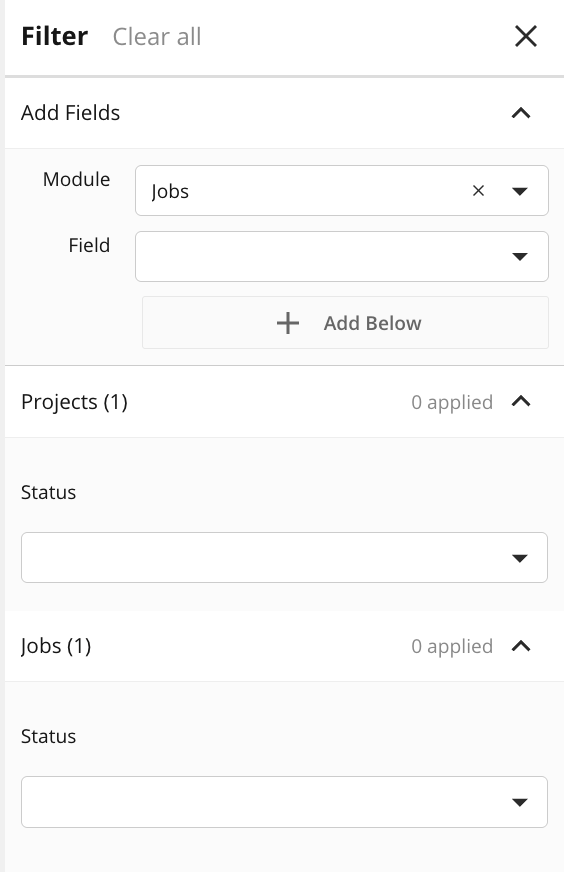
The Filters panel allows you to define specific search criteria across the data model to narrow down results and quickly find relevant items.
| 
|
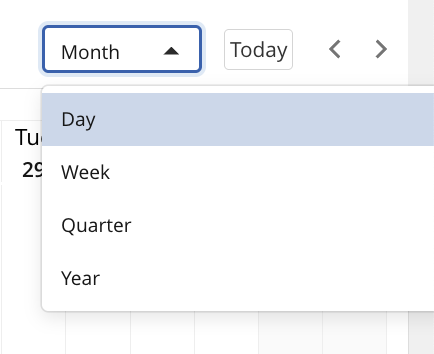
Adjust the view to display the timeline by Day, Week, Month, Quarter, or Year, depending on the level of detail you need.
| 
|
Navigate directly to Today
| 
|
Navigate between the previous and next time period
| 
|
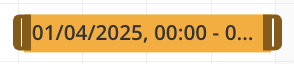
You can adjust the start and end dates of a timeline bar by dragging its handles or moving the entire bar.
| 
|
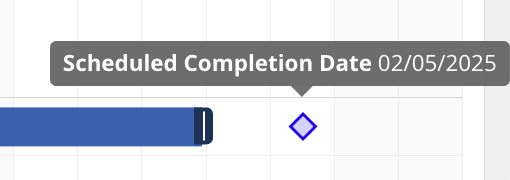
Key milestones are highlighted using a diamond-shaped icon.
| 
|
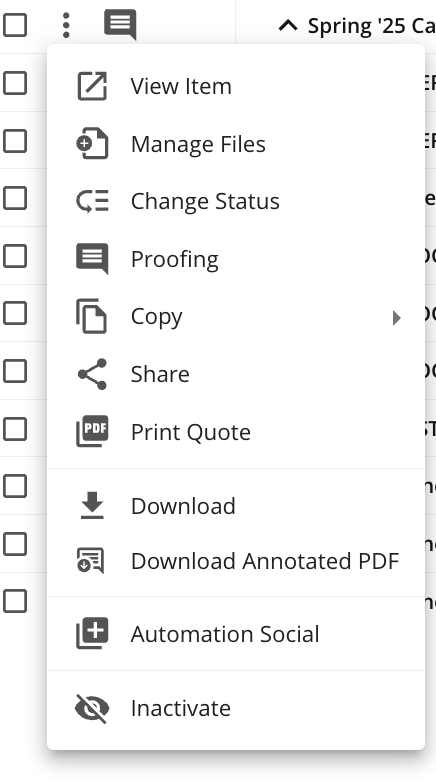
The actions menu, located at the beginning of each row, provides access to a range of additional features—including changing status, copying the item, launching online proofing, and more.
| 
|
Launch Online Proofing for the specific item
| 
|
Known Behaviour
An item is included in the currently selected period if either the start and end dates of its timeline bar overlap the period, or its Milestone date falls within the period - an item can therefore be shown by its Milestone alone, even when the bar's start and end dates are outside the period or not set on the item.
Month view always displays the trailing day(s) of the previous month and the leading day(s) of the next month alongside the full current month, so an item dated within those overflow days will appear even while you're viewing the adjacent month.
Known Limitations
Previously expanded levels are collapsed when navigating using “Next”/“Previous” in “Month”/“Quarter” view
Only text and module link fields are available for search
Added search fields and criteria can only be removed via “Clear all”
Quick search is disabled and not applied
Search by empty value and exact word is not supported
“Hide unused options” in search select boxes does not respect filter results on date fields
Export button is displayed in Timeline 2.0, but clicking it will export the whole list of items from the top-level module, no filters will be applied.
Access rights: group and status restrictions for the intermediate modules linking 2 levels are ignored. Only the displayed levels’ item access is respected.