Overview
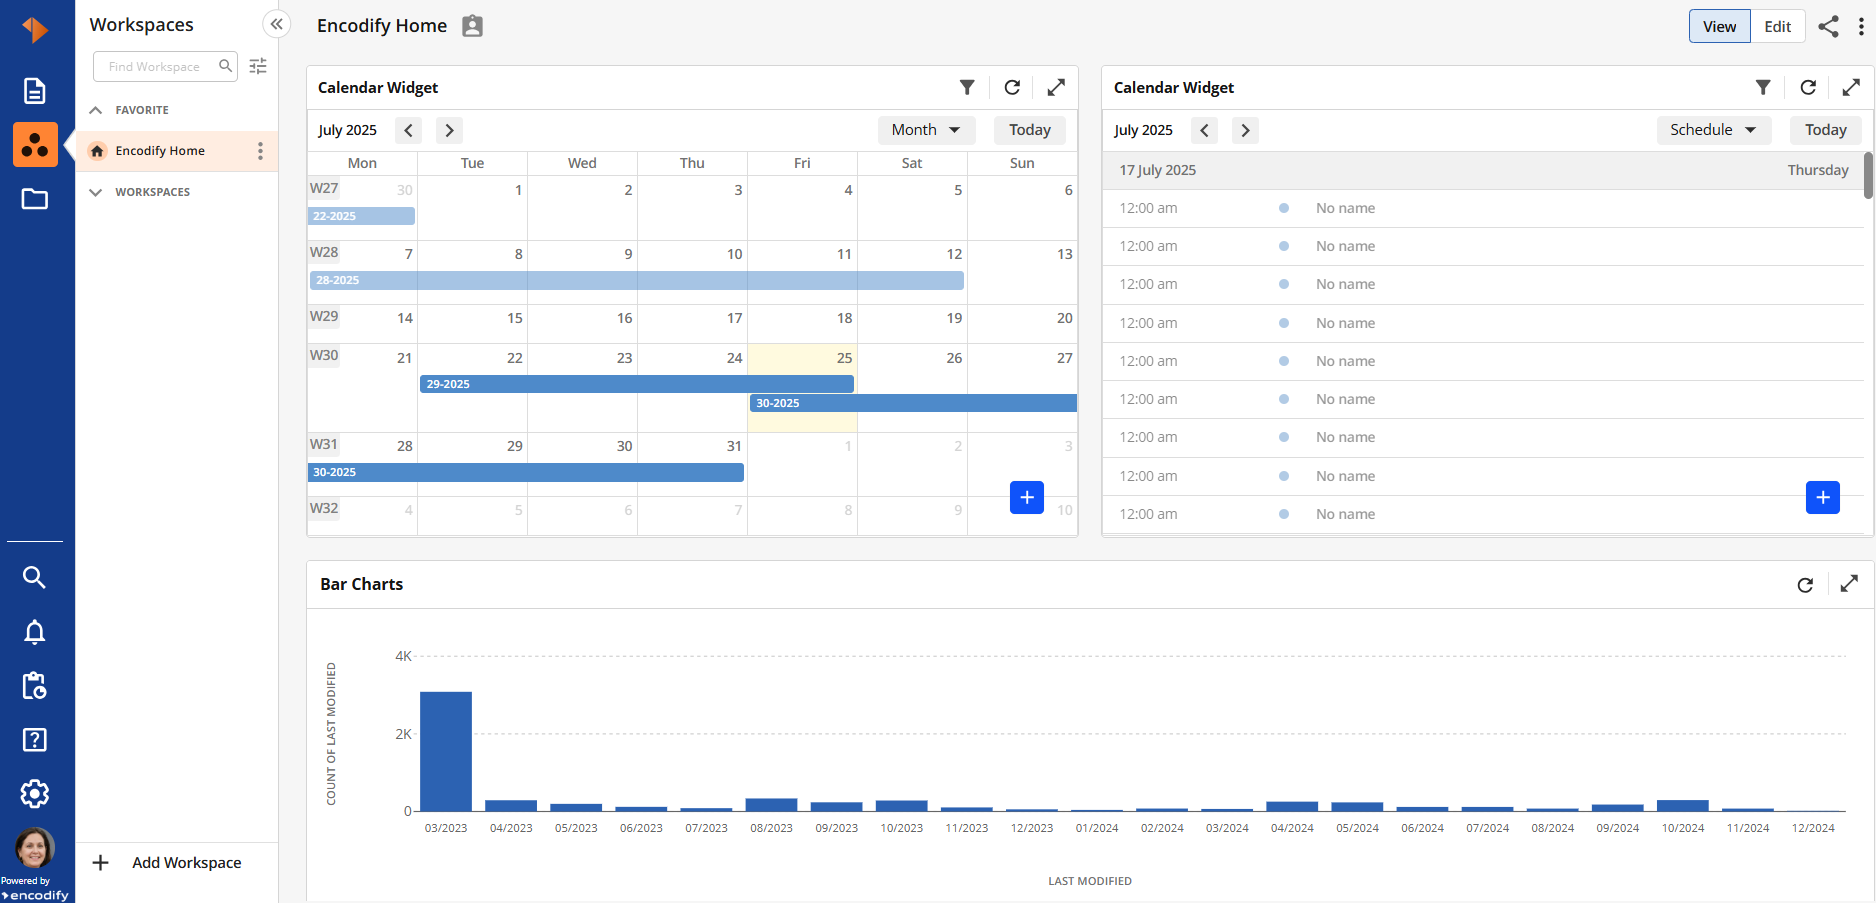
The Calendar Widget allows you to display your data in a calendar layout, making it ideal for visualising time-based elements such as deadlines, events, scheduled tasks, or milestones. It helps teams stay coordinated and aware of upcoming priorities.
Understanding Calendar Widget
Once a Calendar Widget has been configured, it will appear on the Workspace. Users with Creator, Co-owner, or Editor permissions can drag and drop the widget to reposition and resize it as needed.
The table below provides a quick overview of Calendar Widget:
Action | Visual Guide |
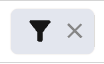
The Filters panel allows you to define specific search criteria to narrow down results and quickly find relevant items. Filters specified within the widget configuration are respected as the primary level of filtering. Any additional filters applied by the user within the widget itself serve only to narrow down the available data, without altering the original filter settings. You can apply one or multiple filters based on fields such as status, date, user, or custom metadata, helping you refine your view with precision.
| 
|
Maximise the widget to occupy the full height and width of the workspace. You can Restore it to its previous size at any time.
| 
|
Navigate to the Next or Previous date period.
| 
|
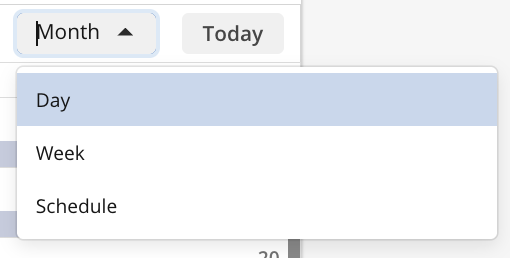
Adjust the view to display the timeline by Day, Week, Month, or Schedule, depending on the level of detail you need.
| 
|
Navigate directly to Today
| 
|
Add a new item to a specific module. To add items to the calendar, the following conditions must be met: You must have access to the module. Edit access to the Start Date field is required. Edit access to the End Date field is also required, if it has been configured.
| 
|
You can adjust the start and end dates of a timeline bar by dragging its handles or by moving the entire bar. To open the item in a modal, simply left-click on the selected bar.
| 
|
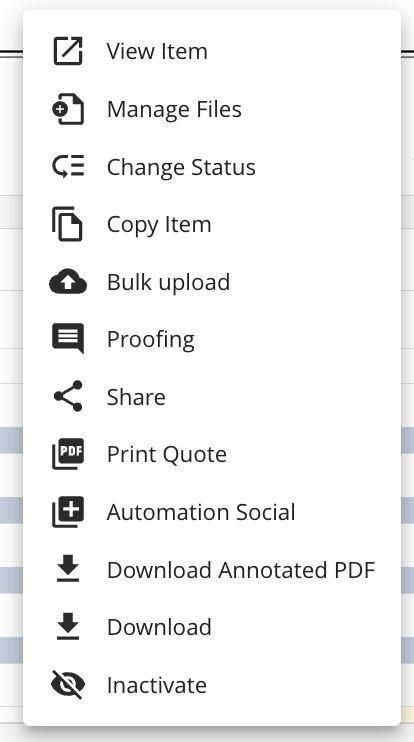
The actions menu can be accessed by right-clicking on the timeline bar. It provides access to a range of additional features, including changing the status, copying the item, launching online proofing, and more.
| 
|
Refresh the widget to load the latest data. During data retrieval (manual or automatic), the refresh button is disabled to avoid duplicate requests. It will be re-enabled once loading is complete. Note: Configuration changes require a full page reload, and the “last updated” timestamp is not updated when data is refreshed via configuration changes or item edits within the widget.
| 
|