It is convenient to have a centralized storage of data that is meant to be used in different modules throughout the site. This helps you ensure the consistency in data as well as avoid the necessity of entering the same information multiple times.
Titles, Divisions, Regions, Sub Regions and Countries are created and edited in two module-independent configuration sections. The data that you specify here becomes available as field content in the modules that support the use of fields. In practice this means that if you select Countries as Field Content for a select-type field you are creating, the Countries that you have previously created under Site Configuration >Regions >Countries become available as the field values.
The same data is available for selection when editing a user account (see the Site Information tab of the Create/Edit User dialog box).This means that any user can be assigned to a Division, Region, Sub Region or Country, and you can also specify a user’s Title (which is a job title).
Note: It is not possible to edit values for the field contents Titles, Countries, Regions, Sub Region, Divisions.
Titles
Location: Site Configuration > User Settings > Titles
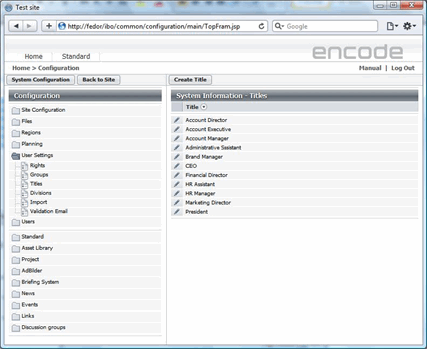
Fig.1.: Titles Configuration Page
To create a Title, follow these steps:
On the toolbar, click Create Title.
In the dialog box that opens, type the name of the title in the Name box and click OK.
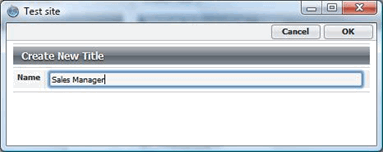
Fig.2.: Create new title
To edit a Title:
Click the Edit icon next to the title that you want to edit.
Make your changes to the title in the dialog box that opens, and click OK to save the changes.
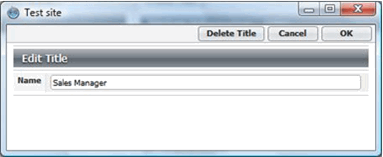
Fig.3.: Edit title
To delete a Title:
Click the Edit icon next to the title that you want to delete.
In the dialog box that opens, click Delete on the toolbar.
Divisions
Location: Site Configuration >User Settings >Divisions
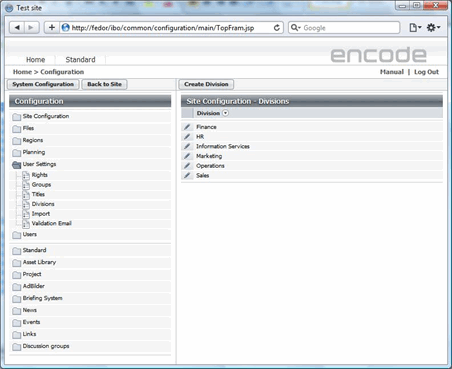
Fig.4.: Divisions Configuration Page
To create a Division, follow these steps:
On the toolbar, click Create Division.
In the dialog box that opens, type the name of the division in the Name box.
Click OK to save the new division.
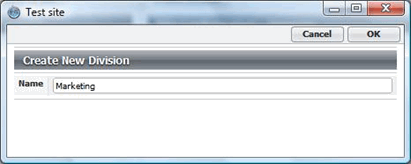
Fig.5.: Create new division
To edit a Division:
Click the Edit icon next to the division that you want to edit.
Make your changes to the division in the dialog box that opens, and click OK to save the changes.
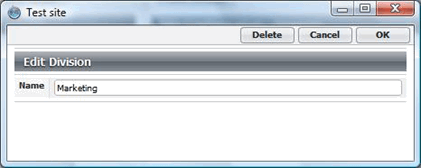
Fig.6.: Edit a division
To delete a Division:
Click the Edit icon next to the division that you want to delete.
In the dialog box that opens, click Delete on the toolbar.
Regions
Location: Site Configuration > Regions > Regions
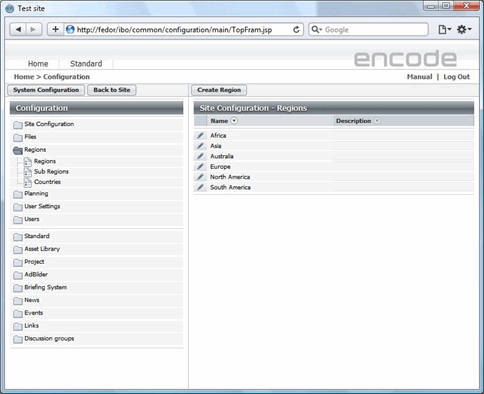
Fig.7.: Regions Configuration page
To create a Region, follow these steps:
On the toolbar, click Create Region.
In the dialog box that opens, type the name of the region in the Name box.
Provide the description of the region in the Description box (this is optional), and click OK.
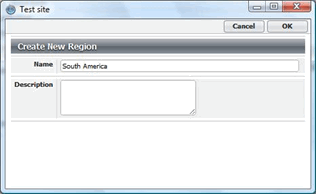
Fig.8.: Create a new region
To edit a Region:
Click the Edit icon next to the region that you want to edit.
Make your changes to the region in the dialog box that opens, and click OK to save the changes.
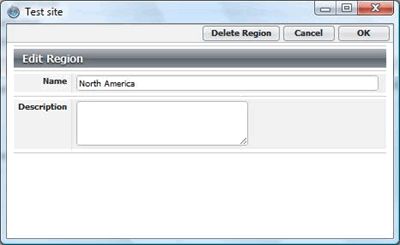
Fig.9.: Edit a region
To delete a Region:
Click the Edit icon next to the region that you want to delete.
In the dialog box that opens, click Delete on the toolbar.
Sub Regions
Location: Site Configuration > Regions > Sub Regions
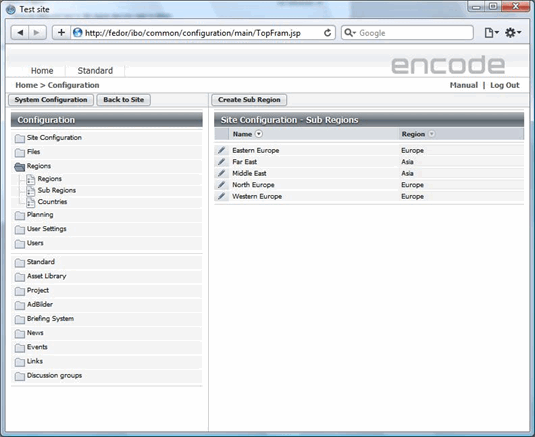
Fig.10.: Sub Region Configuration page
To create a Sub Region, follow these steps:
On the toolbar, click Create Sub Region.
In the dialog box that opens, type the name of the sub region in the Name box.
Whatever regions have been created on the site will be listed in the Region box. To include the sub region into a particular region, select the latter in the list.
Click OK to save the new sub region.
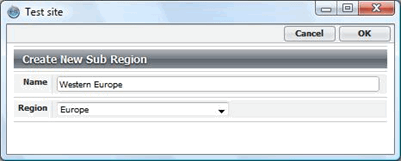
Fig.11.: Create a Sub region
To edit a Sub Region:
Click the Edit icon next to the sub region that you want to edit.
Make your changes to the sub region in the dialog box that opens, and click OK to save the changes.

Fig.12.: Edit a Sub region
To delete a Sub Region:
Click the Edit icon next to the sub region that you want to delete.
In the dialog box that opens, click Delete on the toolbar.
Countries
Location: Site Configuration > Regions > Countries
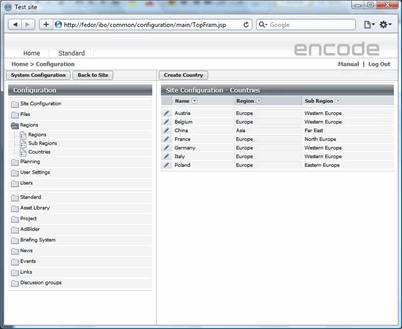
Fig.13.: Countries configuration page
To create a Country, follow these steps:
On the toolbar, click Create Country.
In the dialog box that opens, type the name of the country in the Name box.
Whichever regions and sub regions have been created on the site will be listed in the Region and Sub Region boxes respectively. To assign the country to a particular region and / or sub region, select them in the respective lists.
Click OK to save the country.
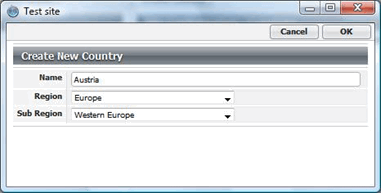
Fig.14.: Create a country
To edit a Country:
Click the Edit icon next to the Country that you want to edit.
Make your changes to the country in the dialog box that opens, and click OK to save the changes.

Fig.15.: Edit a country
To delete a Country:
Click the Edit icon next to the Country that you want to delete.
In the dialog box that opens, click Delete on the toolbar.