Overview
This article provides step-by-step guidance on how to configure Microsoft Active Directory Federation Services (AD FS) for Encodify using OpenID Connect (OIDC).
Configuring OpenID Connect for Encodify via Microsoft AD FS (On-Premise)
Step 1: Start IdP Configuration in Encodify
Navigate to: Site Configuration → Identity Providers and Users → Identity Providers.
Click Add New IdP.
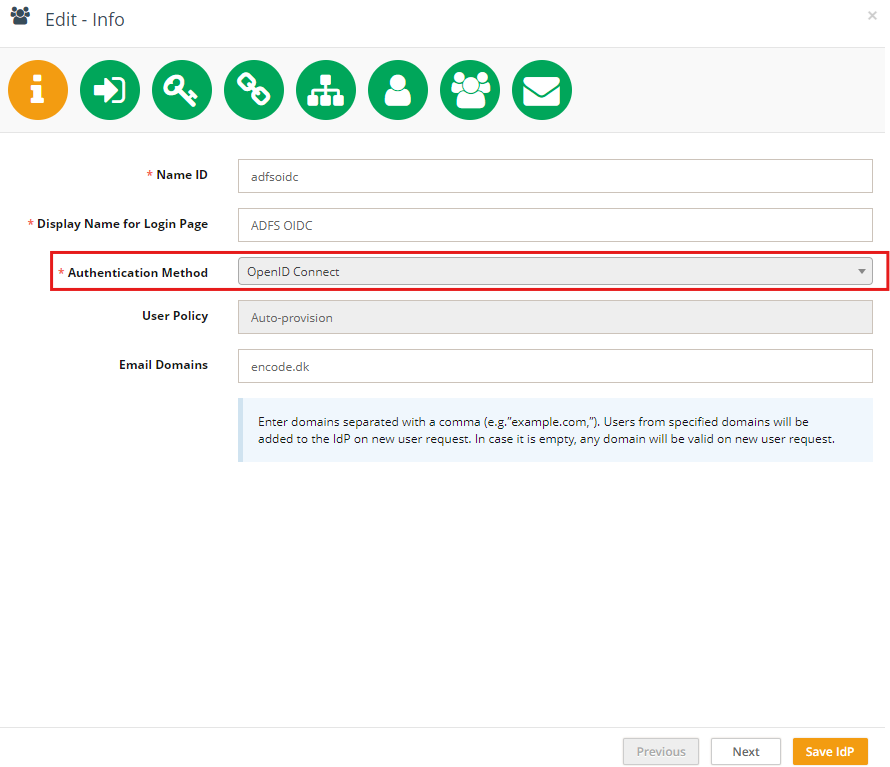
Fill in the fields as follows:
Name ID: Use only English letters without spaces. This will be part of the URL.
Display Name for Login Page: This will be shown on the login button.
Authentication Method: Select OpenID Connect.
Email Domains (optional): Specify allowed domains (e.g.
encode.dk, microsoft.com).
Click Next to proceed to Step 2
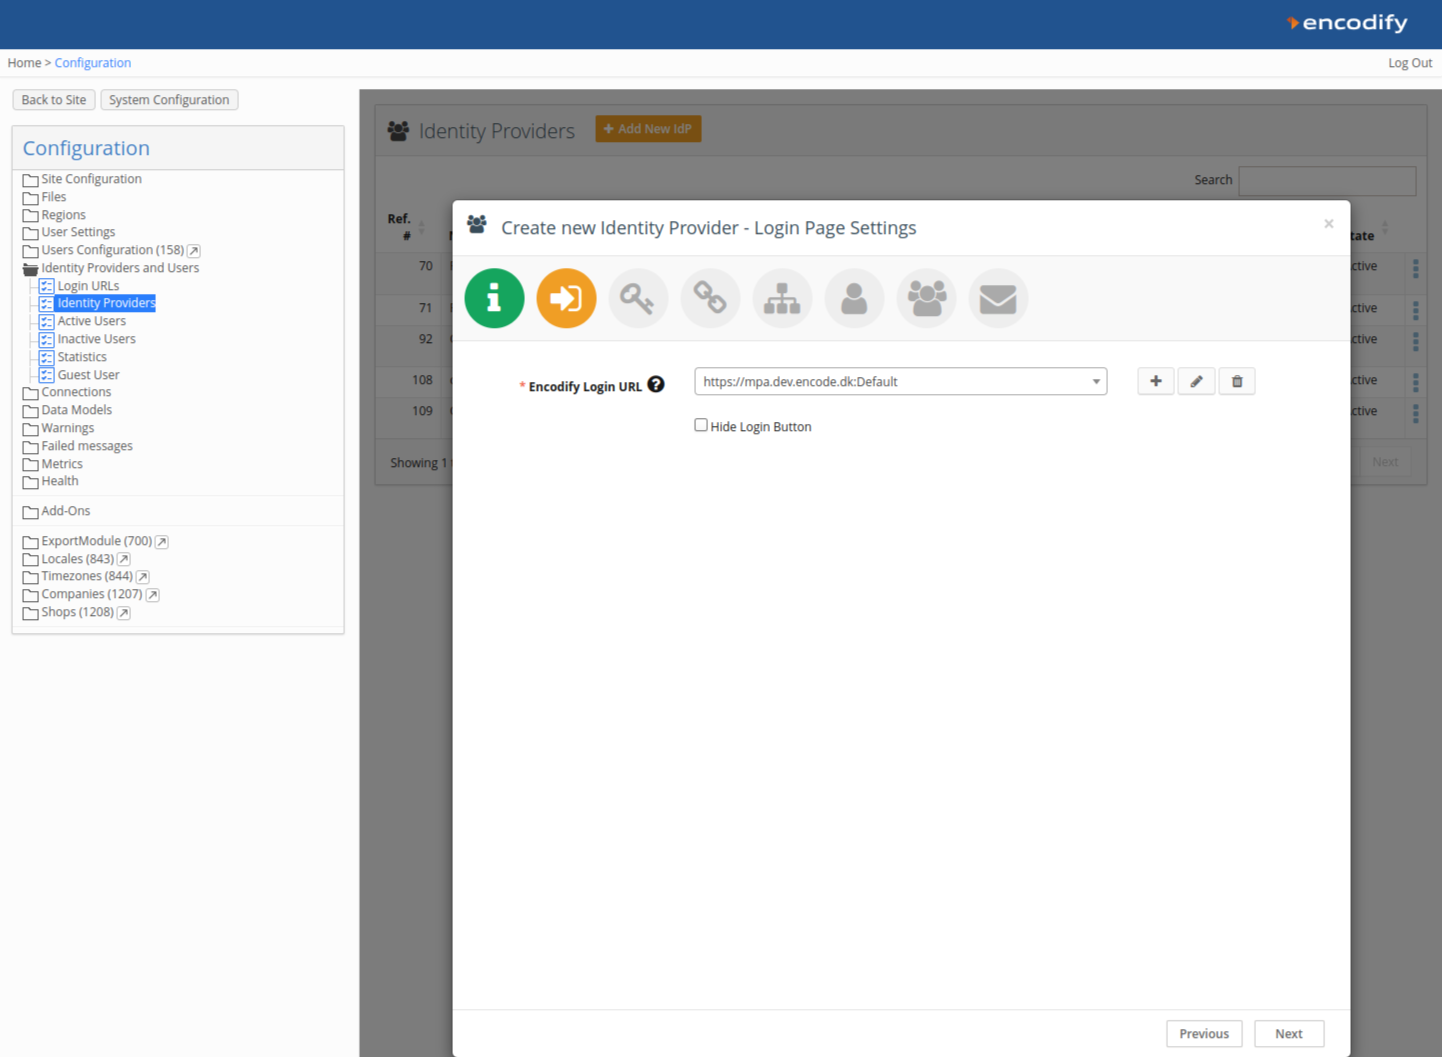
Step 2: Link to a Login URL
Link your IdP configuration to an existing Login URL and Login Page, or create new ones.
Each IdP can be linked to only one Login URL.
Click Next to proceed to Step 3.
Step 3: Copy Callback URL and Authorisation Base URL
Copy the Callback URL and the Authorisation Base URL shown in Encodify. You'll use these values when creating the server application in AD FS.
Example Callback URL:
/login/oauth2/code/adfsoidcExample Authorisation Base URL:
/oauth2/authorization/adfsoidc
Step 4: Create OAuth Credentials in Microsoft AD FS Server
Important: Minimum version supporting Open ID: Windows Server 2016.
Create a Server Application
Open the AD FS Management Console.
Create a new Application Group.
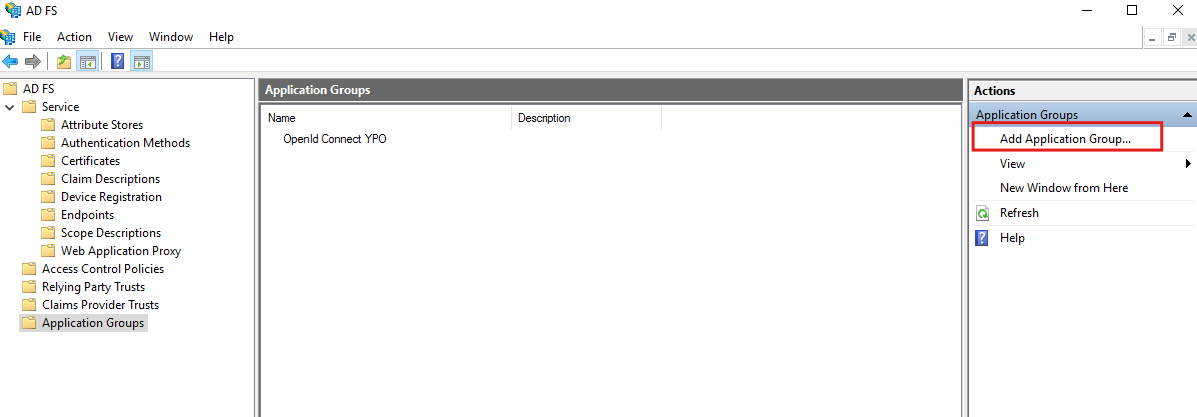
Select Server application under Standalone Applications.
Enter a name for your app integration.
Copy the Client Identifier.
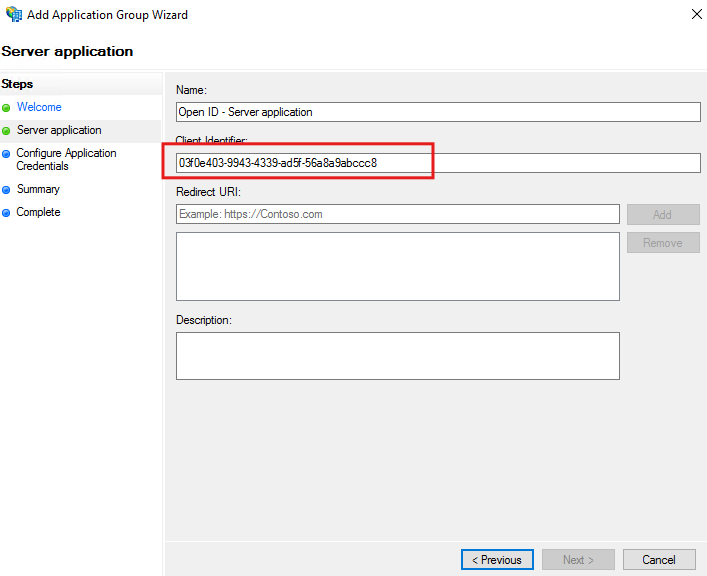
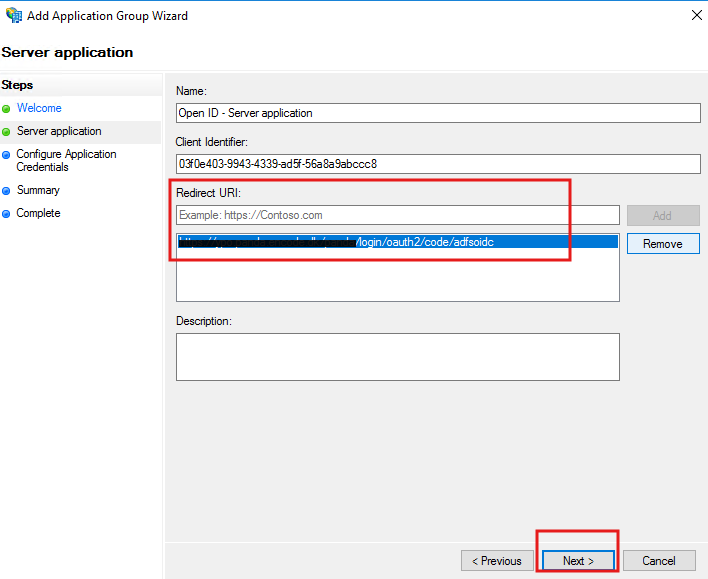
For Redirect URI, paste the Callback URL from Encodify.
Check Generate a shared secret and copy it.
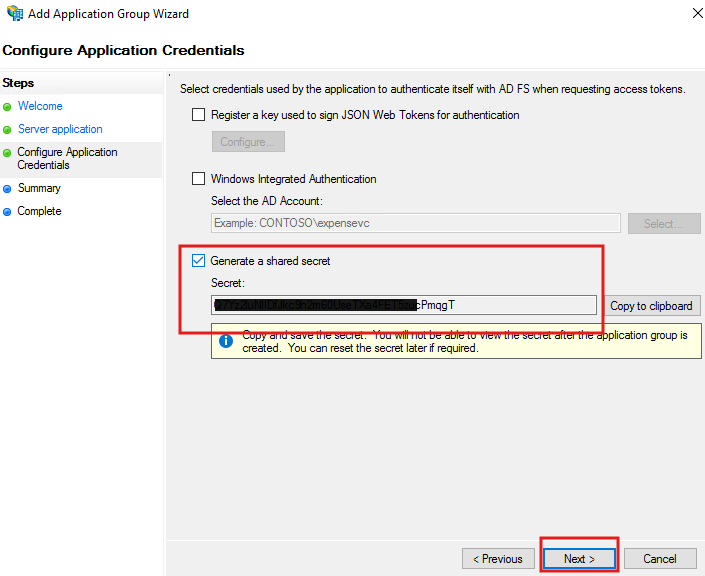
Click Next to complete setup.
Add Web API Application
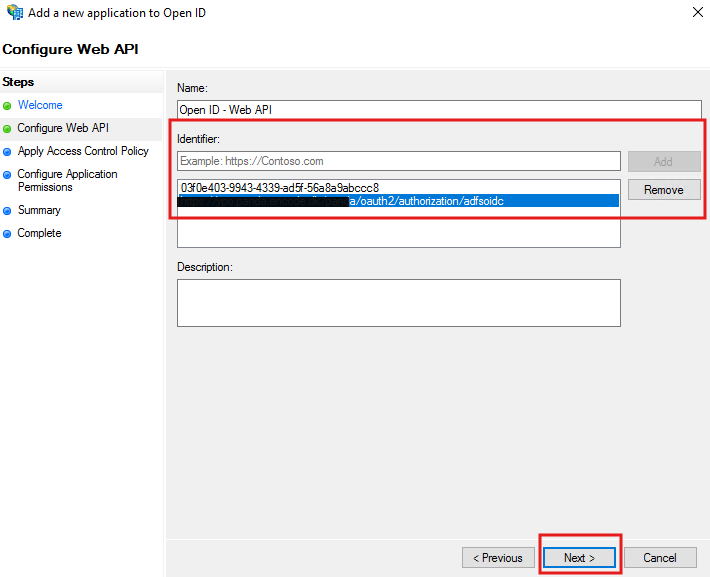
Open the created Application Group and click Add Application → Web API.
Set an identifier:
Use your AD FS Server App Client ID and any internal identifier like the Jira/Confluence base URL.
Click Next.
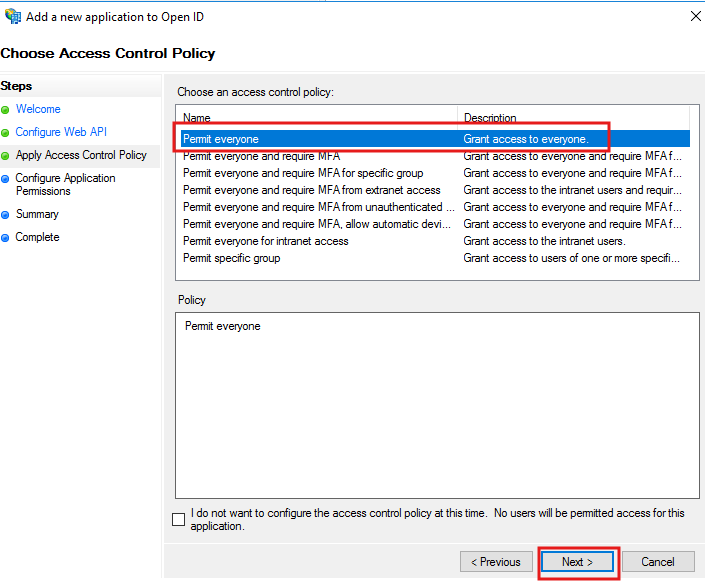
For Access Control Policy, select Permit Everyone.
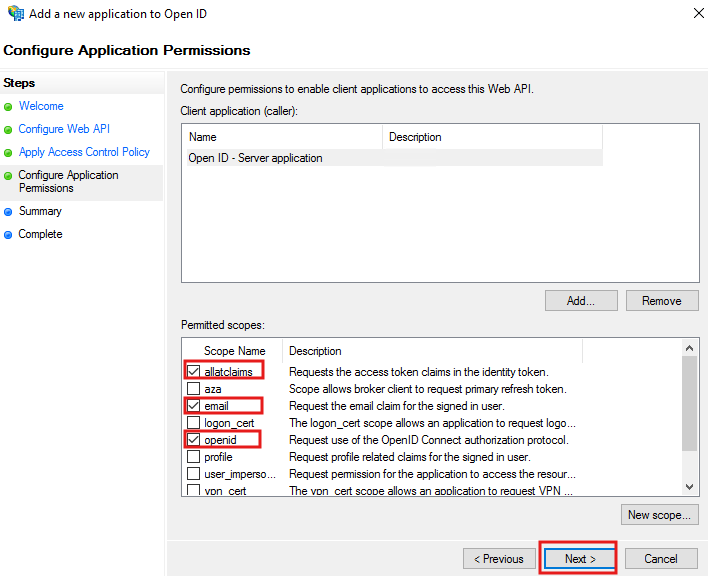
On Configure Application Permissions, select scopes:
allatclaimsemailopenid
Click Next and complete the wizard.
Set LDAP Attributes as Claims
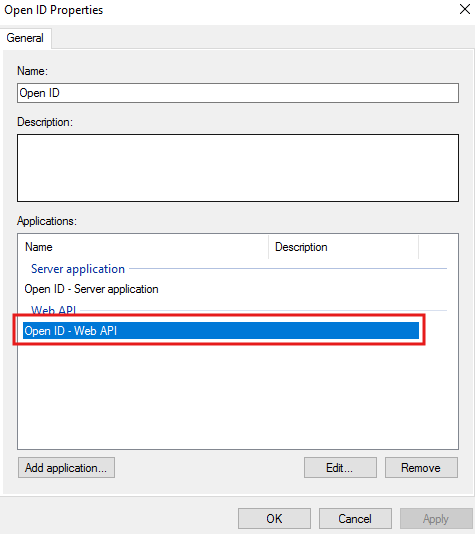
Re-open the Web API entry under your Application Group.
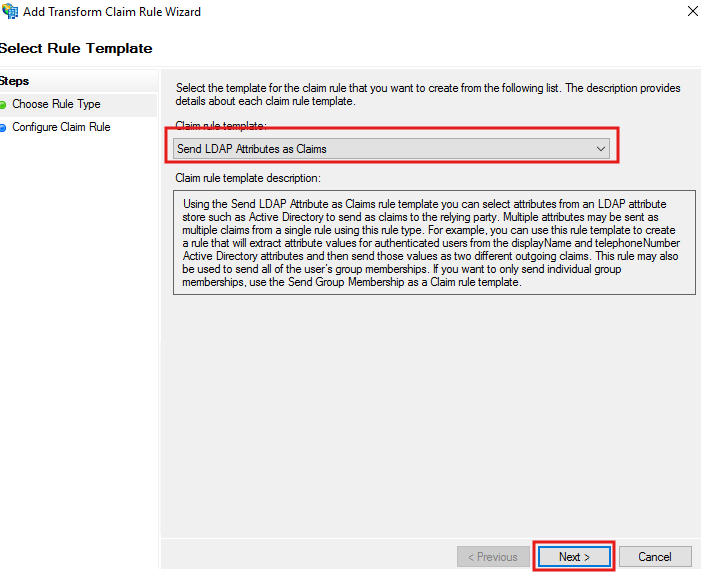
Go to Issuance Transform Rules → Add Rule.
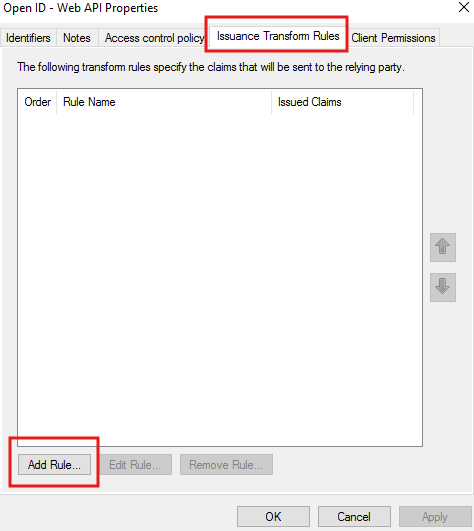
Choose Send LDAP Attributes as Claims.
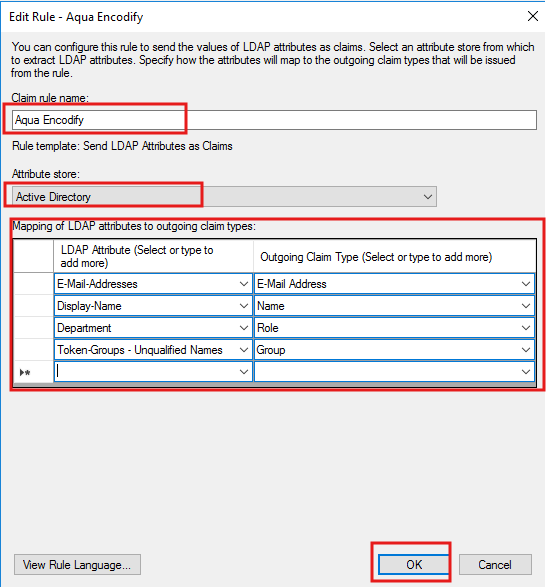
Map as follows:
LDAP Attribute | Outgoing Claim Type |
|---|---|
E-Mail-Addresses | E-Mail Address |
Display-Name | Name |
Department | Role |
Token-Groups - Unqualified Names | Group |
Finish the configuration.
Step 5: Complete IdP Configuration in Encodify
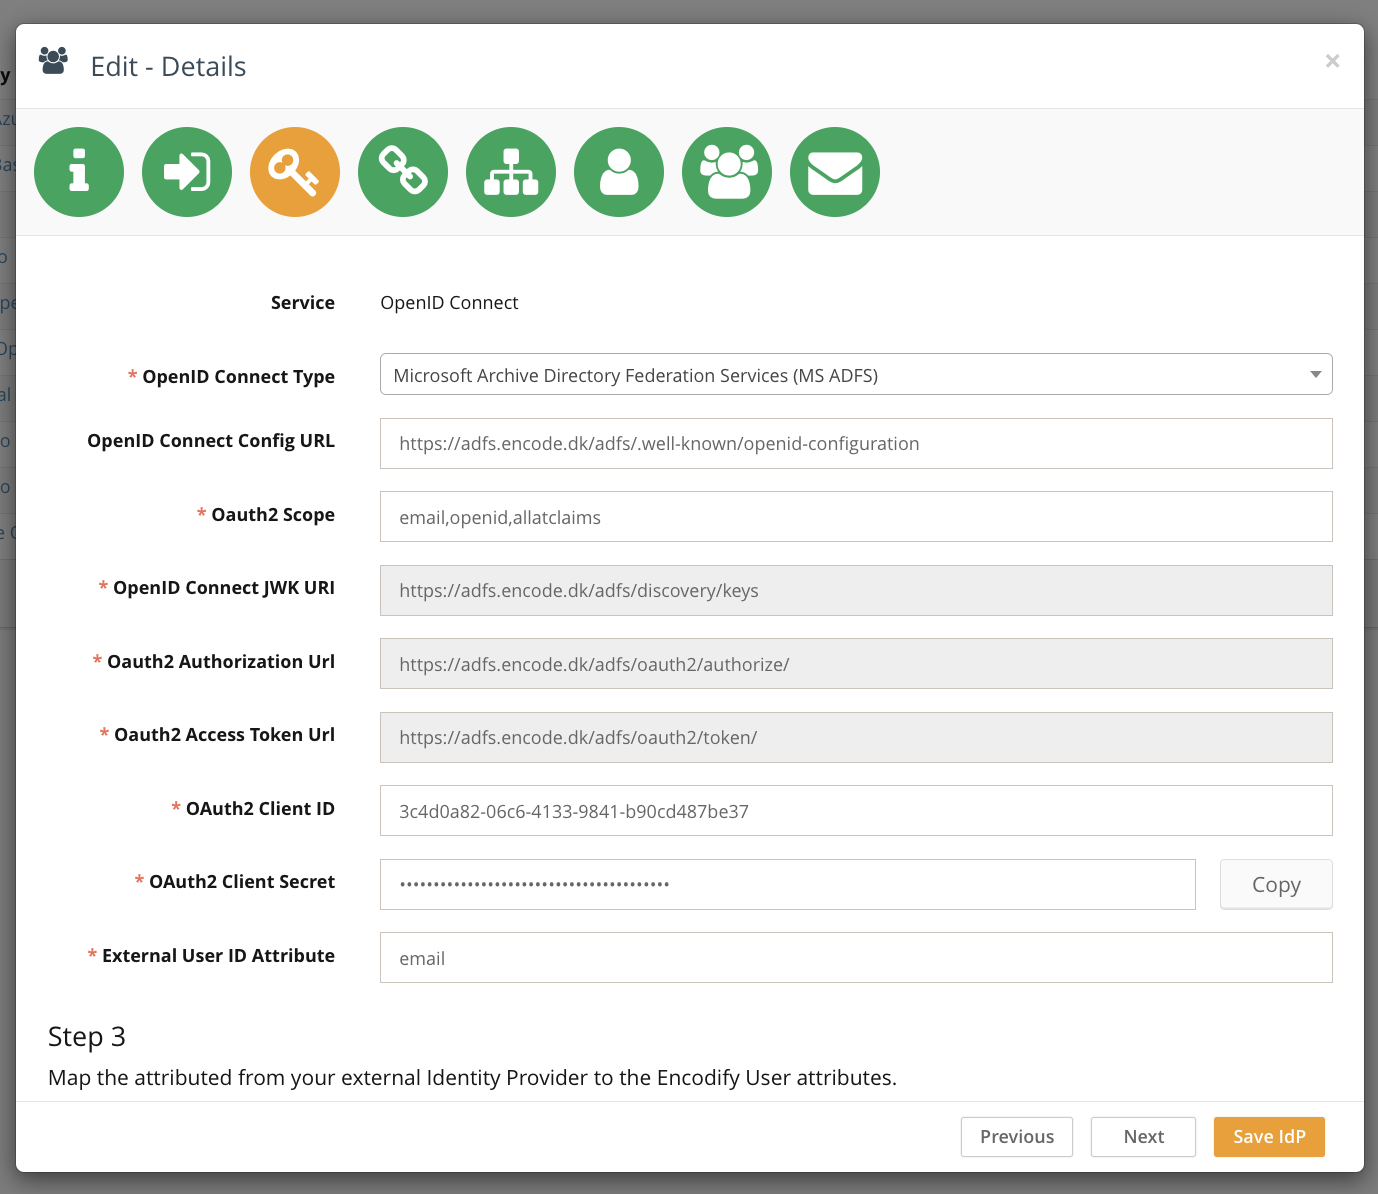
Select the OpenID Connect Type
Choose Microsoft Active Directory Federation Services (MS ADFS) from the dropdown.
Choose one of the following setup options:
Option A: Auto-fetch Configuration via URL
In the OpenID Connect Config URL field, enter:
rubyCopyEdithttps://adfs.encode.dk/adfs/.well-known/openid-configurationPress Enter. The following fields will auto-populate:
OpenID Connect JWK URI
OAuth2 Authorization URL
OAuth2 Access Token URL
Option B: Manual Configuration
Clear the OpenID Connect Config URL field.
Enter the following values manually:
Field
Value
OpenID Connect JWK URI
https://adfs.encode.dk/adfs/discovery/keysOAuth2 Authorization URL
https://adfs.encode.dk/adfs/oauth2/authorize/OAuth2 Access Token URL
https://adfs.encode.dk/adfs/oauth2/token/OAuth2 Client ID
03f0e403-9943-4339-ad5f-56a8a9abccc8OAuth2 Client Secret
Paste the shared secret from AD FS
OAuth2 Scope
email, openid, allatclaimsExternal User ID Attribute
emailMap additional attributes:
Note: AD FS claims may differ from configured claim rule names.
AD FS Token Claim | Encodify Attribute |
|---|---|
|
|
|
|
Click Next to continue with additional setup steps such as assigning access rights, default groups, etc.
Step 6: Attribute and Group Mapping (Optional)
You can optionally map token claims from Okta to:
Encodify Access Rights
User Groups
If you're not mapping from token attributes, continue with default settings.
Step 8: Default User Groups
Define default groups to assign on first login.
Click Next.
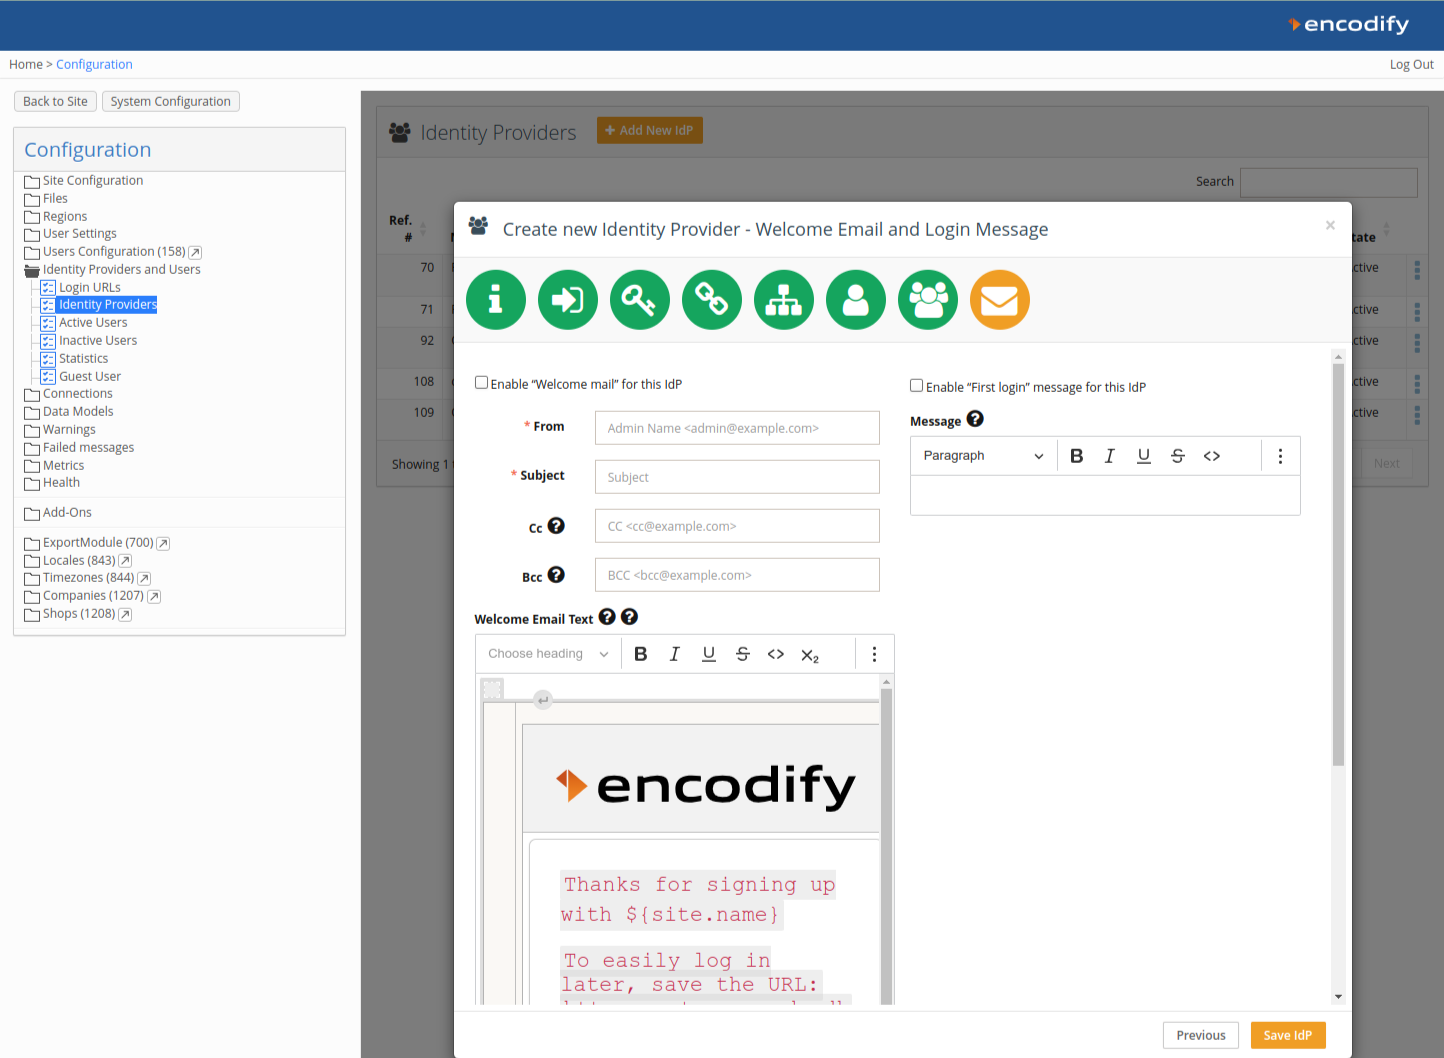
Step 9: Welcome Message & First Login Email
Optionally enable a Welcome Email and First Login Message.
Click Save IdP to complete the setup.
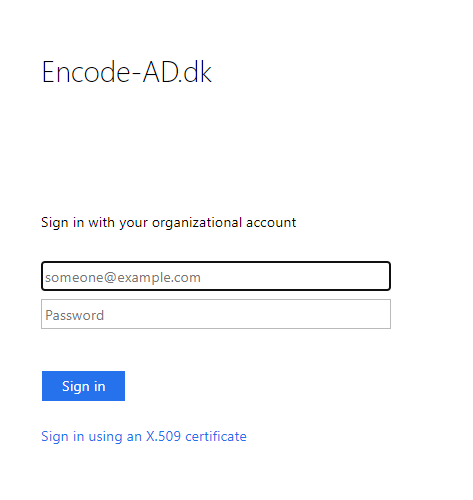
Logging In via Microsoft AD FS OIDC
If AD FS is the only authentication method linked to the Login URL, users are redirected directly. If multiple methods exist, users will see a button (e.g. Sign in with ADFS OIDC). Upon first login, users will be auto-provisioned in Encodify with configured roles and attributes.