How to create a Header Widget
To configure a Header widget, follow these steps:
Navigate to the Widget Library (see Manage Widgets for more details)
Locate Header and click on the card.
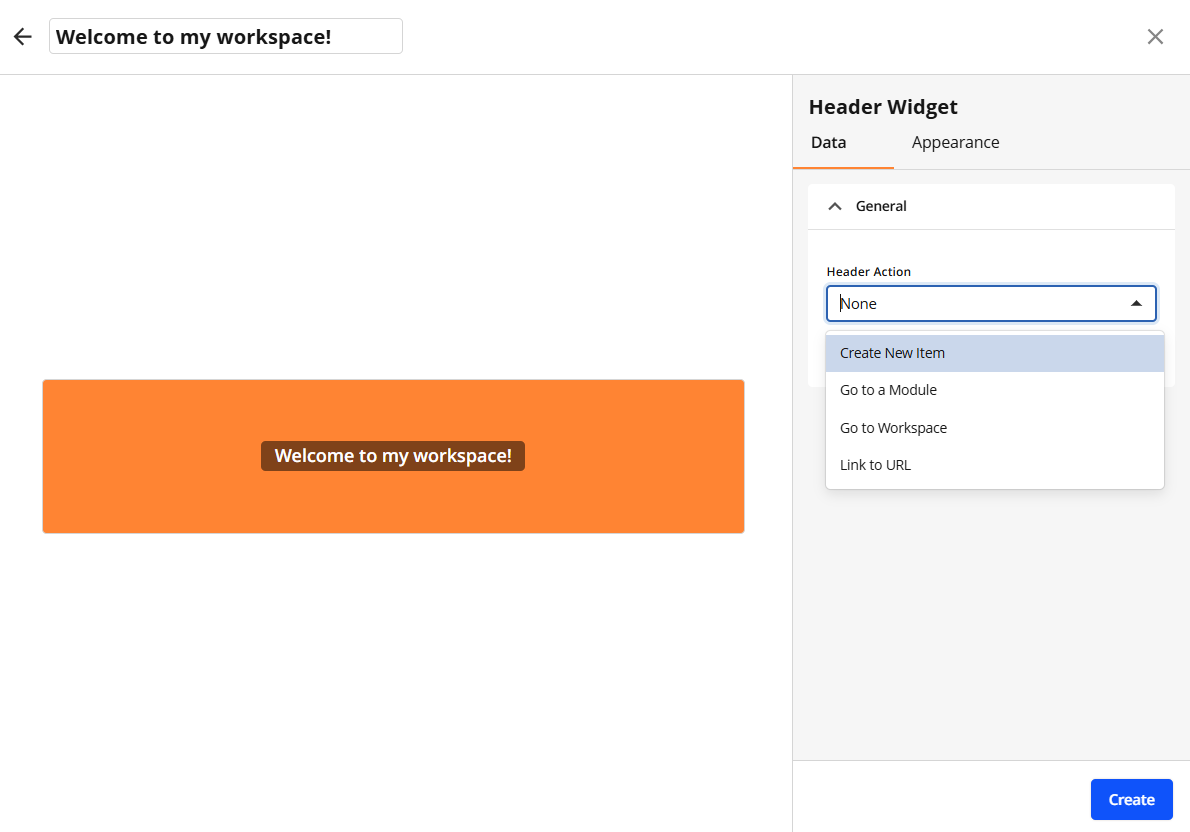
Select Header Action from the list or leave a default None value.
Define if action should be performed in the current tab or in a separate tab (Open in a New Tab).
Configure Action by filling in an action related required fields: URL, Module, Workspace.
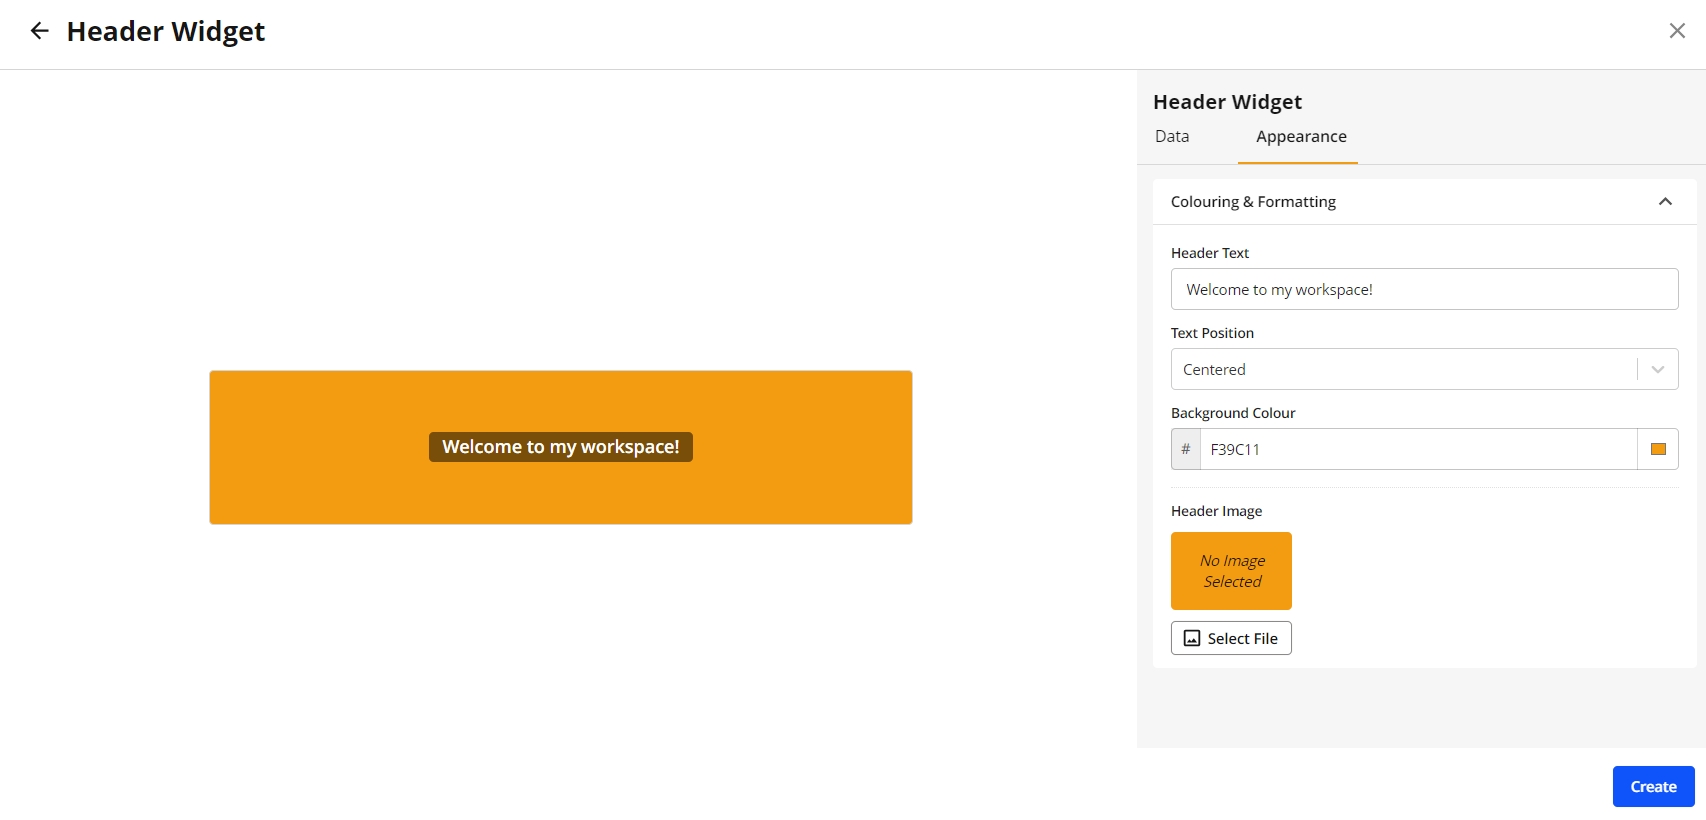
Continue to appearance configuration by clicking the Appearance tab or click Create to save with default appearance settings.
Optionally, update a Header Text and select a Text Position.
Select a Background Colour.
Upload a Header Image.
Click Create to confirm your settings and create the widget.