Overview
This guide provides clear, step-by-step instructions with screenshots from both the Encodify system and the Google Admin Console to help you configure Google Single Sign-On (SSO) using OpenID Connect.
Configuring OpenID Connect for Encodify via Google
Step 1: Create a New Identity Provider in Encodify
Navigate to Site Configuration → Identity Providers and Users → Identity Providers.
Click Add New IdP to create a new provider.
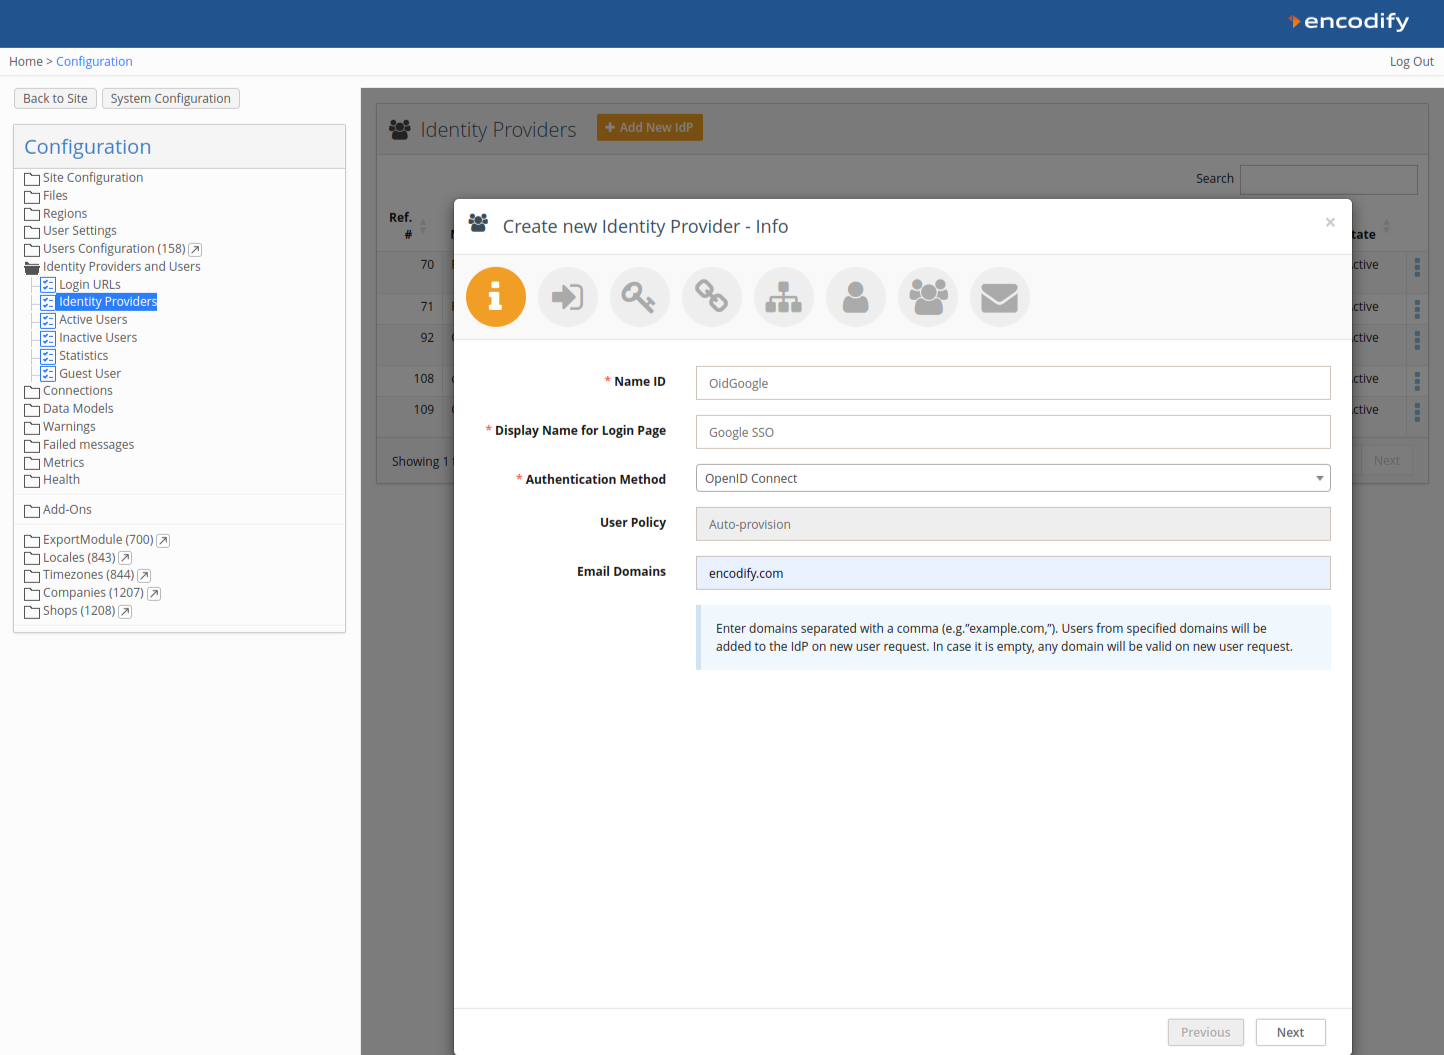
Complete the fields as follows:
Name ID: Use only English letters with no spaces. This value will be part of the URL later.
Display Name for Login Page: Enter the name you want users to see on the login page as the label on the login button.
Authentication Method: Select OpenID Connect.
Email Domains (optional): Restrict login to users with email addresses from specific domains. Enter domain names separated by commas (e.g.,
encode.dk, microsoft.com).
Click Next to proceed.
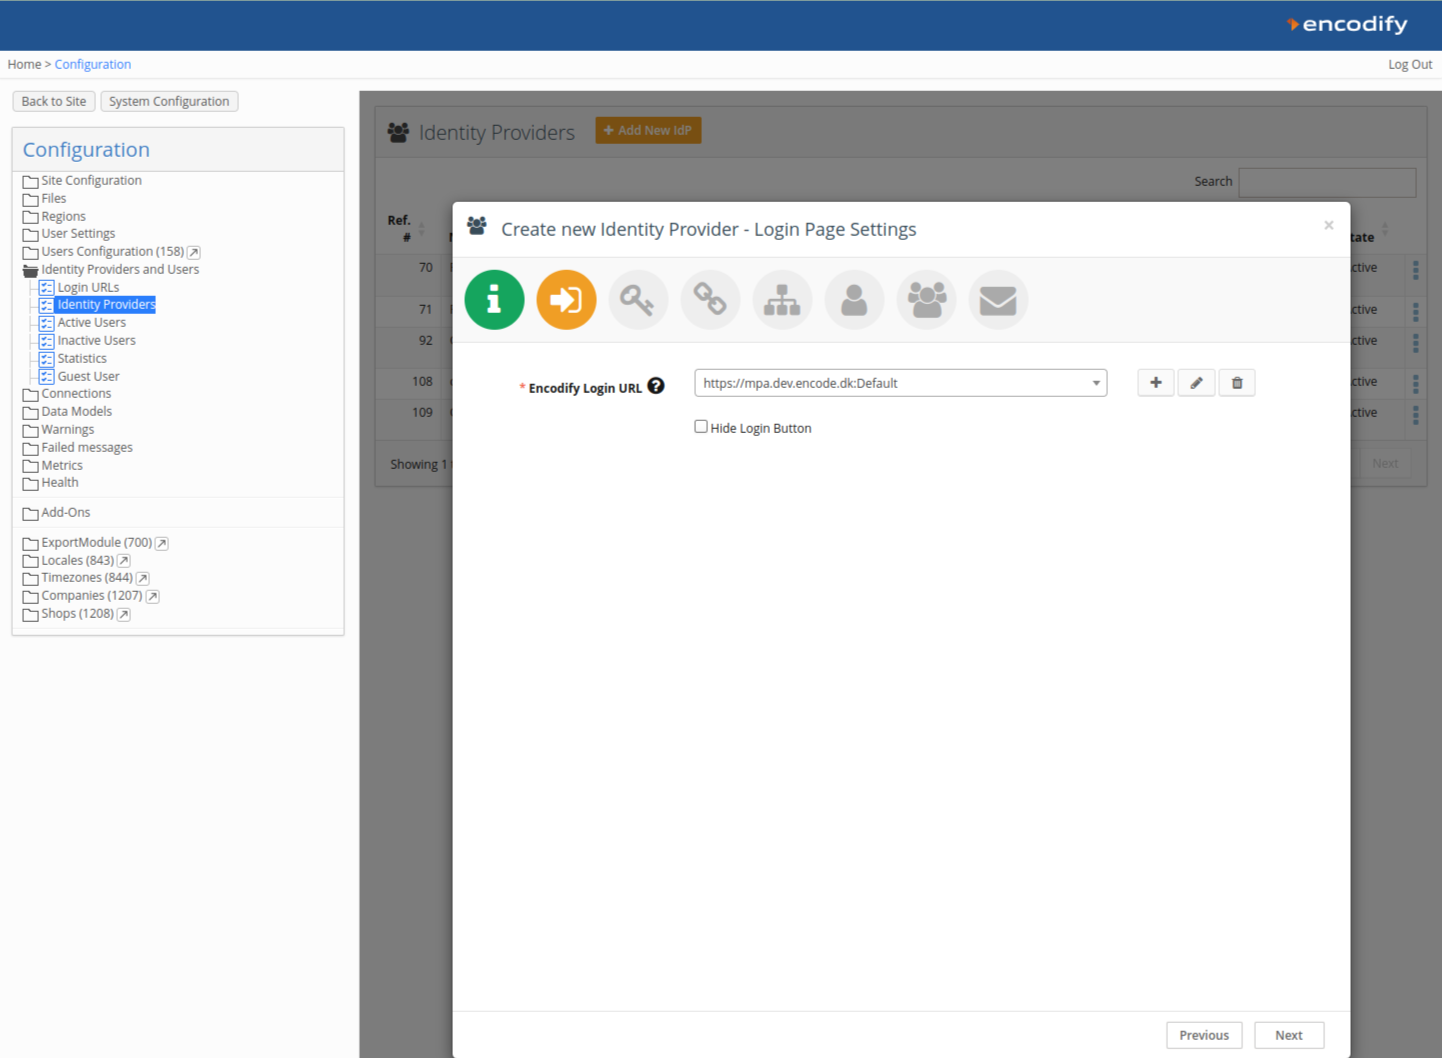
Step 2: Link the Identity Provider
Link your new IdP to an existing Login URL and Login Page, or create new ones. Note that each IdP can only be linked to one Login URL. For more details, refer to the Configuration of Login URL section.
Click Next to continue.
Step 3: Provide Integration Details
Copy the Callback URL displayed on this page (e.g.,
https://mpa.dev.encode.dk/mpa/login/oauth2/code/OidGoogle). You will need this in the Google Cloud Console.

Step 4: Create OAuth Credentials in Google Cloud Console
Switch to the Google Cloud Console.
Ensure the correct project is selected at the top.
Navigate to APIs and Services → Credentials.
Click Create Credentials and select OAuth client ID.
For Application Type, select Web Application.
Enter a name for the credential (this is only for your reference in Google Cloud Console).
Add the following authorised URIs:
Authorized JavaScript Origins: Enter your Encodify application domain(s), e.g.,
https://mpa.dev.encode.dk.Authorized Redirect URIs: Paste the Callback URL you copied earlier, including the Name ID of your Identity Provider, e.g.,
https://mpa.dev.encode.dk/mpa/login/oauth2/code/OidGoogle.
Click Create.
Copy the Client ID and Client Secret from the dialog titled OAuth client created by clicking the copy icons.
Step 5: Finalise IdP Configuration in Encodify
Return to the Encodify system.
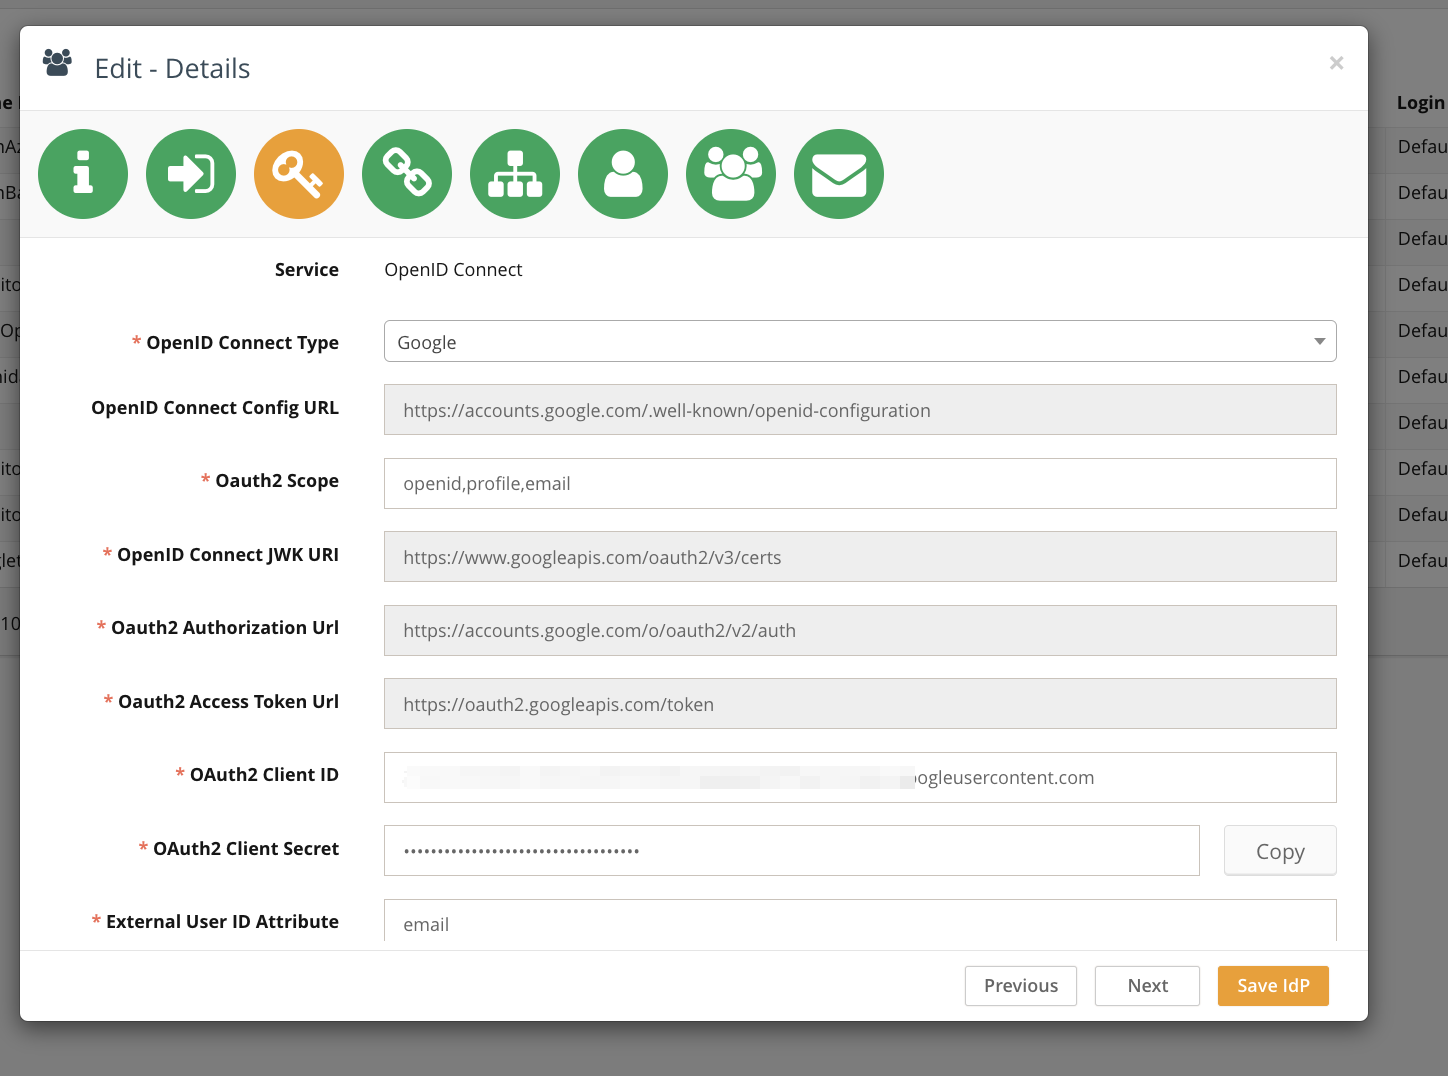
In Step 3 of the IdP configuration, select Google as the OpenID Connect type. Note that several fields will become read-only and auto-filled:
OpenID Connect Config URL:
https://accounts.google.com/.well-known/openid-configurationOpenID Connect JWK URI:
https://www.googleapis.com/oauth2/v3/certsOAuth2 Authorisation URL:
https://accounts.google.com/o/oauth2/v2/authOAuth2 Access Token URL:
https://oauth2.googleapis.com/token
Fill in the following parameters using the credentials from Google Cloud Console:
OAuth2 Scope:
openid,profile,emailOAuth2 Client ID: (from Google Cloud Console)
OAuth2 Client Secret: (from Google Cloud Console)
External User ID Attribute:
emailMapped Attributes:
name -> Name,email -> Email
Click Next.
Step 6: Access Rights and User Group Mapping
These steps are not supported for Google IdP, as Google only exposes standard token fields like name and email, without additional attributes.
Click Next twice to proceed.
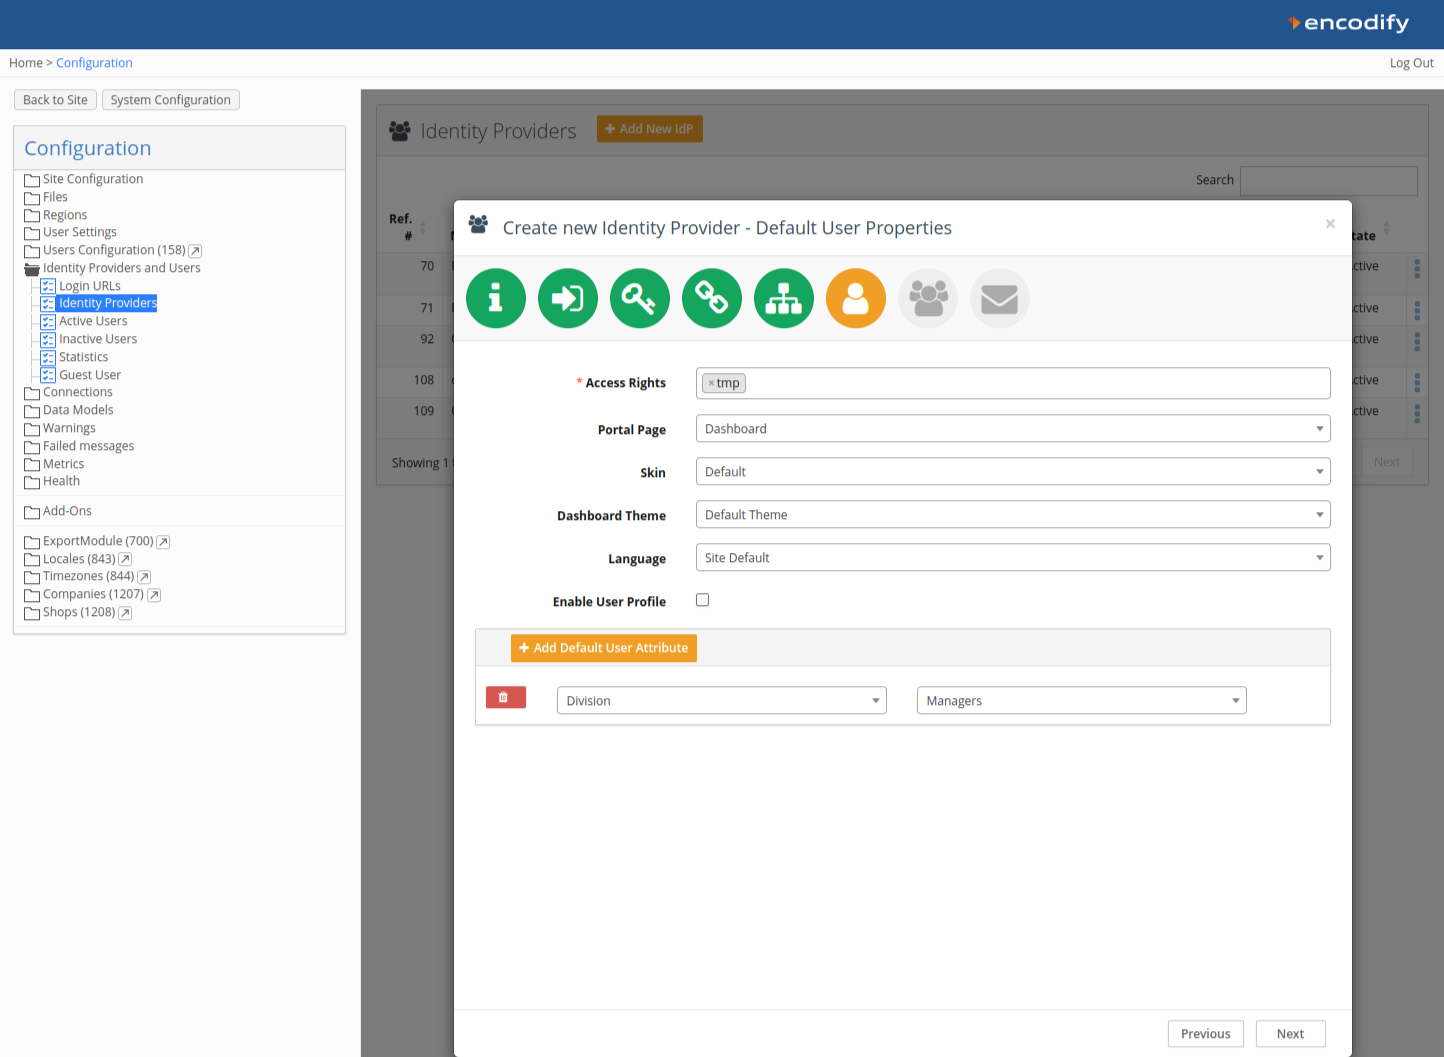
Step 7: Default User Properties
Configure default user properties such as access rights or fixed attributes. For example, you might set the Division attribute to "Managers" for auto-provisioned users.
Click Next.
Step 8: Default User Groups
Assign default user groups that will be applied to new users upon login with auto-provisioning.
Click Next.

Step 9: Welcome Email and First Login Message
Optionally enable a Welcome Email and a First Login Message.
New users logging in for the first time will receive the email and see a welcome modal.
Click Save IdP to finalise the configuration.

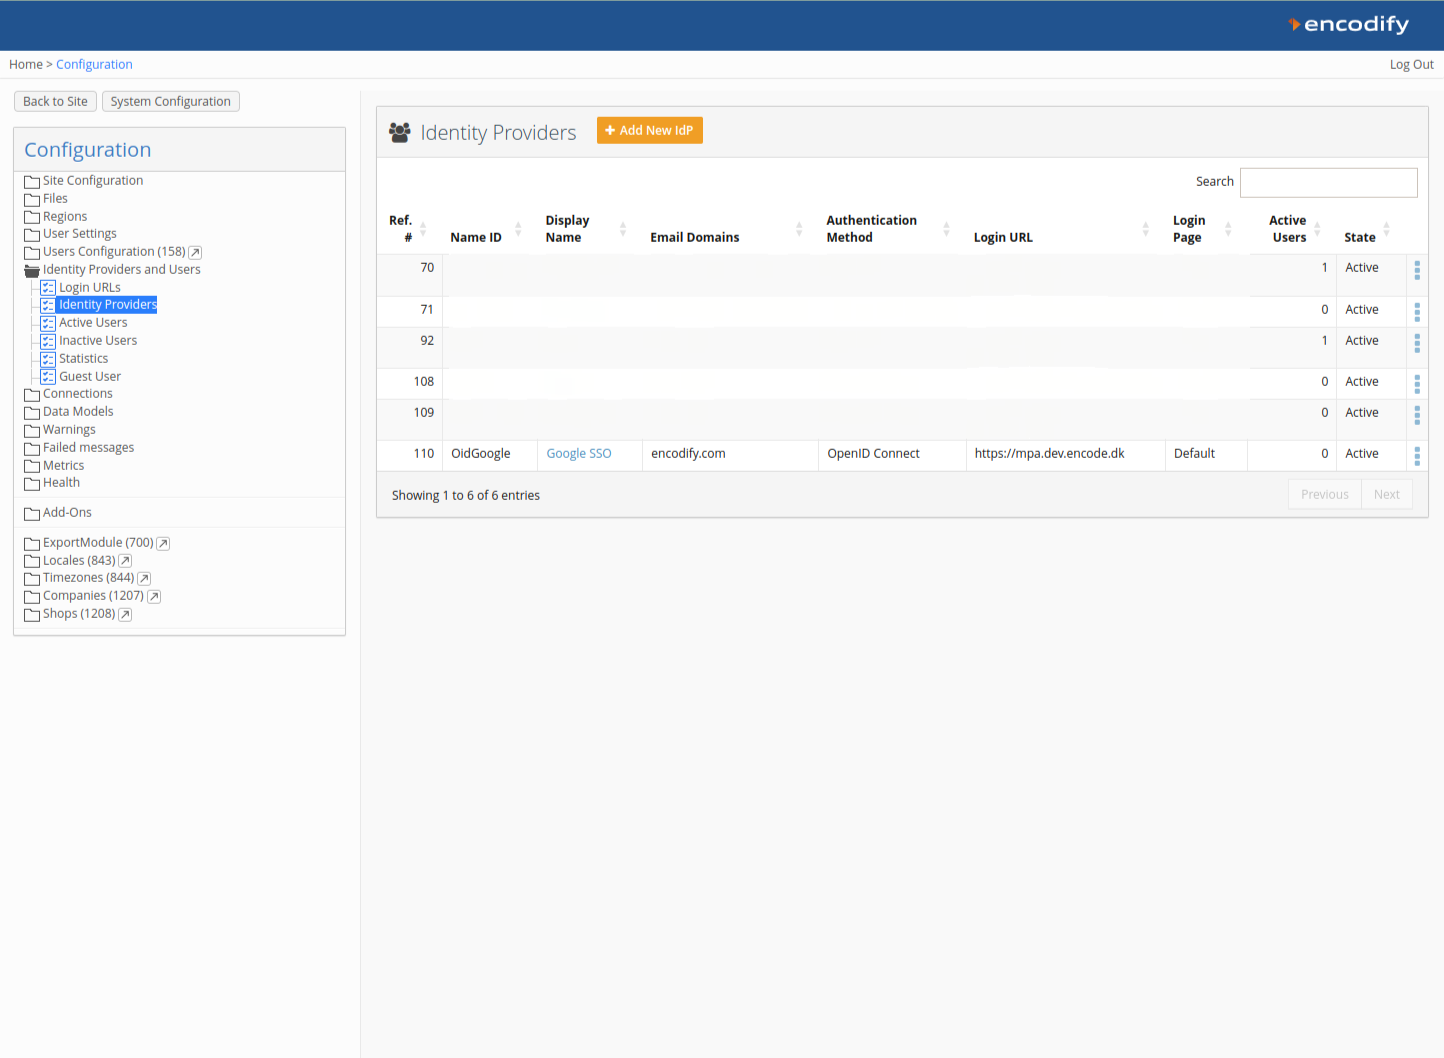
Verifying the New Identity Provider
After saving, the new Identity Provider will appear in the list of Identity Providers.
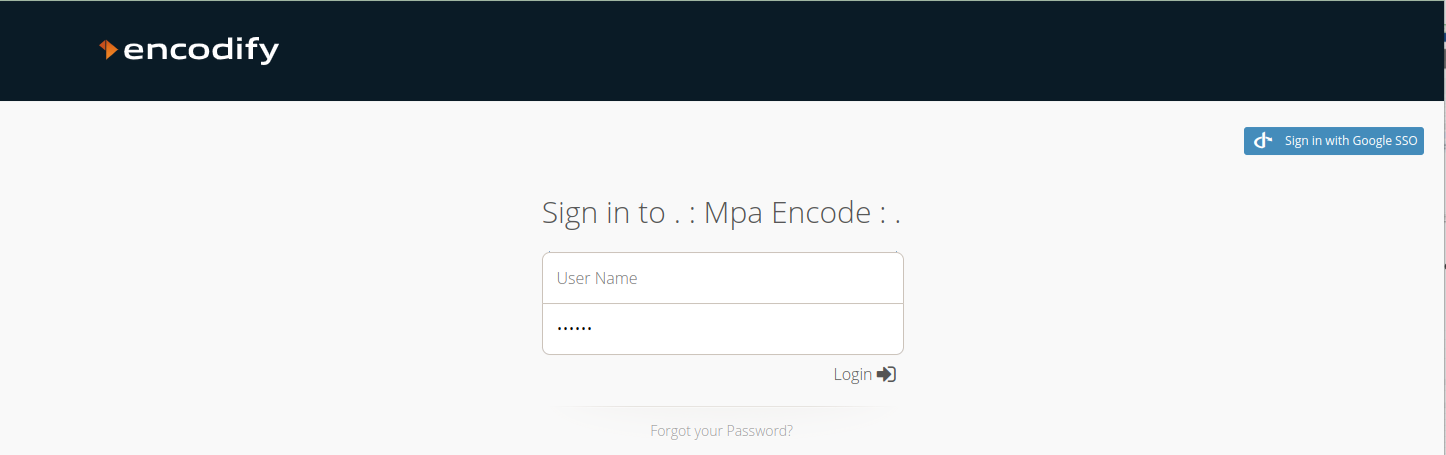
Logging into Encodify Using Google SSO
If this new IdP is the only authentication method for the configured login URL, users will be automatically authenticated when accessing the URL. If multiple providers, including "Internal," are configured, the login page will display a button for signing in with the new IdP (e.g., "Sign in with Google SSO").