Overview
Important: Before enabling Box.com Connected Service, an Encodify administrator must first ensure that it’s enabled within your infrastructure.
Integration with Box.com allows one-way file synchronisation from Encodify to Box.
Current implementation of the integration with service supports:
Creation of folders and subfolders in the Box service using values of the mapped Encodify fields
Sending of files uploaded in Encodify to the Box service on action triggering
Support copy of file from single and multiple file fields in Encodify to Box
Support copy of file from custom and main media holders in Encodify to Box
Not supported:
Deletion of directories
Deletion of files
Move of files across the folders in the Box.com connected service
Version control management on the Box.com service side
Configuration of Box.com
A precondition for configuration is a created account on Box.com with enabled 2-step verification.
The following steps, following the configuration process, assume the configurator has an account created.
Create an App
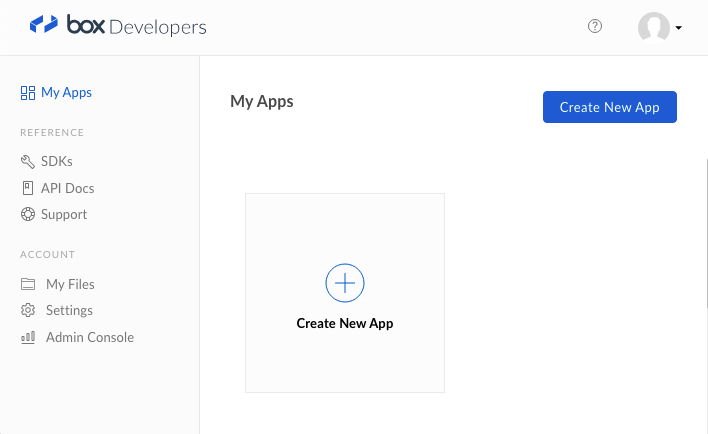
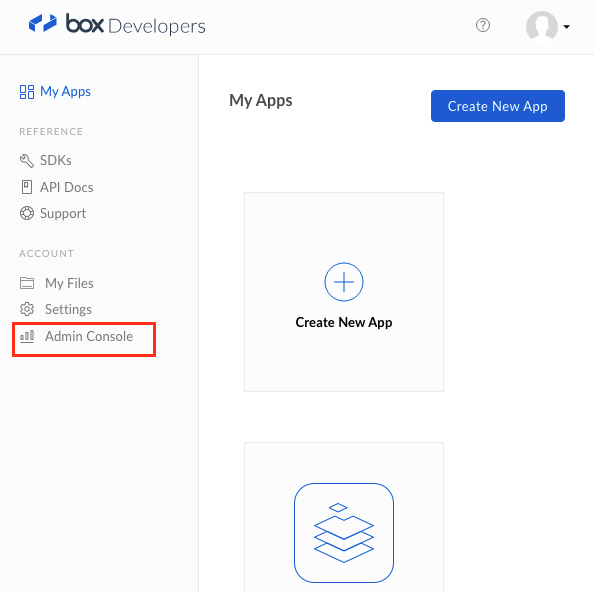
Open the Dev Console by following the URL and clicking "Create New App":
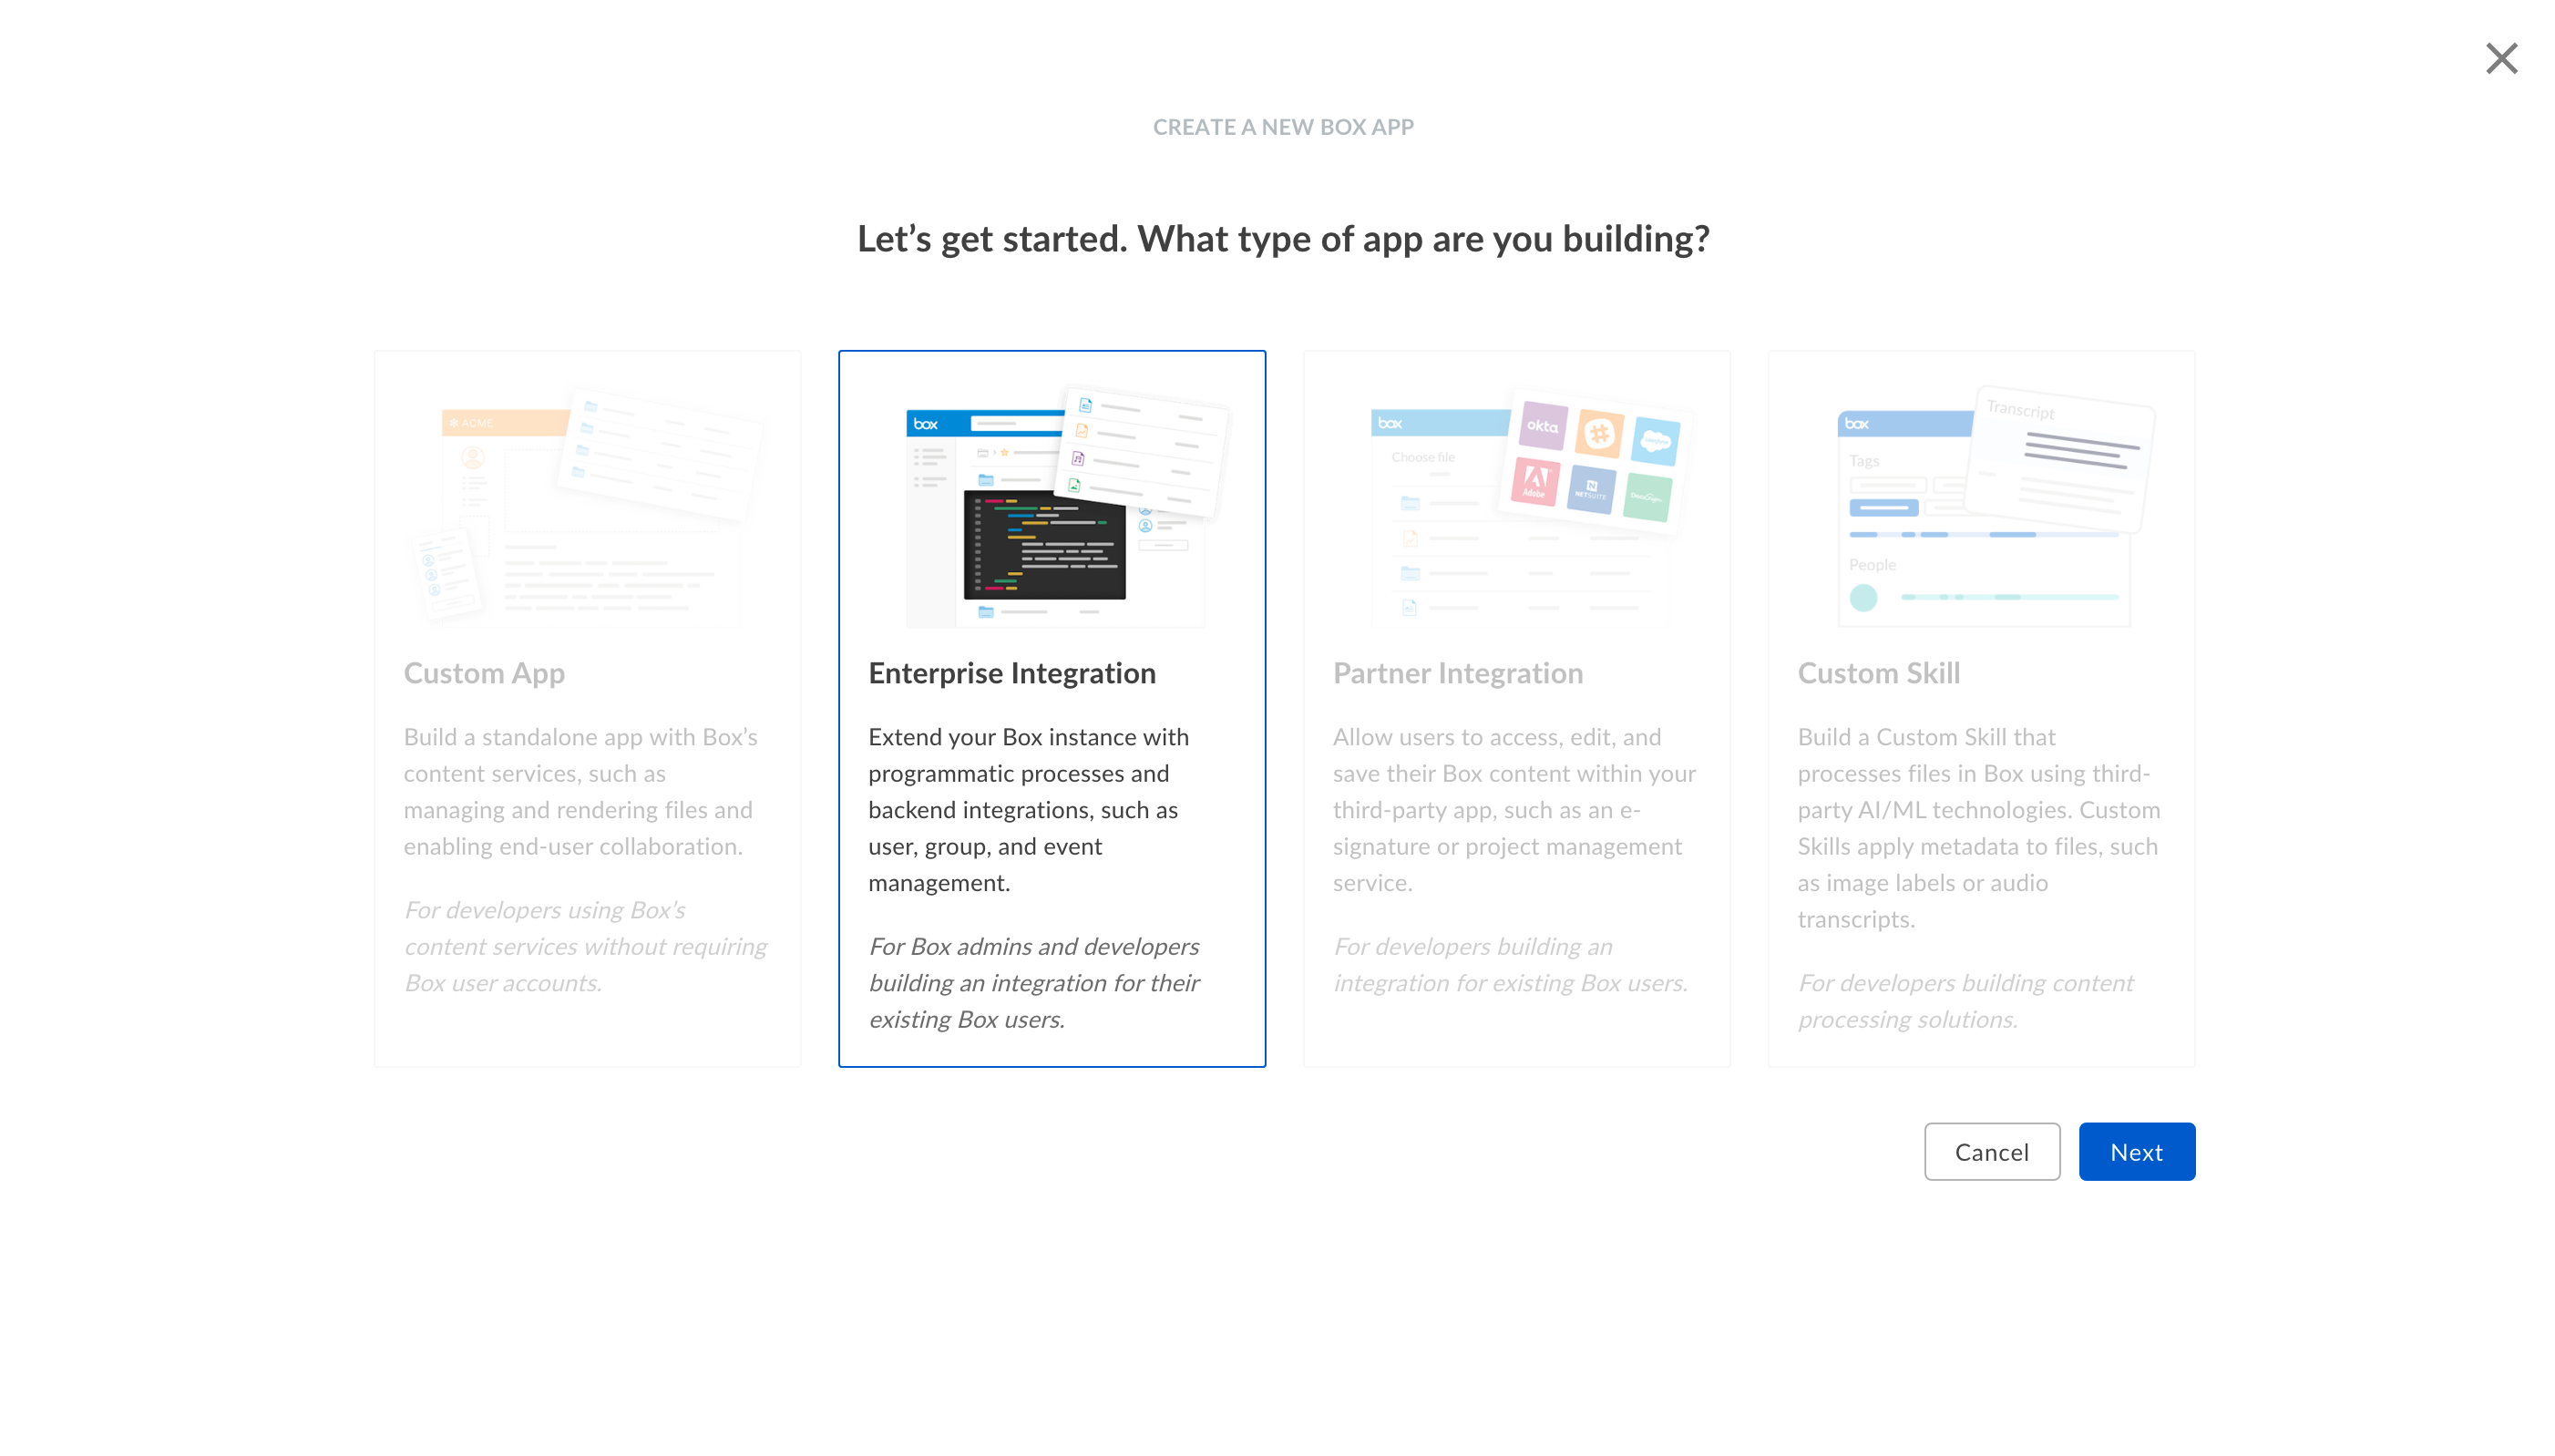
Select "Enterprise Integration" and click "Next"
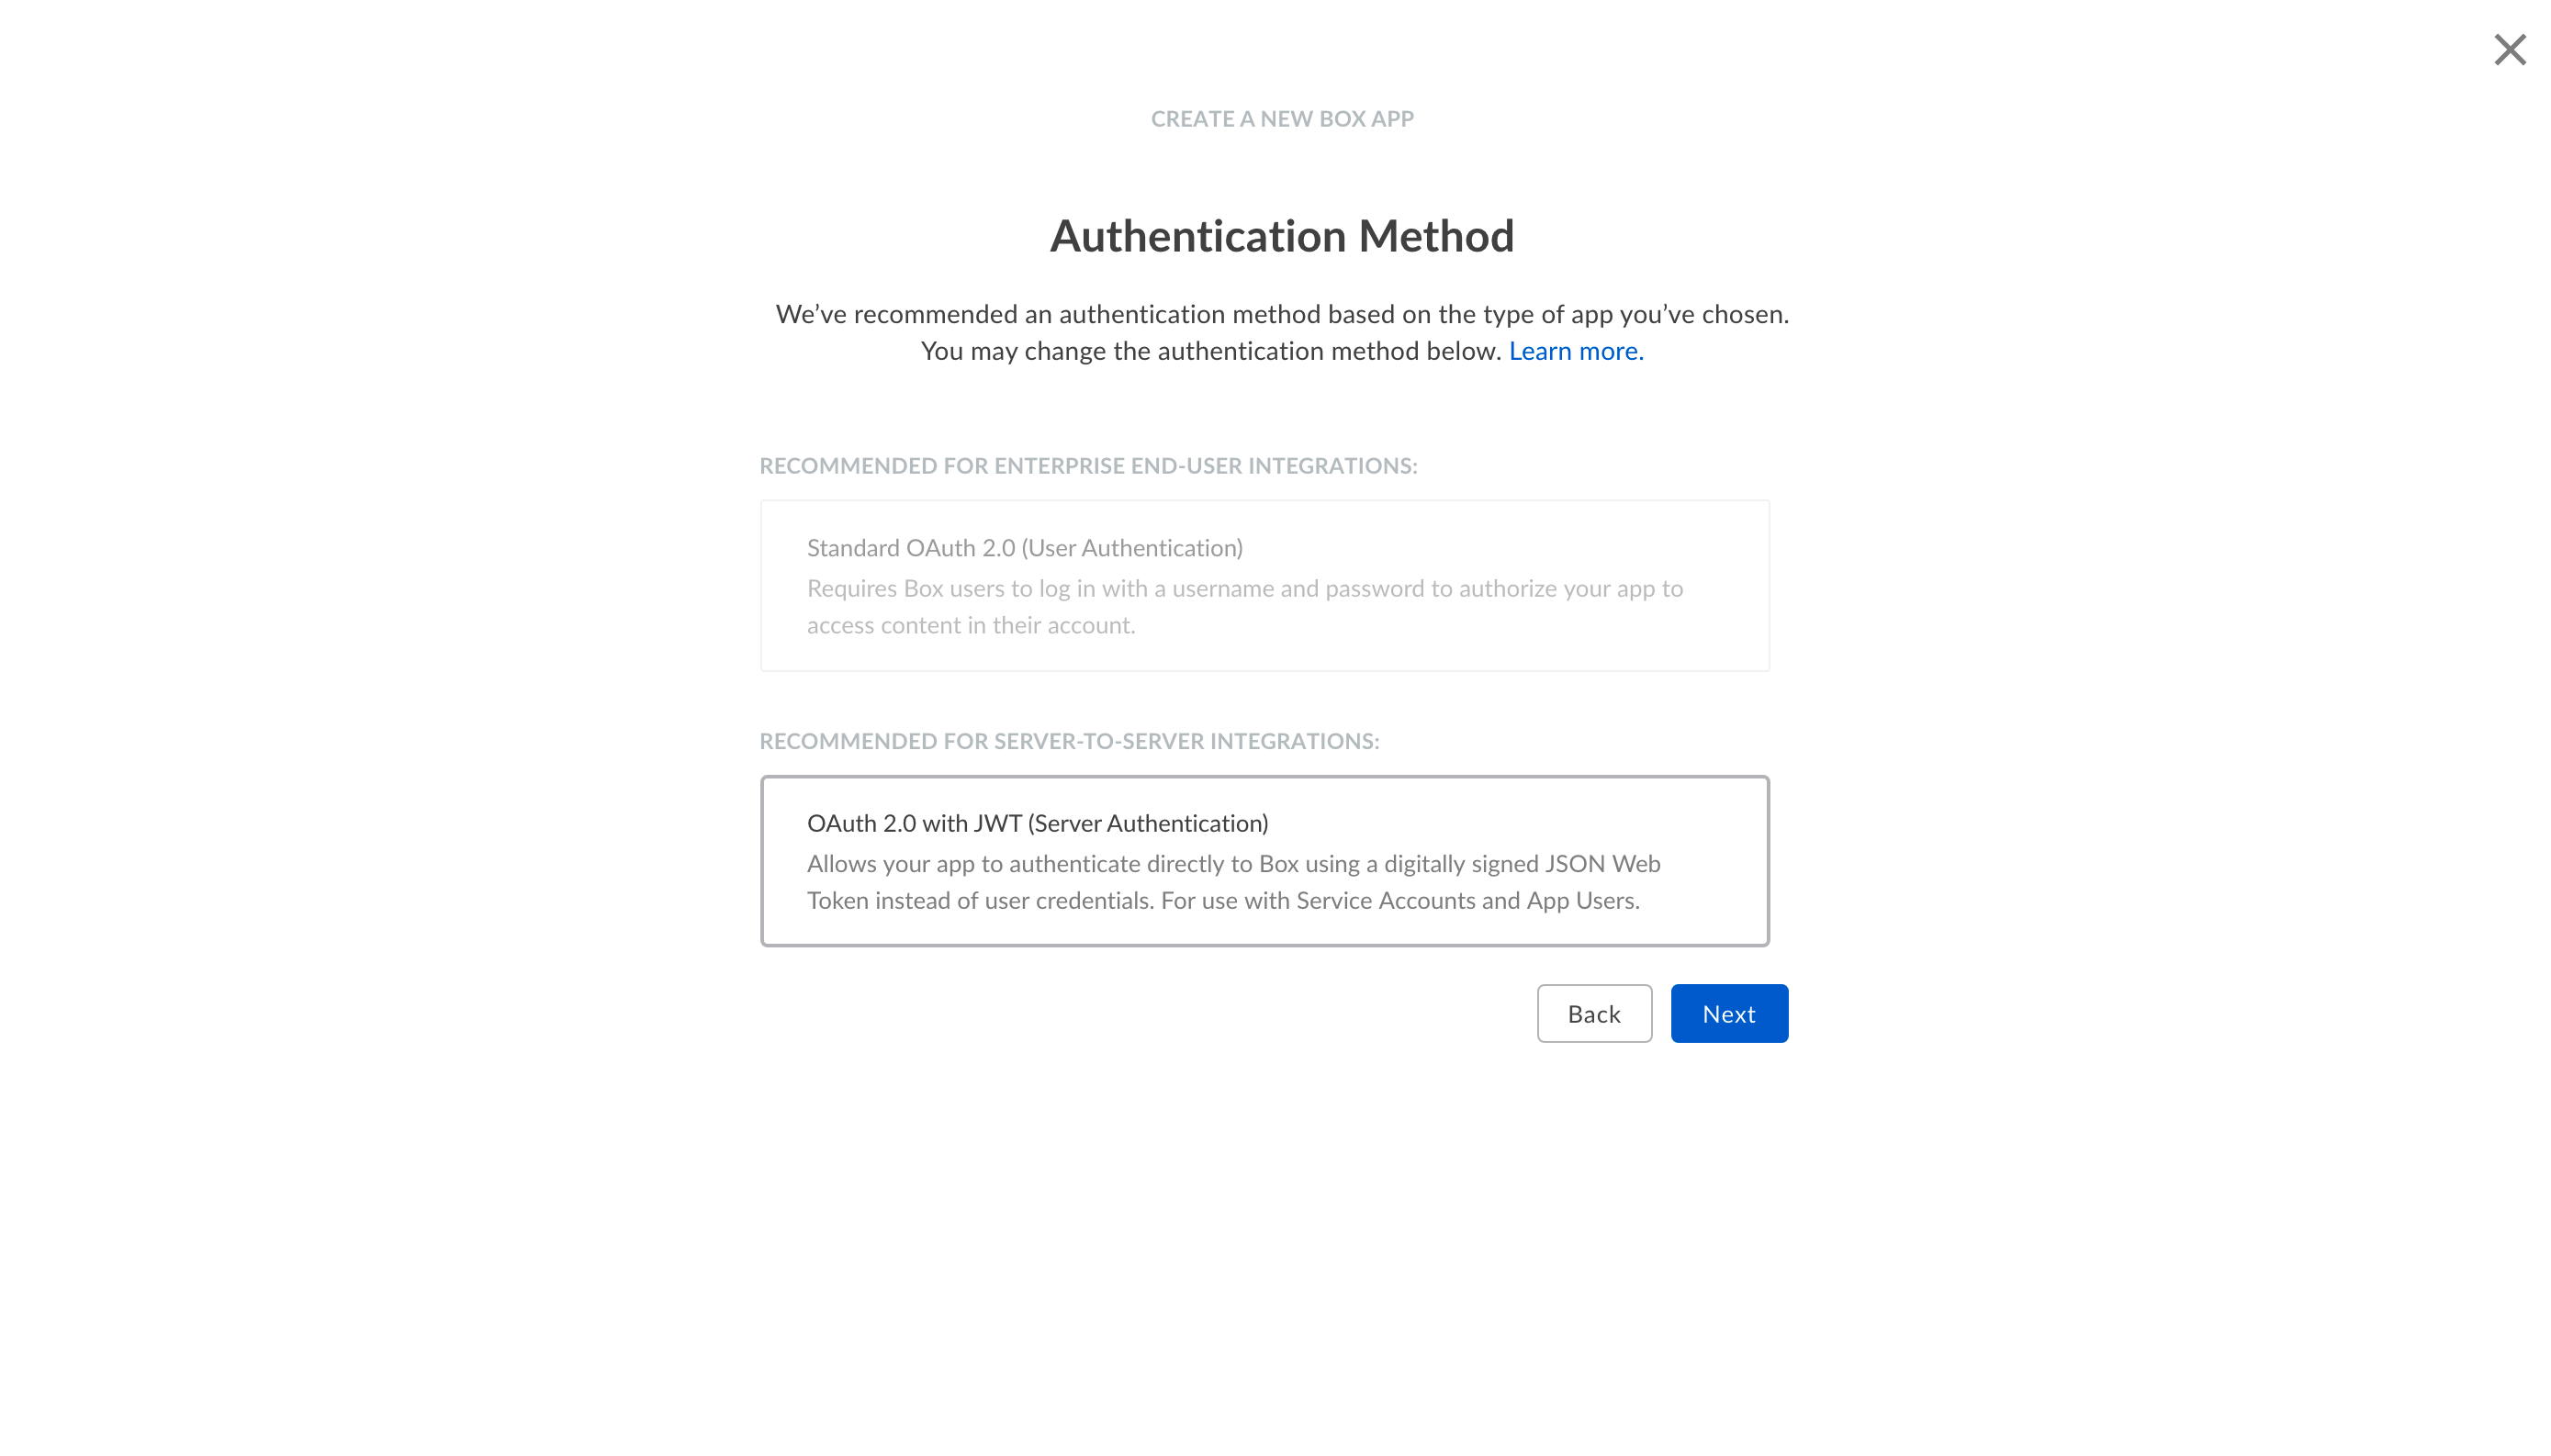
Select "OAuth 2.0 with JWT (Server Authentication)" as Authorisation Method and click "Next"
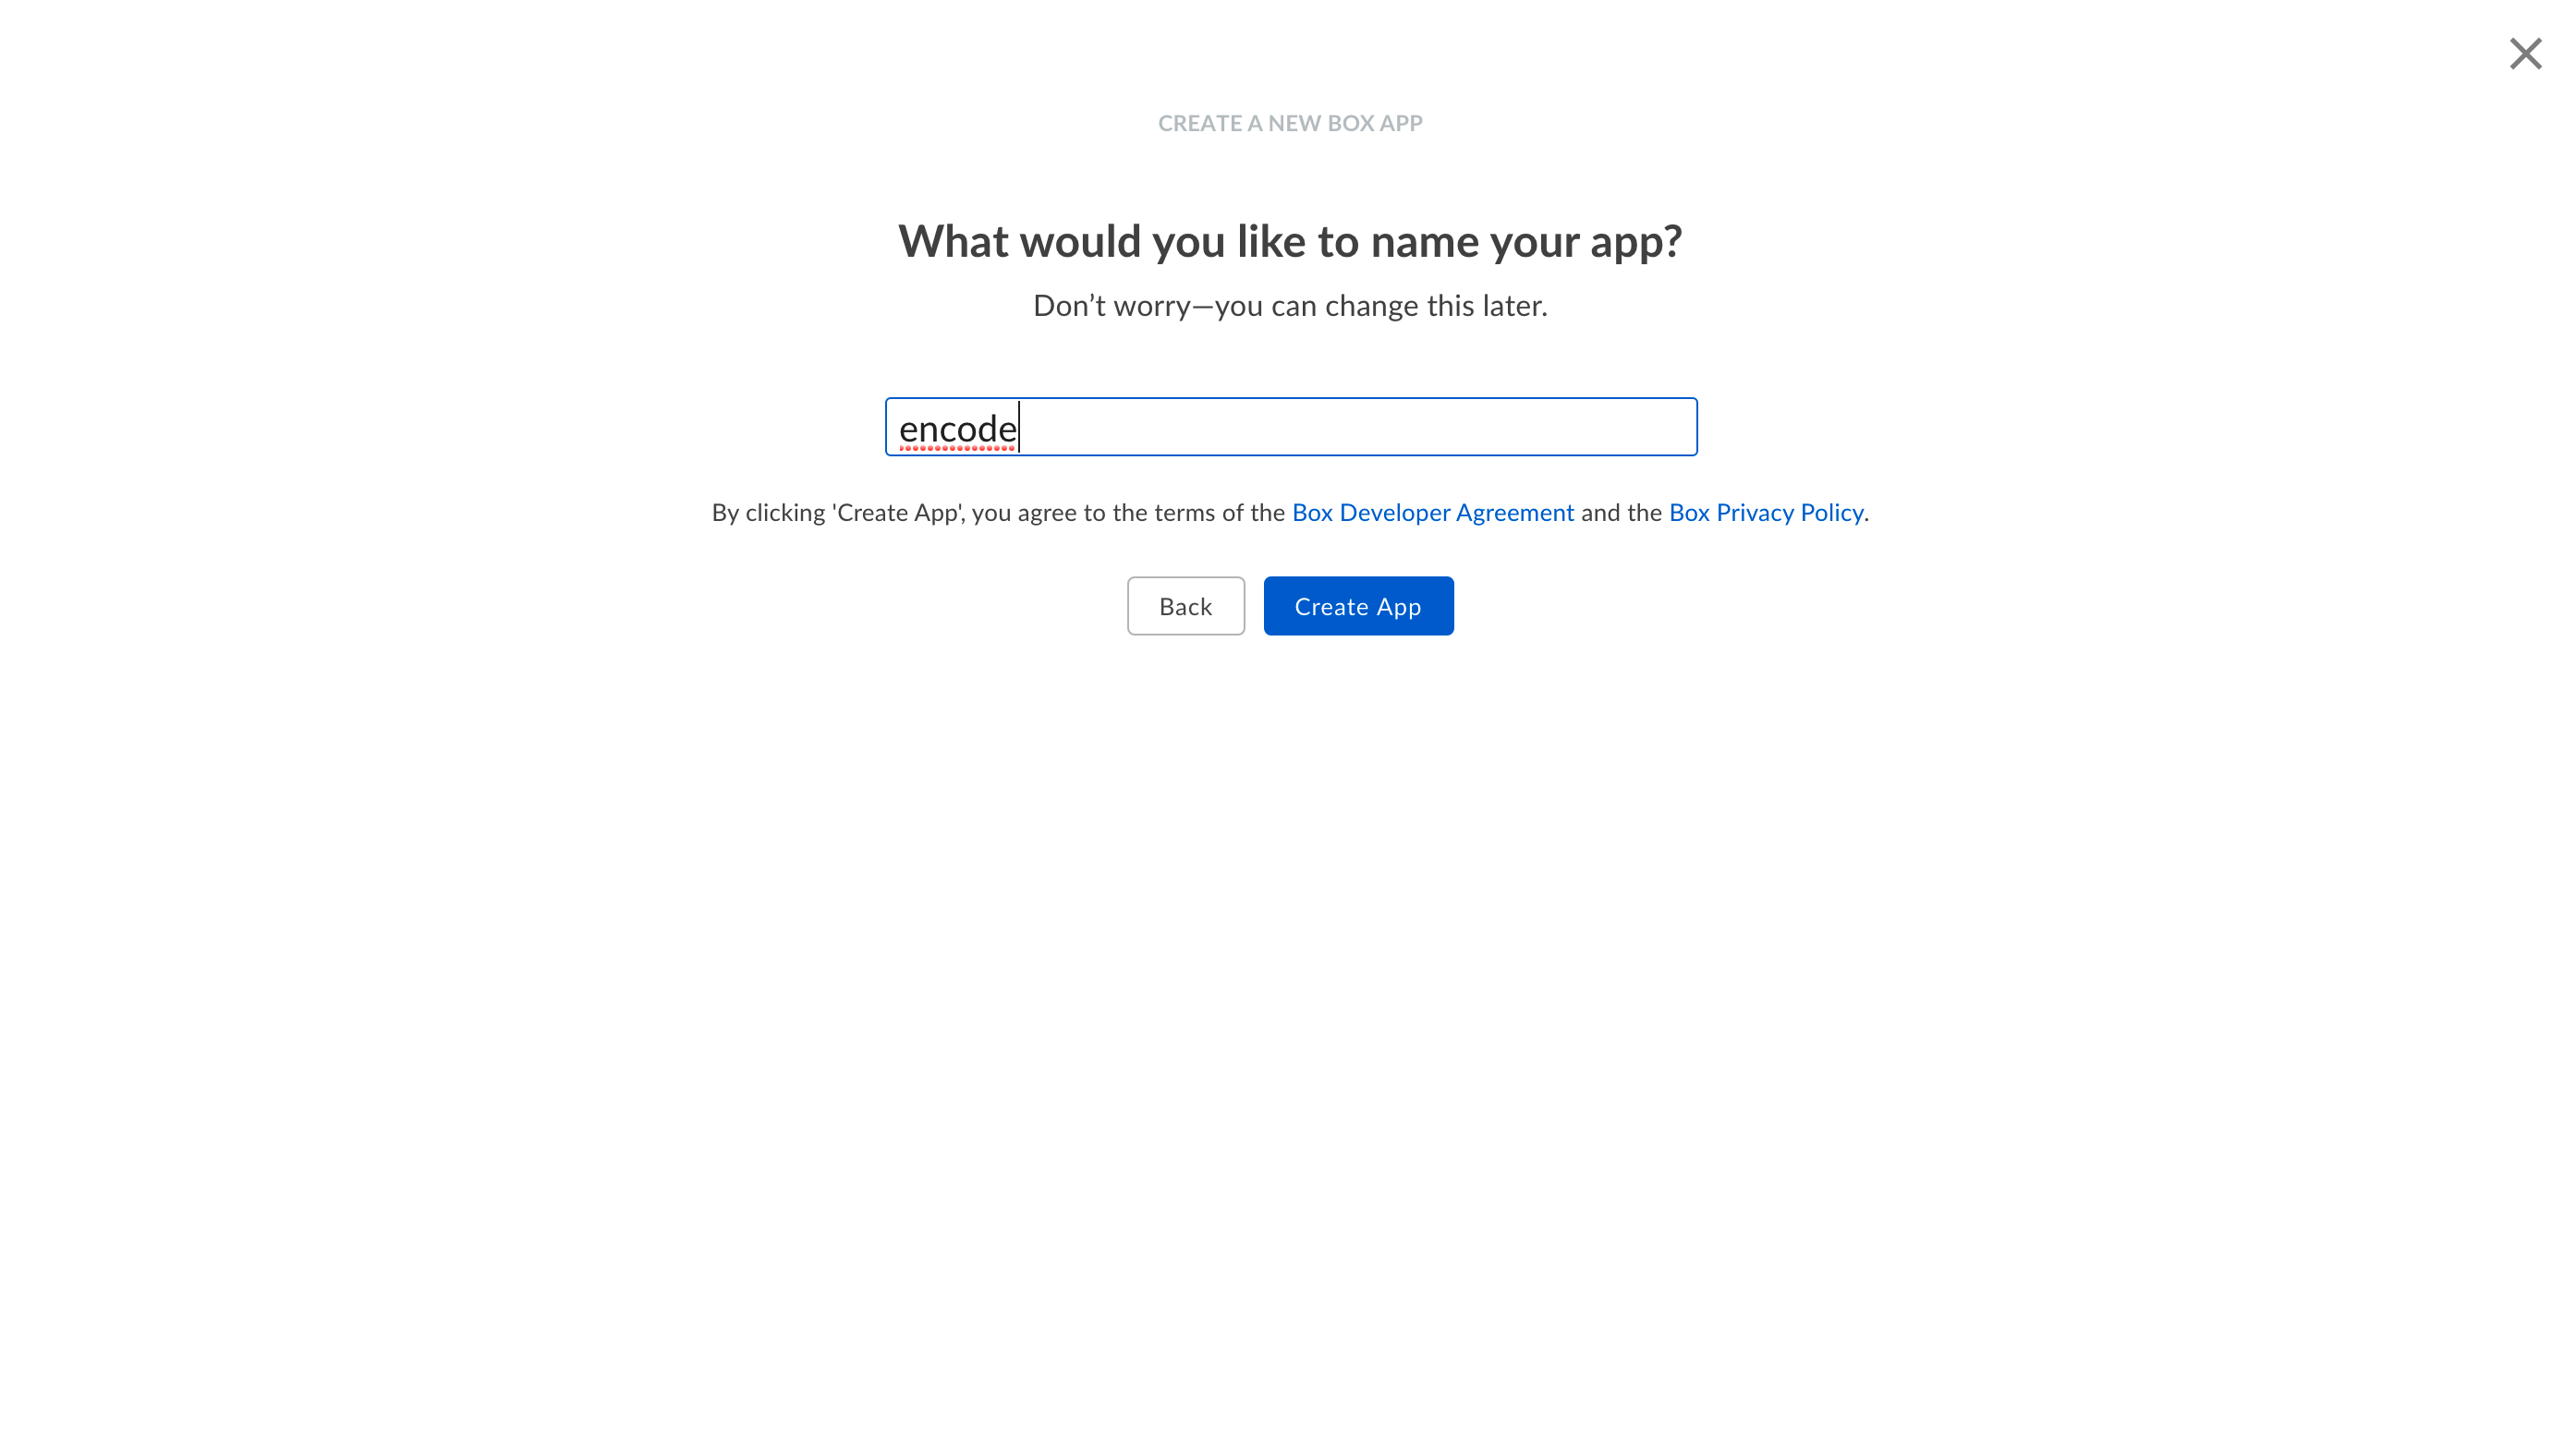
Enter the name of your app and click "Create App"
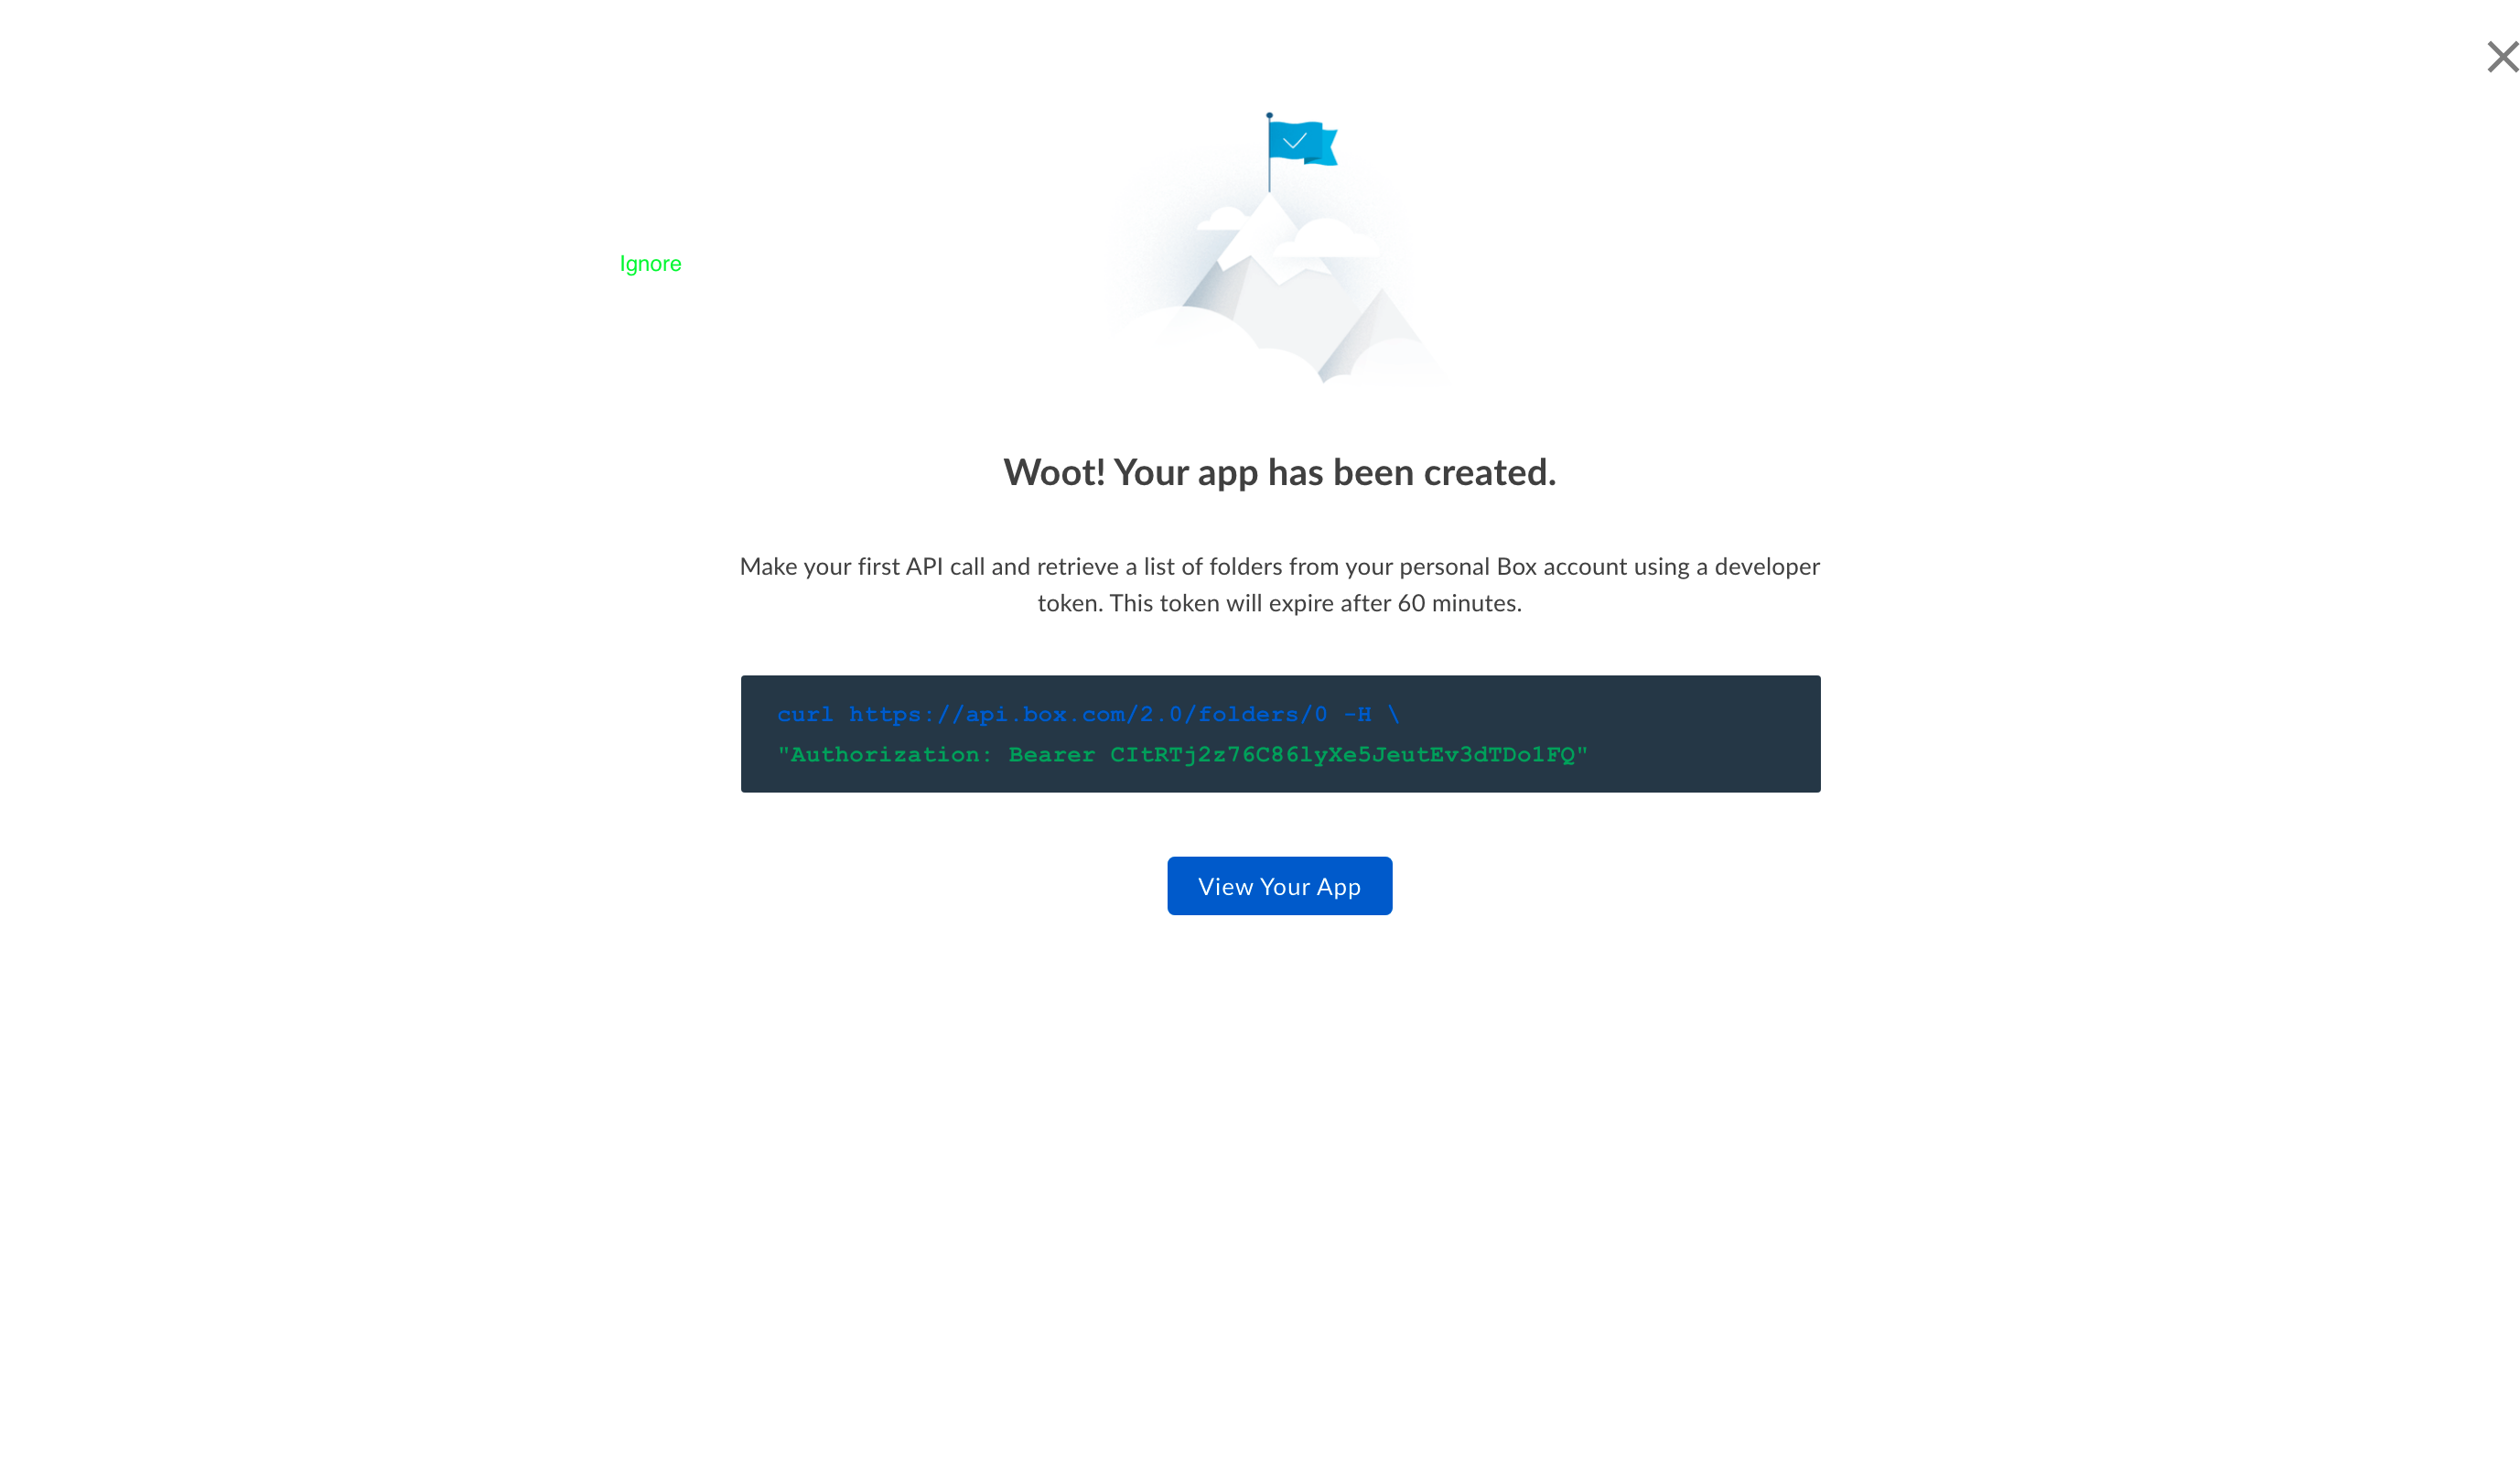
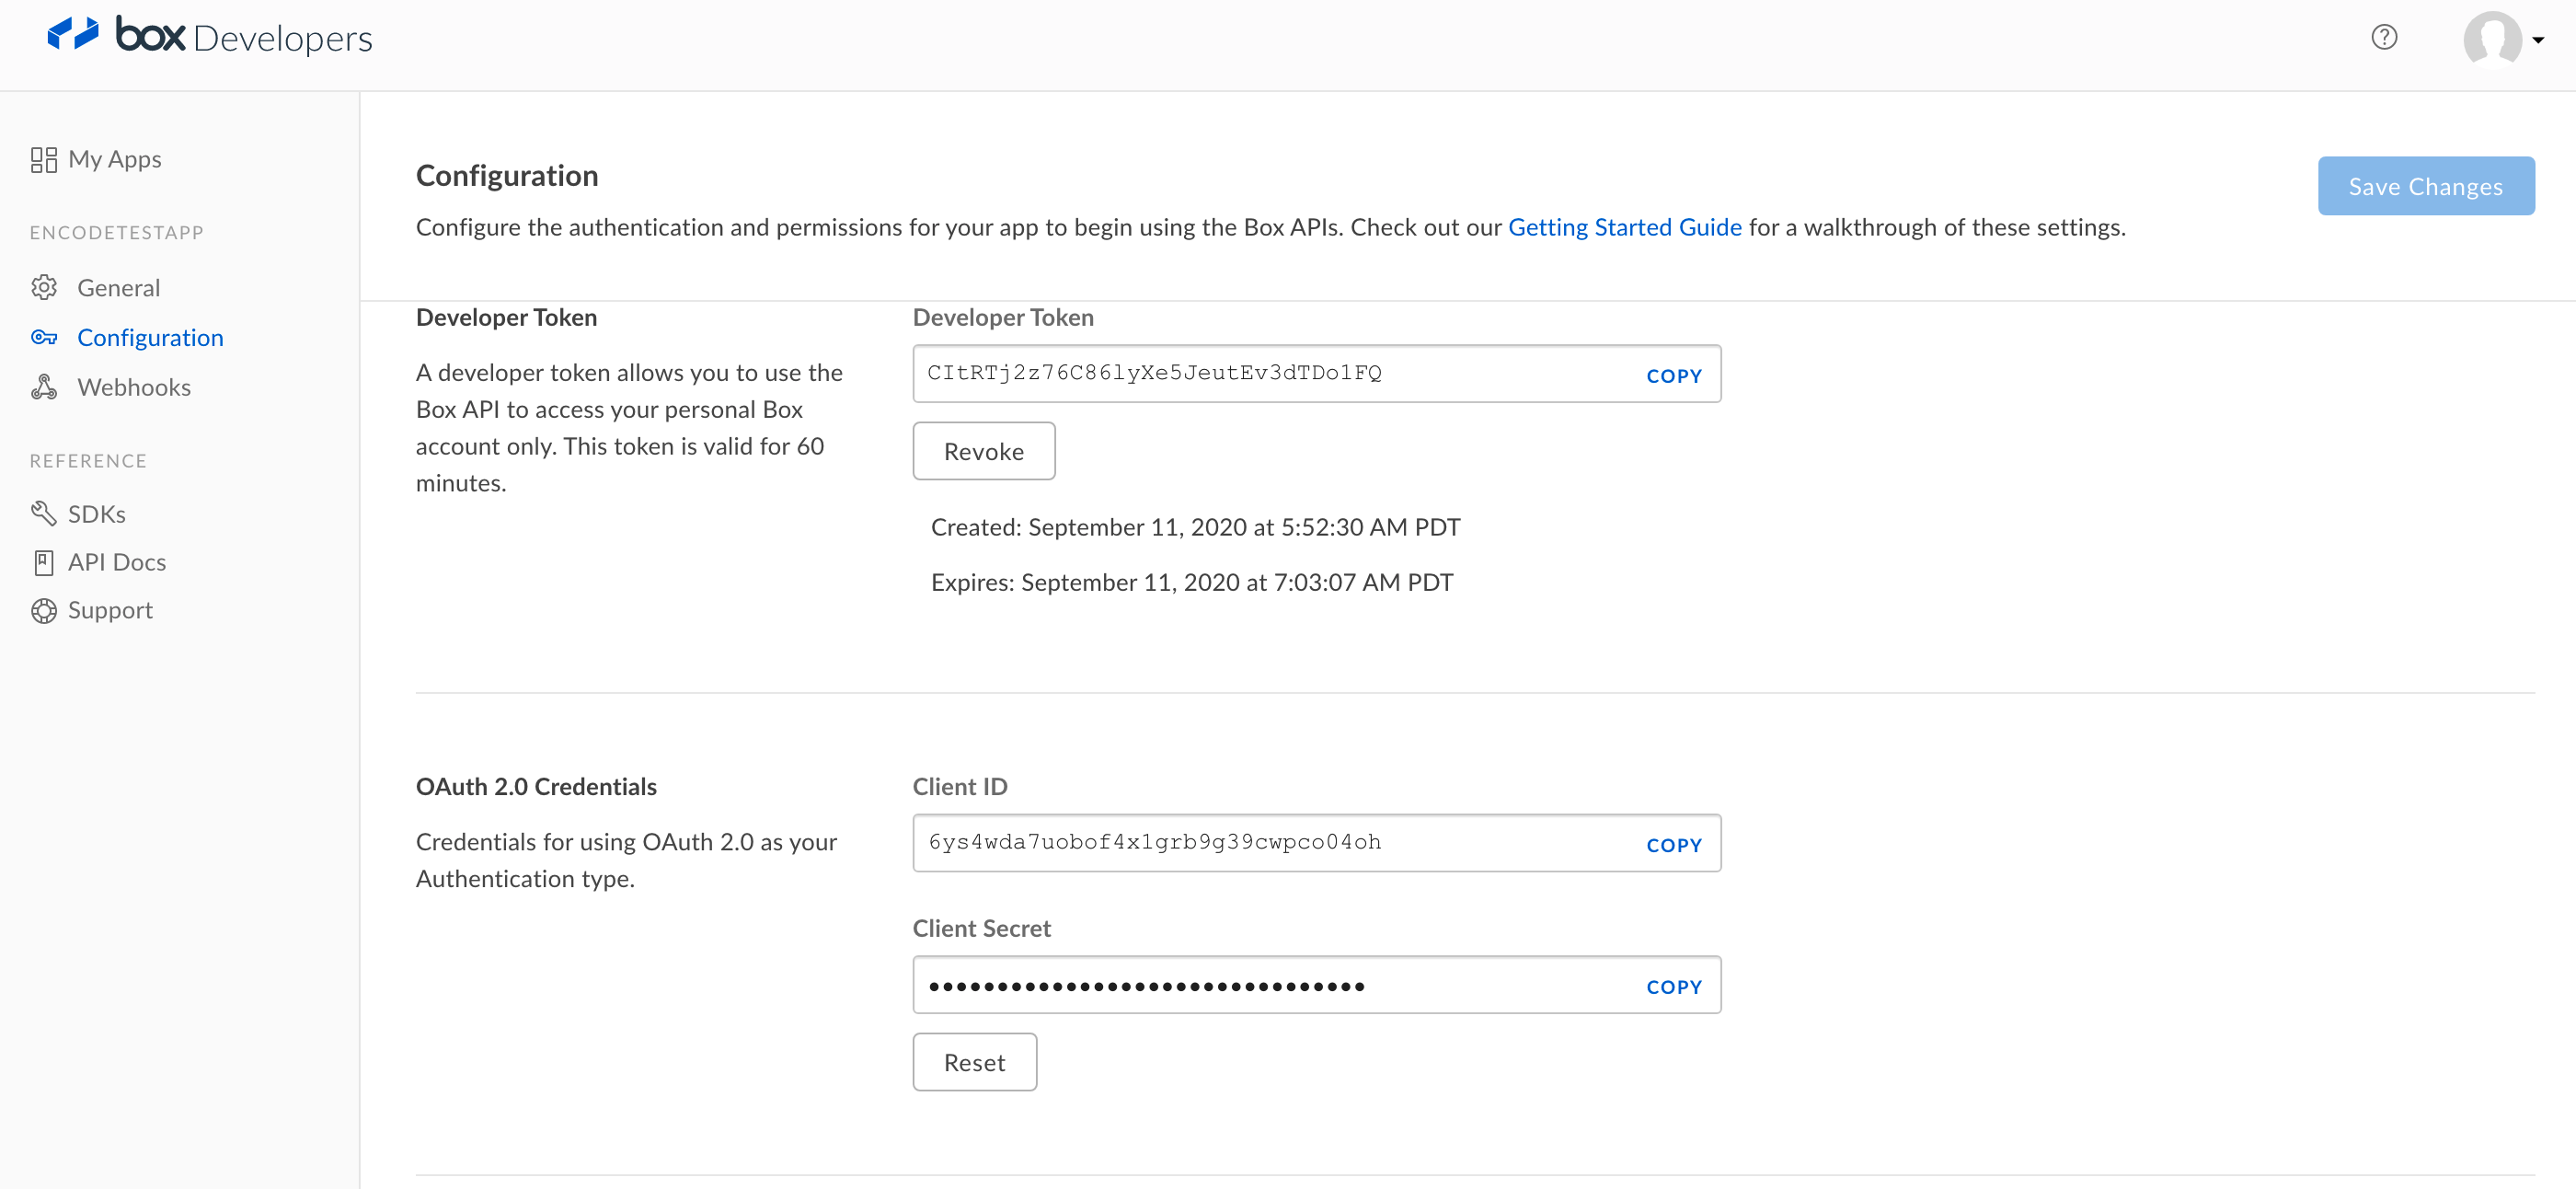
After creating an app, the developer must make the first API call to the service before the developer token expires in 60 minutes. This can be done either via a suggested CURL request or via a configured integration in Encodify. (Token can be revoked later in Dev Console > Configuration > Developer Token)
Authentication and Permissions Configuration
Dev Console > select the previously created App > Configuration > OAuth 2.0 Credentials > save the value of the ClientID locally
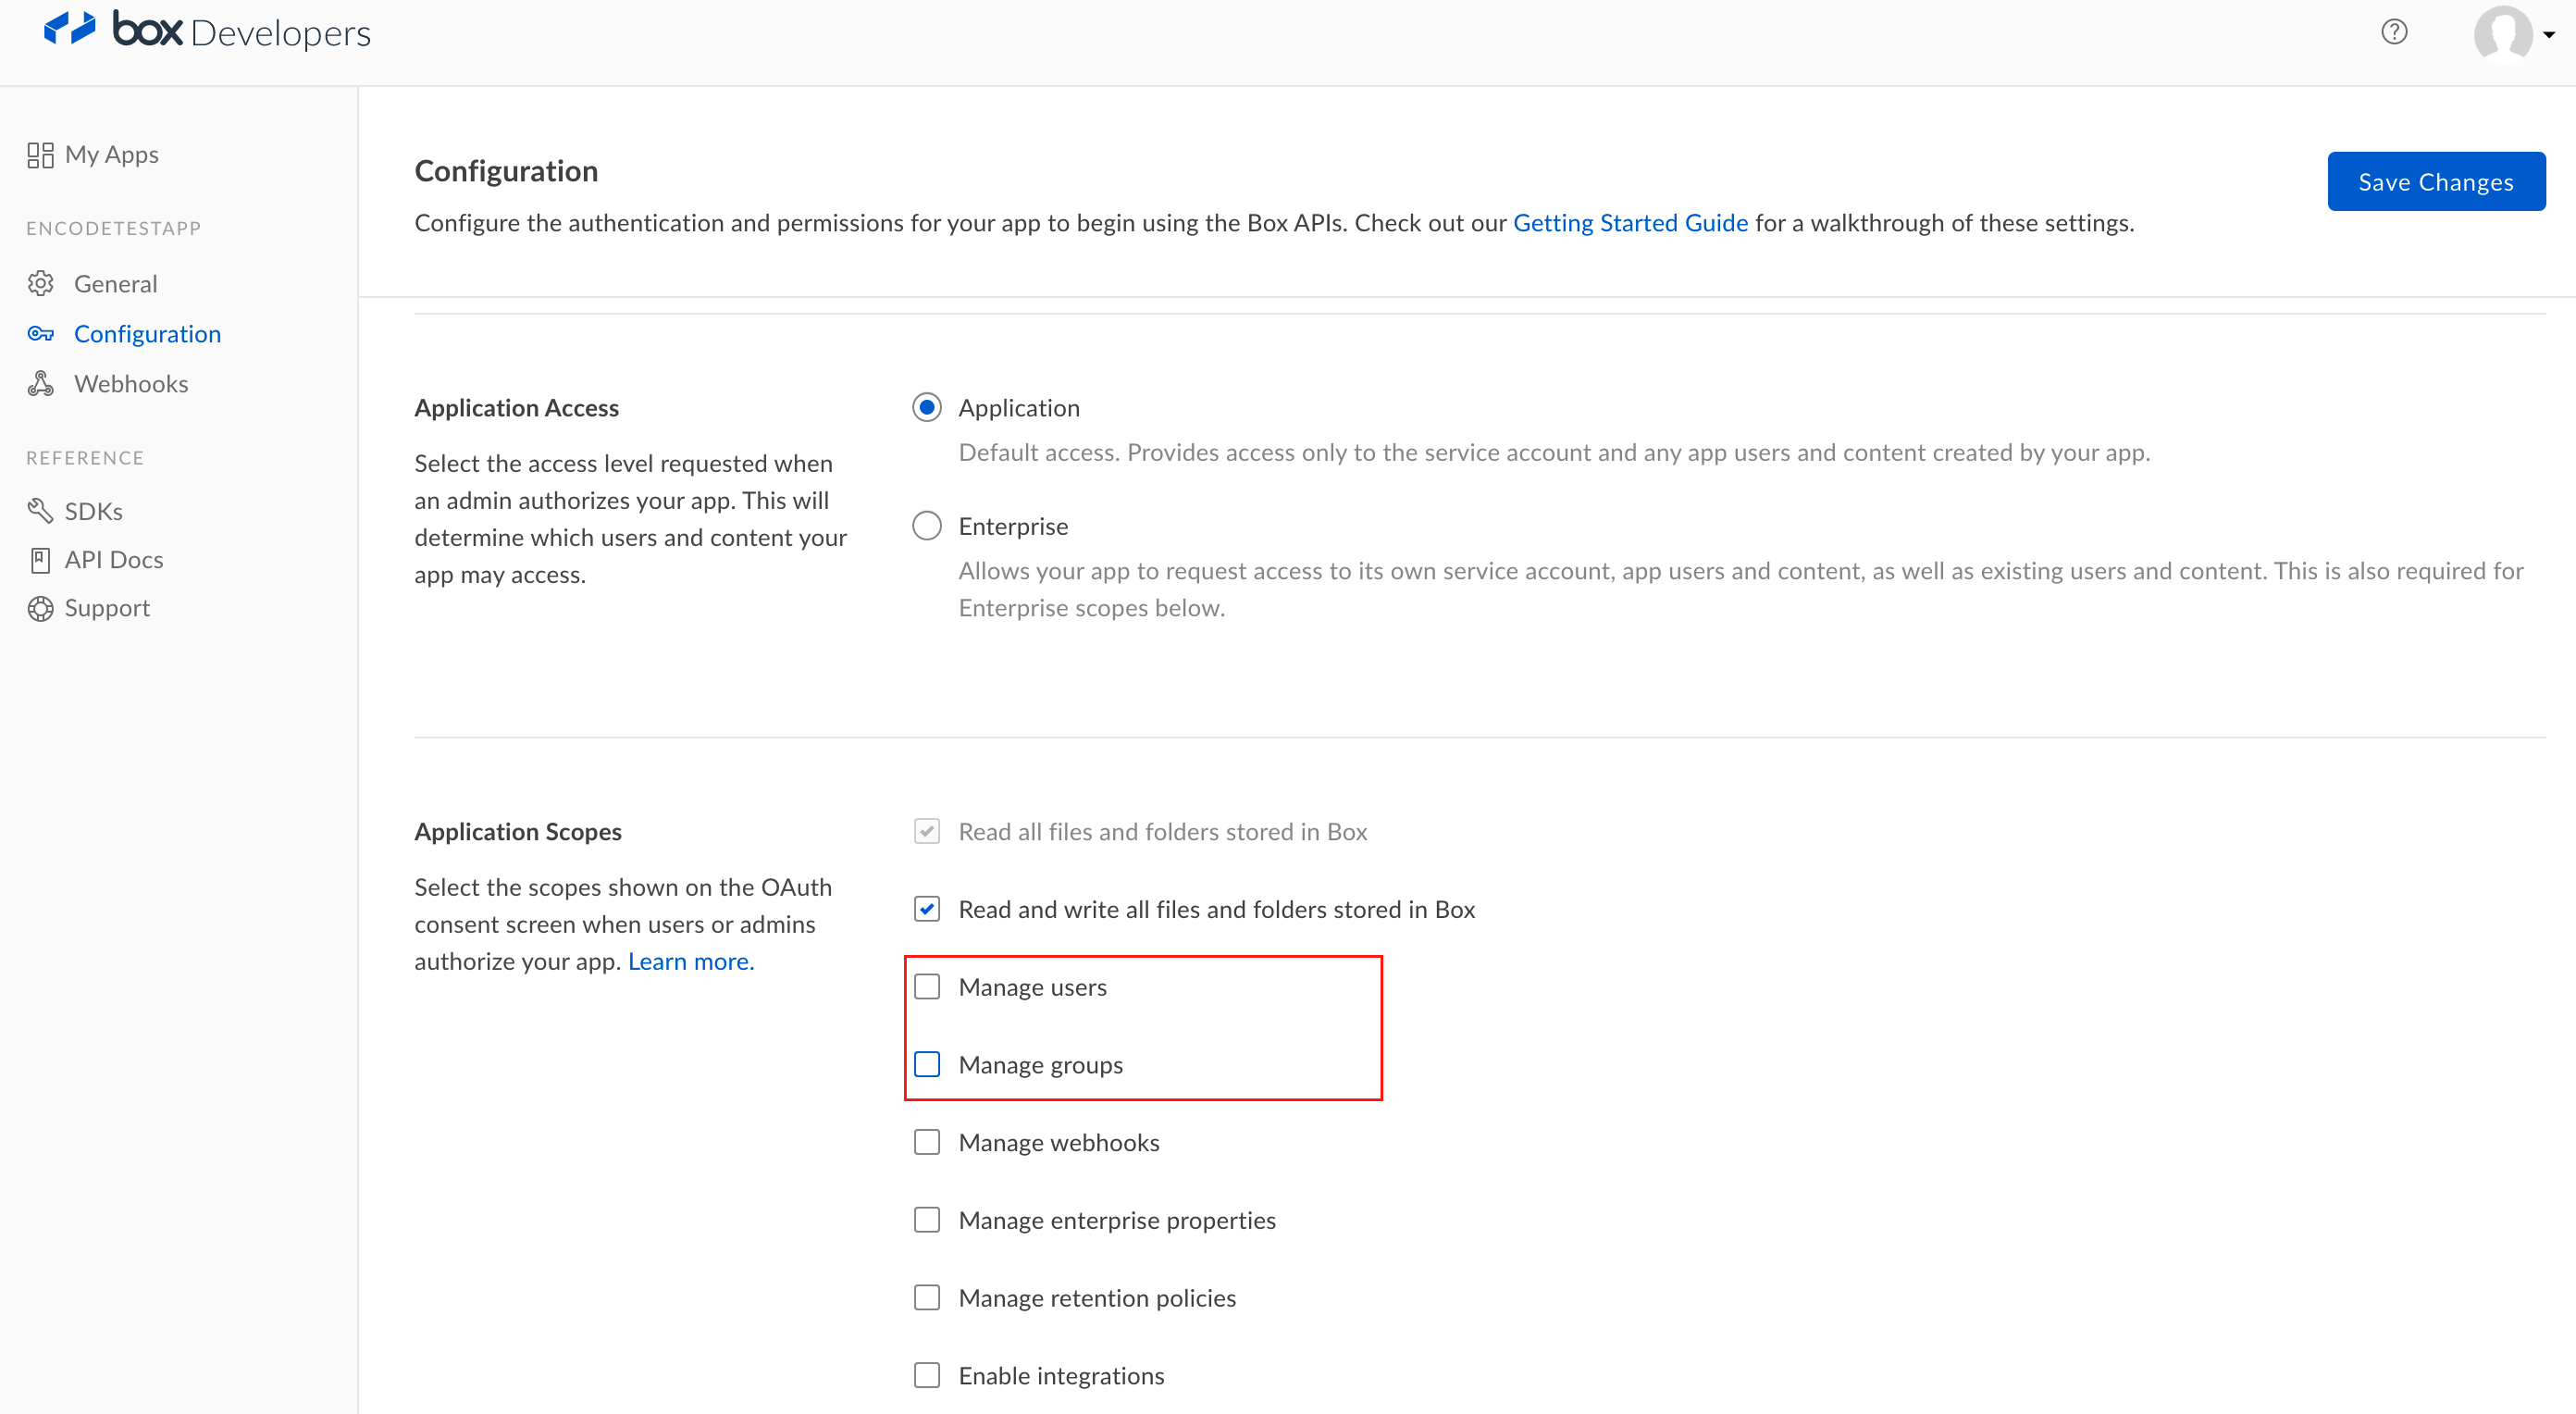
In the Application Scopes section, clear the "Manage users" and "Manage groups" checkboxes
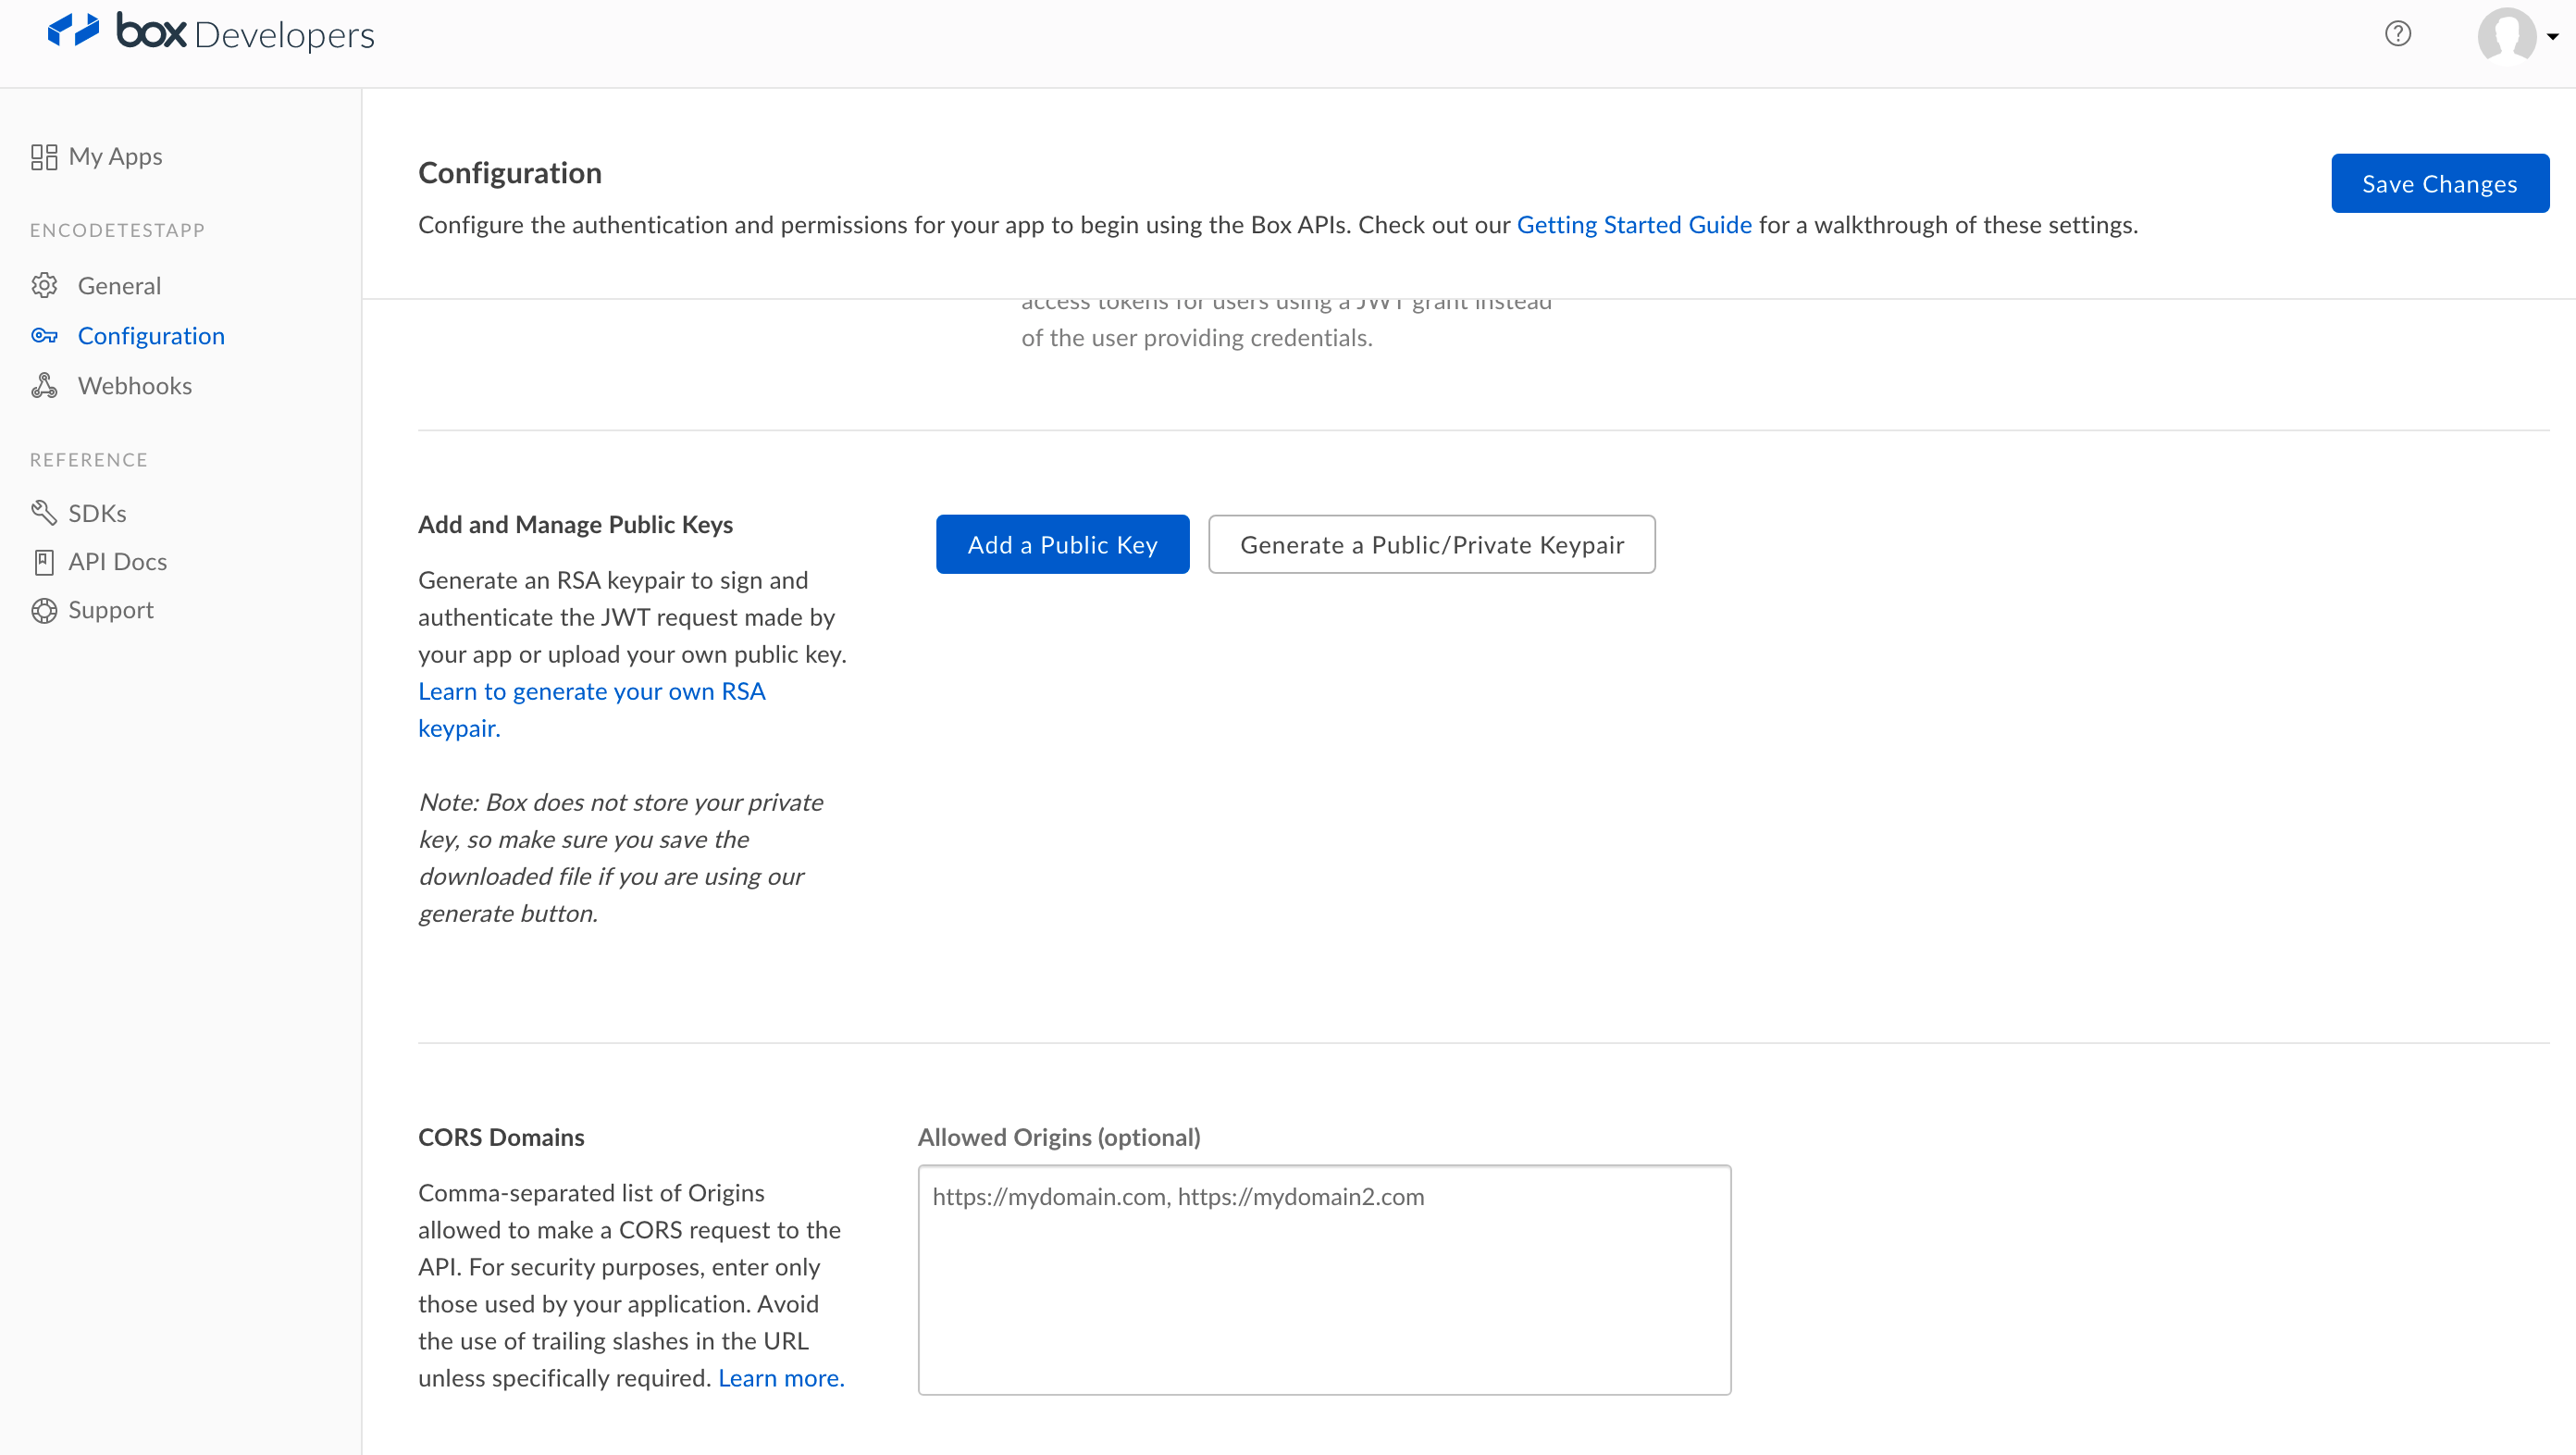
In the Add and Manage Public Keys section, click "Generate a Public/Private Keypair" > make sure JSON file is downloaded and saved.
App Configuration
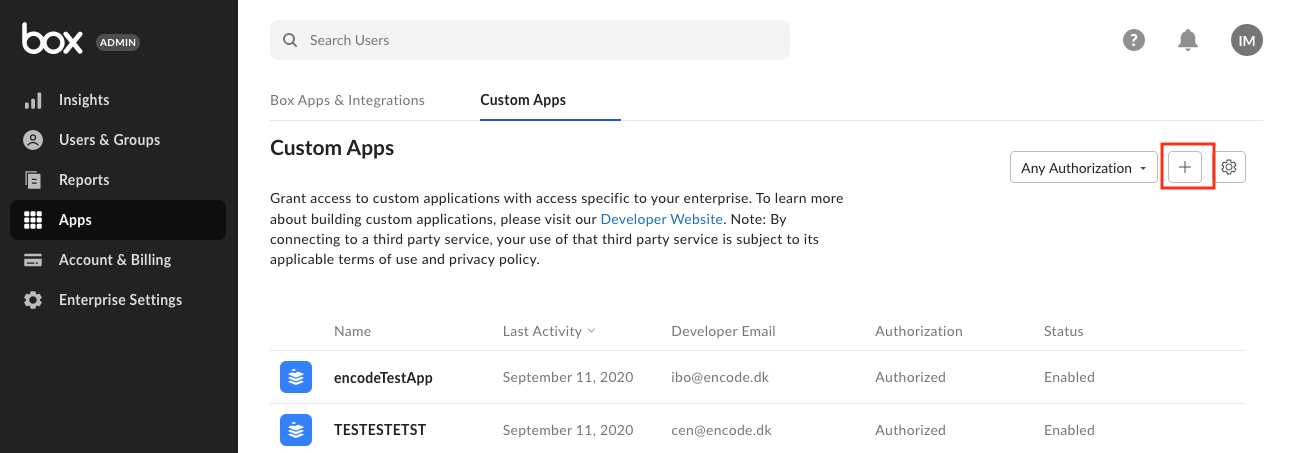
Go to the Box's Admin Console
Click Apps > Custom Apps > Click the "+" icon to authorize App
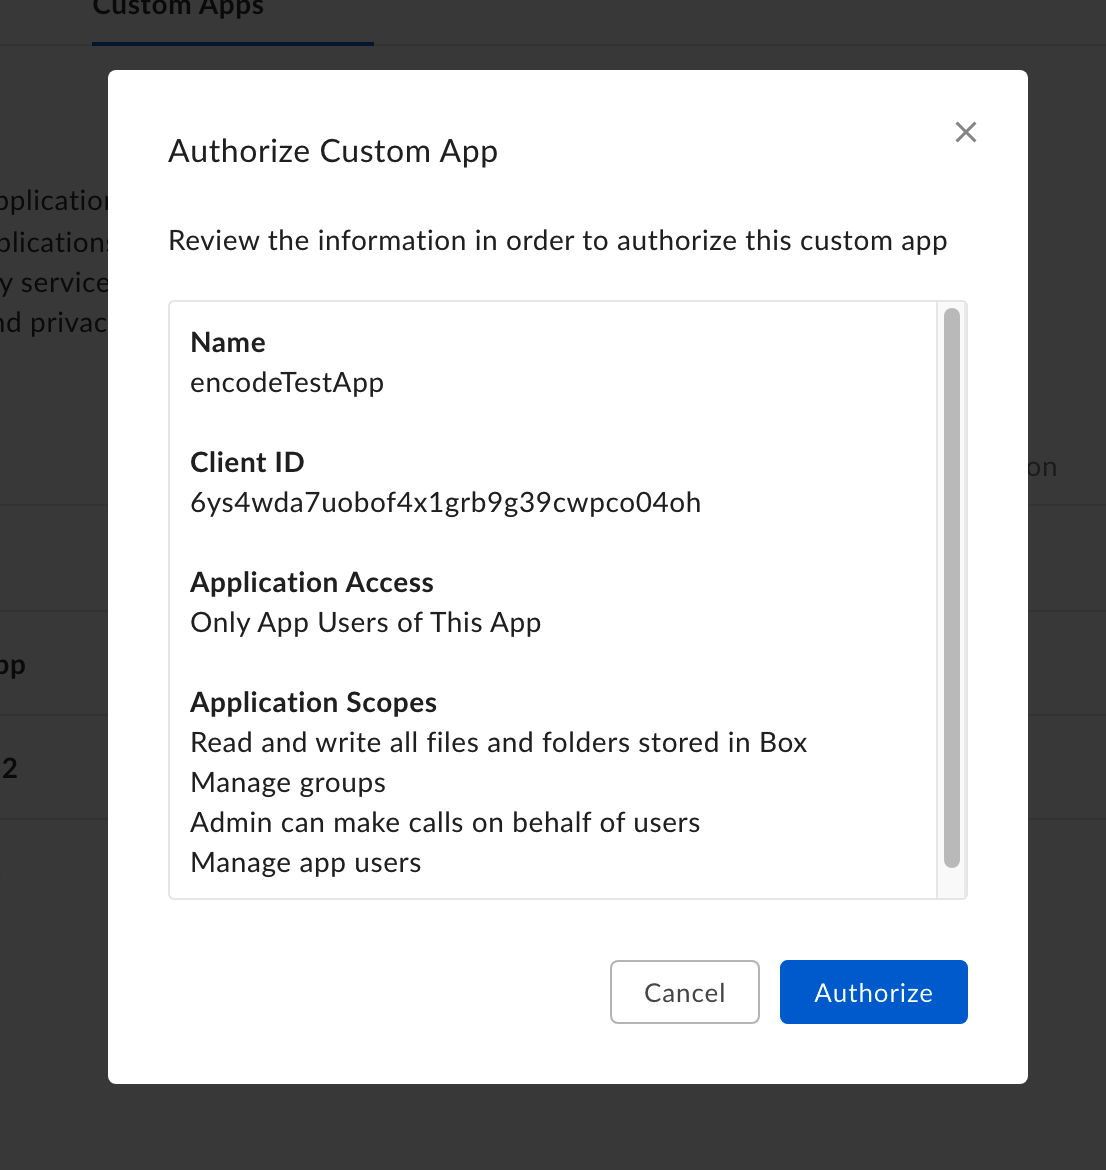
In the pop-up that opens, enter the previously locally saved ClientID and Click Next

Click "Authorize" and the app will appear in the list of Custom Apps.
Folder creation and Permissions Configuration
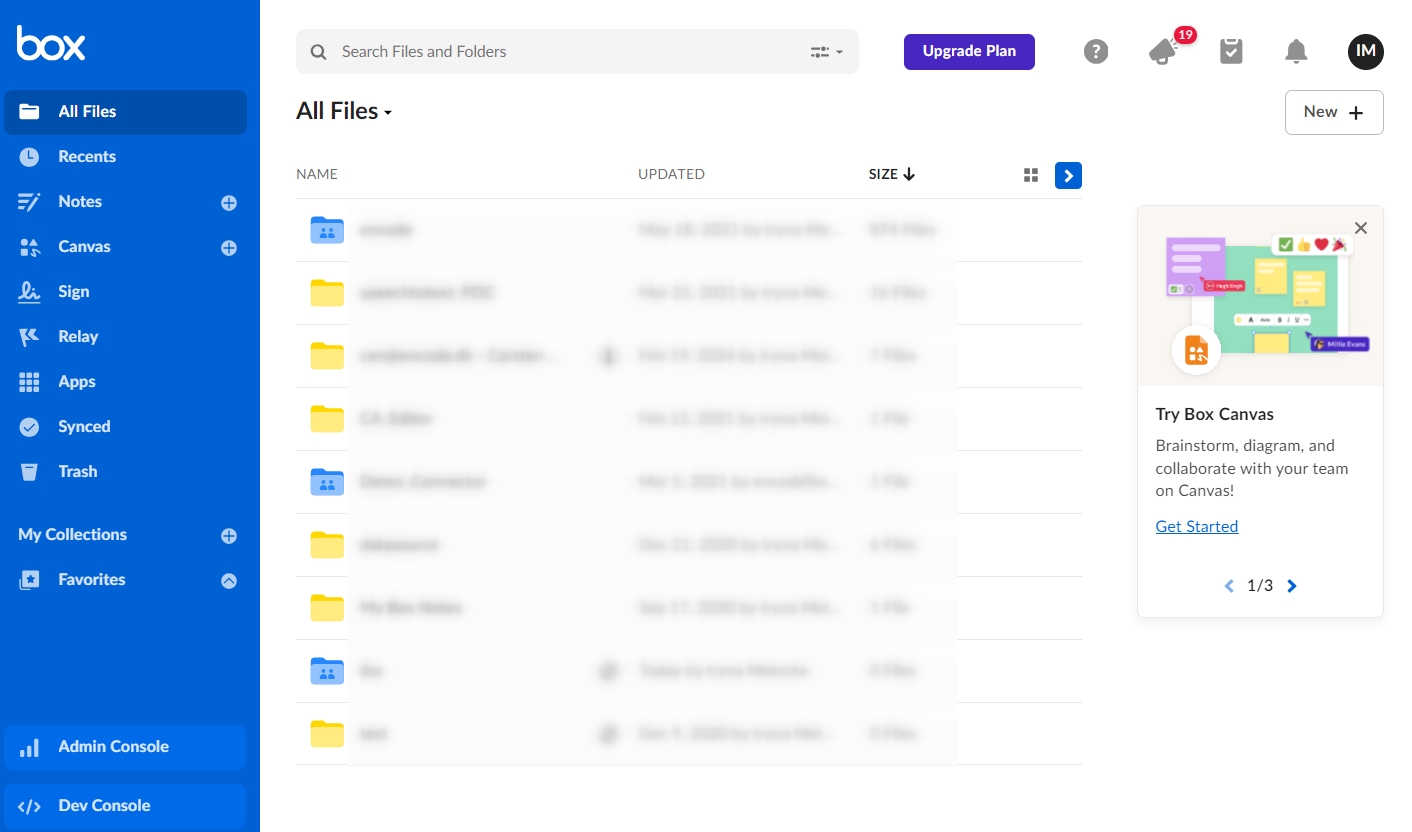
In the Admin Console, click "Back to My Account" in the bottom-left corner of the page.
Create a new folder under the "All Files" menu
Enter folder name and select "Editor" in the "Permission" select box> Save
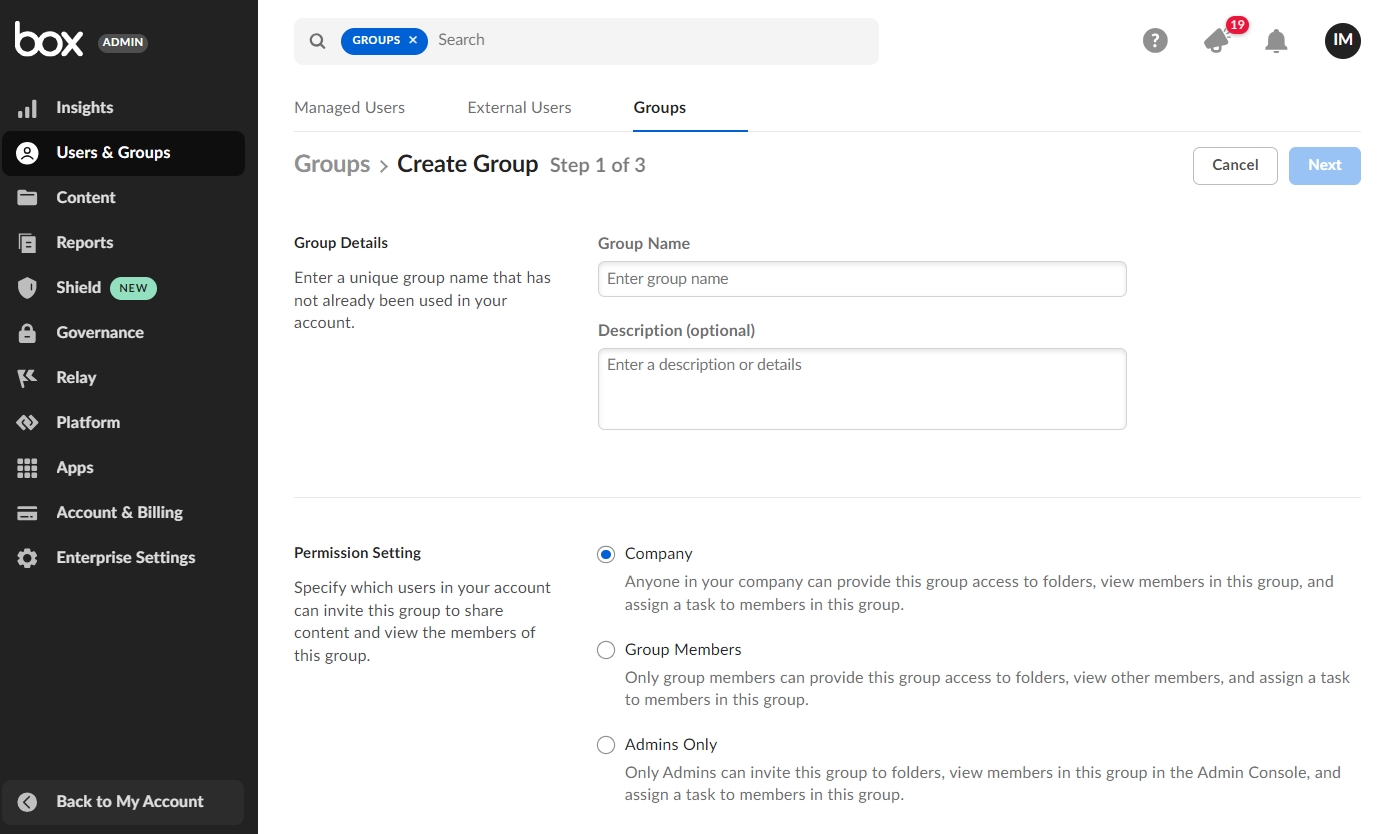
Go back to Admin Console > Users & Groups > Groups and click "Create"
Enter the name of the group in the "Group Details" section > leave the "Company" option selected > click "Next"
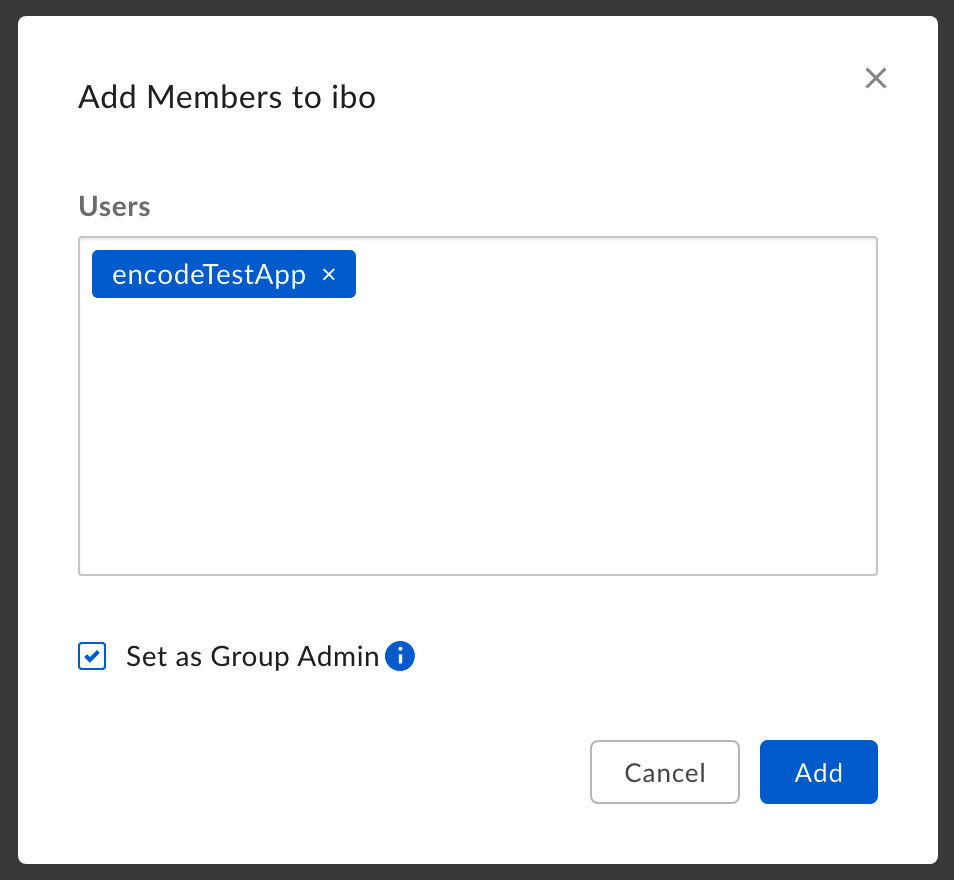
Click "Add Members" > start typing to add the users. Note that the user that is created for integration when the app is created is the one that needs to be added. Example of user name: AutomationUser_1363840_x0Dhq84jCs@boxdevedition.com
Select the "Set as Group Admin" check box and click "Add"
Click "Next"
On Step 3, select the folders to share by clicking "Share Folders" > Click "Done" > "Done" when finished.
Configuration of Connected Service in Encodify
As mentioned previously, the Box.com connector is controlled by the feature flag and needs to be enabled in webapp.yaml as a precondition.
Go to Site Configuration > Connections > Connected services
Click "Add Service" next to the "Box.com" service type.
Fill in the "Service Name" and "Account name" fields
Leave "Create New" in the "Account" field if the service is being configured for the first time
In the "Box JSON Key" field, paste the content of the previously downloaded JSON file with the Public/Private keypair.
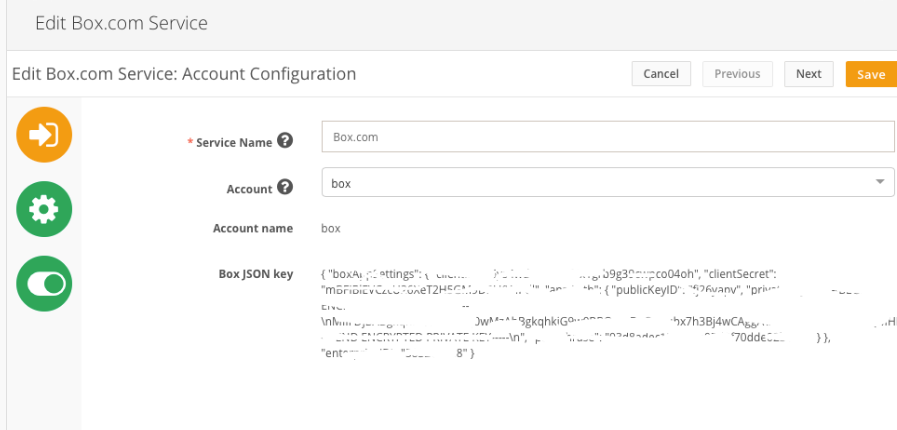
Click "Next"
In the "Module" select box, select the module for which integration is being set up and click "Next"
On the Mappings page, select the media holder from which files will be synced with the external folder on box.com. Both original and custom media holders are supported. It is also possible to use single and multiple file fields for integration.
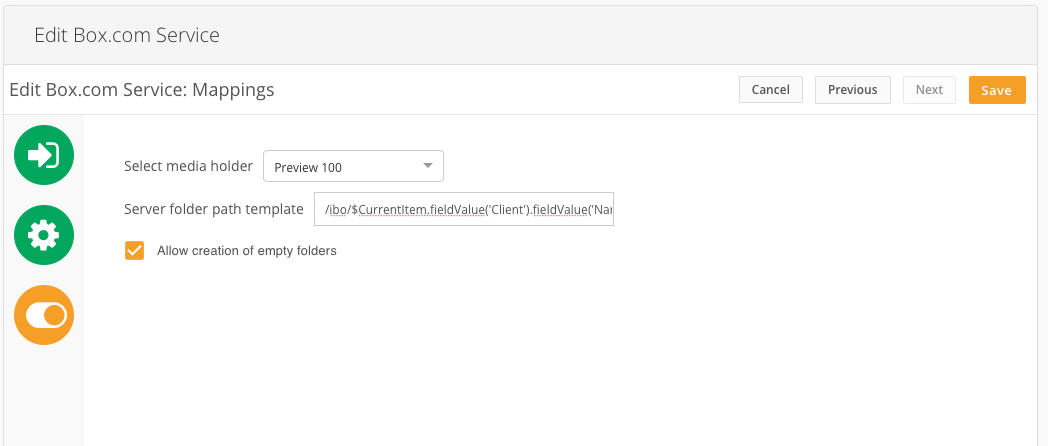
"Server Folder Path Template" - specify the path to the synchronisation destination folder on box.com. The path should start with the existing folder on Box.com. Note that it is possible to use a Velocity template from actions to map the values of the fields to the folder path.
The "Allow Creation of Empty Folders" check box will define if new folders will be created in case no files are sent on action triggering. Otherwise, folders are always created if missing when the file is being synced to Box.com on action execution.
Action Configuration
The last step in integration setup is the configuration of the action for the module in question.
Go to Site Configuration > Module > Create action > enter name and select event > select "Send to connected service" in "Action" > select configured connected service > save.
Known Behavior
If the mapped field value is empty > file will be copied to the 1st folder present
Field values having "/" in names: corresponding nested folders will be created
In case the content of the preview mediaHolder is a folder > nothing will be copied to Box (cases for the extraction of zip files)
If any of the field values are missing in the path, folders and files will be created based on the available values:
e.g. path = /main/client/brand/campain, where client, brand and campaign are field values

items with fields:

client = client 1

brand = (empty/not specified)

campaign = campaign 1


Folder structure that will be created in box, is the following

client 1 > campaign 1
Class for Debug
dk.encode.ebms.connections.box.com.BoxComMessageHandlerImpl