
Note: Starting from version 15 Item Views is used to configure 'Menu Element' tabs.
The Module is accessible from the right frame of the Portal page or from the top bar if correspondingly configured in Module Appearance. To enter the module, click the Search button with the module name on it from the Portal page, or click the tab on the top bar.
Note! Some of the actions described in the sections below may be unavailable to you due to the lack of access rights. Also, availability or unavailability of certain actions depends on the way the module is configured.
Searching for Entries
To search the module, use either the Search Menu or the Folder Structure, available in separate tabs on the left side of the module main page.
Searching using the Search Menu
Specify your criteria (field values) using the search form in the Search tab and click Search or press Enter to run the search. If any entries are found matching your query, they will be displayed in the Search Result pane.
There is a possibility to search items by empty fields with exact search that is identified by double quotes "". Exact search returns result that fully match the query in double quotes (e.g. "text_to_find"), so the empty fields can be found by entering "" characters into demanded field on the search panel.
It is possible to select several values as search criteria in the single option field. The “OR” logic is used, meaning items matching any of the selected values will be present in search result.
Saved Searches
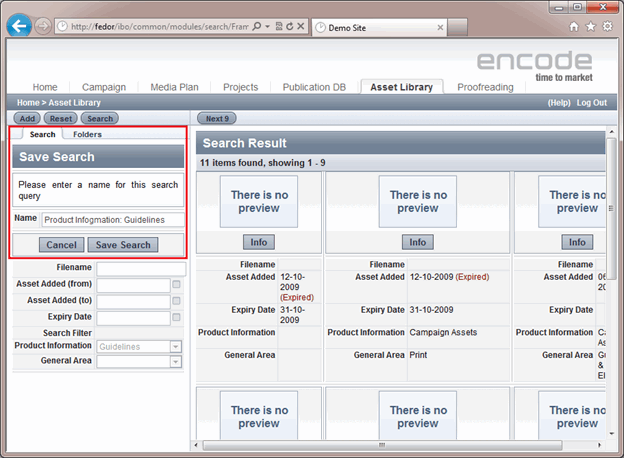
Specified search criteria can be saved to be reused in future. To save the search criteria and create your personal search, perform the following:
Enter the needed search criteria in the search frame fields.
Select Save Search from the list of Saved Searches drop-down list.
Specify the name of the search: default name is Saved_Search_1.
Click Save Search.
Newly-saved search will be selected in the Saved Searches select box.
 You can create as many personal searches as needed, specifying these or that search criteria values. All the saved searches will be available in the Saved Searches select box at the top of the search frame. Selecting Saved Search from the select box automatically launches search.
You can also delete the searches that are not needed any more by clicking Edit Saved Searches and then the Delete icon next to the specific search.
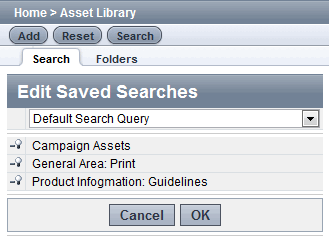
You can make one of the saved searches a default one. Perform the following to specify the default search for the module:
Expand the Saved Searches select box and click Edit Saved Searches.
Default Search Query value will be selected in the Saved Searches select box.
Expand the select box and select previously created saved search.
Click OK.
Module’s default saved search will be applied every time you enter the module, and is applied to the list of module items shown on Portal Page, unless Filter by setting is specified.
It is also possible to use Saved searches on Portal Page as well. In order to do this, the list of saved searches for a specific module should be made available in the Search select box on the Portal Page. To activate Saved searches on Portal Page, perform the following:
Go to Site Configuration > Module > Appearance > Edit Appearance.
Select the Show Module on Portal Page check box.
In the Enable Search select box select Use Saved Searches.
Save Appearance settings.
Now, the list of module’s saved searches will be available from the Search Saved Search select box on the Portal Page.
Note! All the created personal searches are user-specific. This means that search created and made a default for the particular module will be available only to the user who created it.
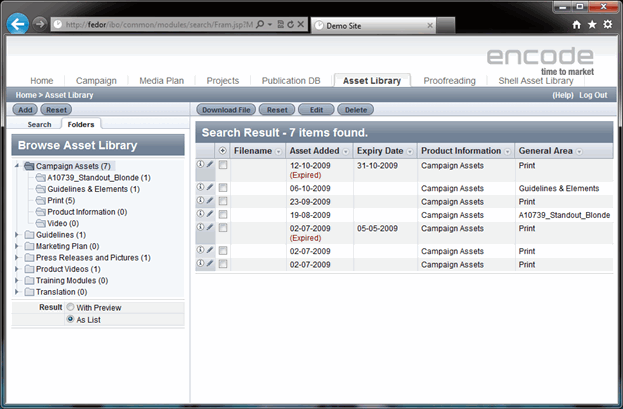
Searching using the Folder Structure
If the module configuration allows for entries to be arranged in folders, you will be able to browse the module by folders. To do this, click the Folders tab to see the folder structure of the module in the form of a tree. Clicking a folder in the tree displays the list of entries contained within this folder in the Search Result pane. Folders containing subfolders will have a plus sign next to them: clicking the sign expands the folder so you can view its subfolders.
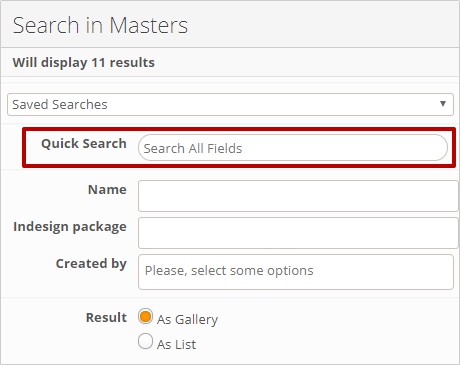
Searching using the Quick Search
To perform searching whithing the module it is possible to use Quick search functionality which is available ob both: Classic UI and New UI.

Quick Search on the New UI
Quick Search on the Classic UI
Quick Search was implemented based on Lucene library that means that syntax considerations of this library are applicable for Quick Search in Encodify system.
Note! You can search all characters with the exception of special characters, which Data Grid interprets as spaces. These are + - = && || > < ! ( ) { } [ ] ^ " ~ * ? : \ /. You can search for special characters in a field-level search as long as you escape them using \ before the special character.
Below, you can find the list of characters and expressions that could be used in Quick Search to indicate the results that should be returned:
Search Term | Explanation | Example |
? | to replace a single character | search term: appl? results: "apply", "apple" |
* | to replace zero or more characters | search term: appl* results: "apples", "applied", "apply" |
Regular expressions (RegEx) | searches matching a pattern between forward slashes "/" | search term: /[mb]oat/ results: moat, boat |
~ | to search for a term similar in spelling | search term: roam~ results: foam, roams |
OR, || | to search for documents that contain either of two or more terms | search term: apple OR pear results: pear, apple |
AND, && | to search for documents that contain two or more terms | search term: apple AND pear results: apple pear |
NOT | to search for documents that contain one term but specifically not another | search term: apple NOT pear results: apple |
+ | requires that the term after the "+" symbol exist somewhere in a the field of a single document | search term: +jakarta lucene results: jakarta lucene, jakarta |
() | to control the boolean logic for a query | search term: (jakarta OR apache) AND website results: jakarta website, apache website |
\ | to escape special characters | search term: \(1\+1\)\:2 results: (1+1):2 |
FilesContent: | to search within only file fields in the module | search term: FilesContent: ubuntu.png results: items with file "ubuntu.png" |
FieldObjectId: | to search by item id | search term: FieldObjectId: 3333 results: item with id = 3333 |
"" | to search by excact phrase | search term: “apple pear” results: apple pear |
Name: | to search within only name fields in the Users list | search term: Name:"David Blane" results: user with name "David Blane" |
Email: | to search within only email fields in the Users list | search term: Email:db@test.dk results: user with email "db@test.dk" |
Address: | to search within only address fields in the Users list | search term: Address:"Test street" results: user with address "Test street" |
City: | to search within only city fields in the Users list | search term: City:"Test" results: user with city "Test" |
Country: | to search within only country fields in the Users list | search term: Country:"Test" results: user with country "Test" |
Department: | to search within only department fields in the Users list | search term: Department:"QA" results: user with department "QA" |
Function: | to search within only title fields in the Users list | search term: Title:"QA" results: user with title "QA" |
Region: | to search within only region fields in the Users list | search term: Region:"New" results: user with region "New" |
SubRegion: | to search within only sub region fields in the Users list | search term: SubRegion:"New 1.1" results: user with subRegion: "New 1.1" |
SystemAccess: | to search within access right fields in the Users list | search term: SystemAccess:"Admin" results: users with access right "Admin" |
Fax: | to search within only fax fields in the Users list | search term: Fax:"444" results: user with fax "444" |
Login: | to search within only login fields in the Users list | search term: Login:"davidBlane" results: user with login "davidBlane" |
Phone | to search within only phone fields in the Users list | search term: Phone:"555-55-55" results: user with phone "555-55-55" |
UserGroups: | to search within only user group fields in the Users list | search term: UserGroups:"QA" results: user with group "QA" |
For additional informatin, please, read the full documentation.
Note! It might be necassary to run reindex job to make quick search functionality works.
Viewing Module Entries
To view a particular Module entry, locate it in the list of search results and click the Info button if you are in the With Preview mode, or the name field link in the As List view mode. This opens the entry information view, which generally consists of a number of menu elements in the left pane all serving to display various data relating to the item being viewed. The main tab (often called Info or alike) usually displays basic information such as field data (values you enter in the fields when creating or editing an item). It is also possible to switch to next/previous item by clicking the corresponding buttons in the right top corner.
You can use breadcrumbs for navigating back to the Module search result or in case of entering linked item it is possible to navigate to the parent item also.
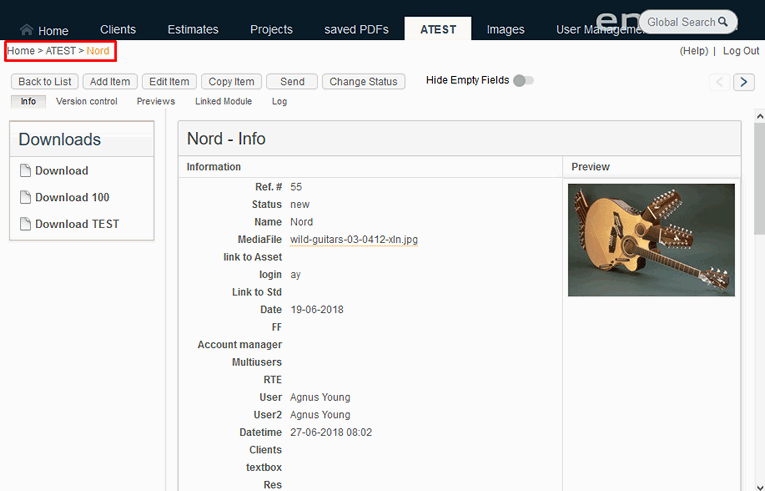
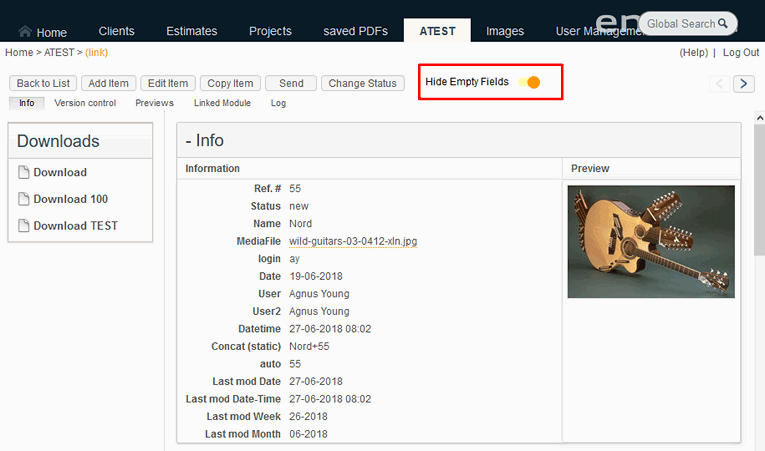
You can hide fields with no values in the info view using the switch to toggle between showing all fields and only fields with values in the info view.
Creating a Module Entry
You can create new entries from the module main page or within Item inline view.
To create a Module entry:
Click the Add button on the toolbar.
In the dialog box that opens, enter the necessary data in the available fields (this data is usually meant to describe the item you are creating).
Click OK to save the new entry in the module.
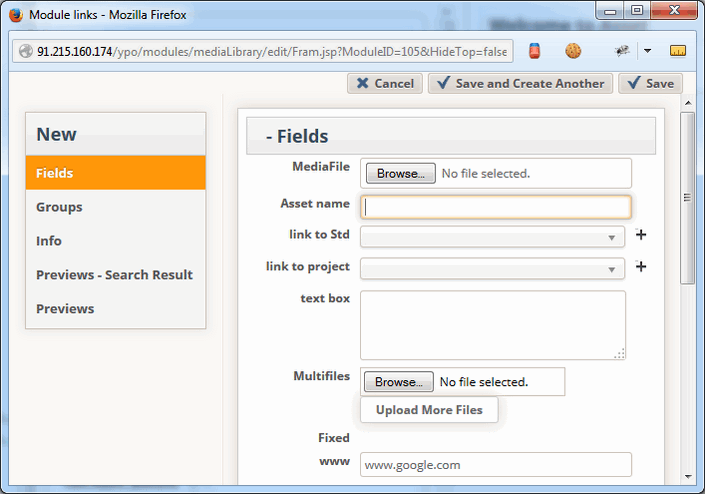 You can also create several new items in a row without opening and closing New item window search time using Save and Create Another button in the New item window.
Editing an Entry
To edit a Module project entry, follow these steps:
1. The Edit item window in Module is accessed differently depending on the module’s view mode.
In the With Previews view mode:
Click Search to retrieve the list of items.
Click the Info button of the item you want to edit.
In the item’s Info window click Edit on the toolbar.
In the As List view mode:
Click Search to display the list of created items.
Click the Edit icon next to the item you want to modify
2. Modify the field values as necessary and click OK to save your changes.
Deleting/Inactivating a Module entry
To delete an item from the module:
Open the Edit window of the item.
In the Edit dialog box that opens, click Delete.
If “Items should be removed from the list by” option in Module > Settings is set to Making Inactive items can be only inactivated, not deleted, So the Inactivate button is present in Edit window instead of Delete. Inactive items can be found if corresponding checkbox is selected in search pane. It is also possible to reactivate inactive items from the same Edit window.
Note, only Site/System administrator can delete inactive items via “Delete” button in Edit Item window.
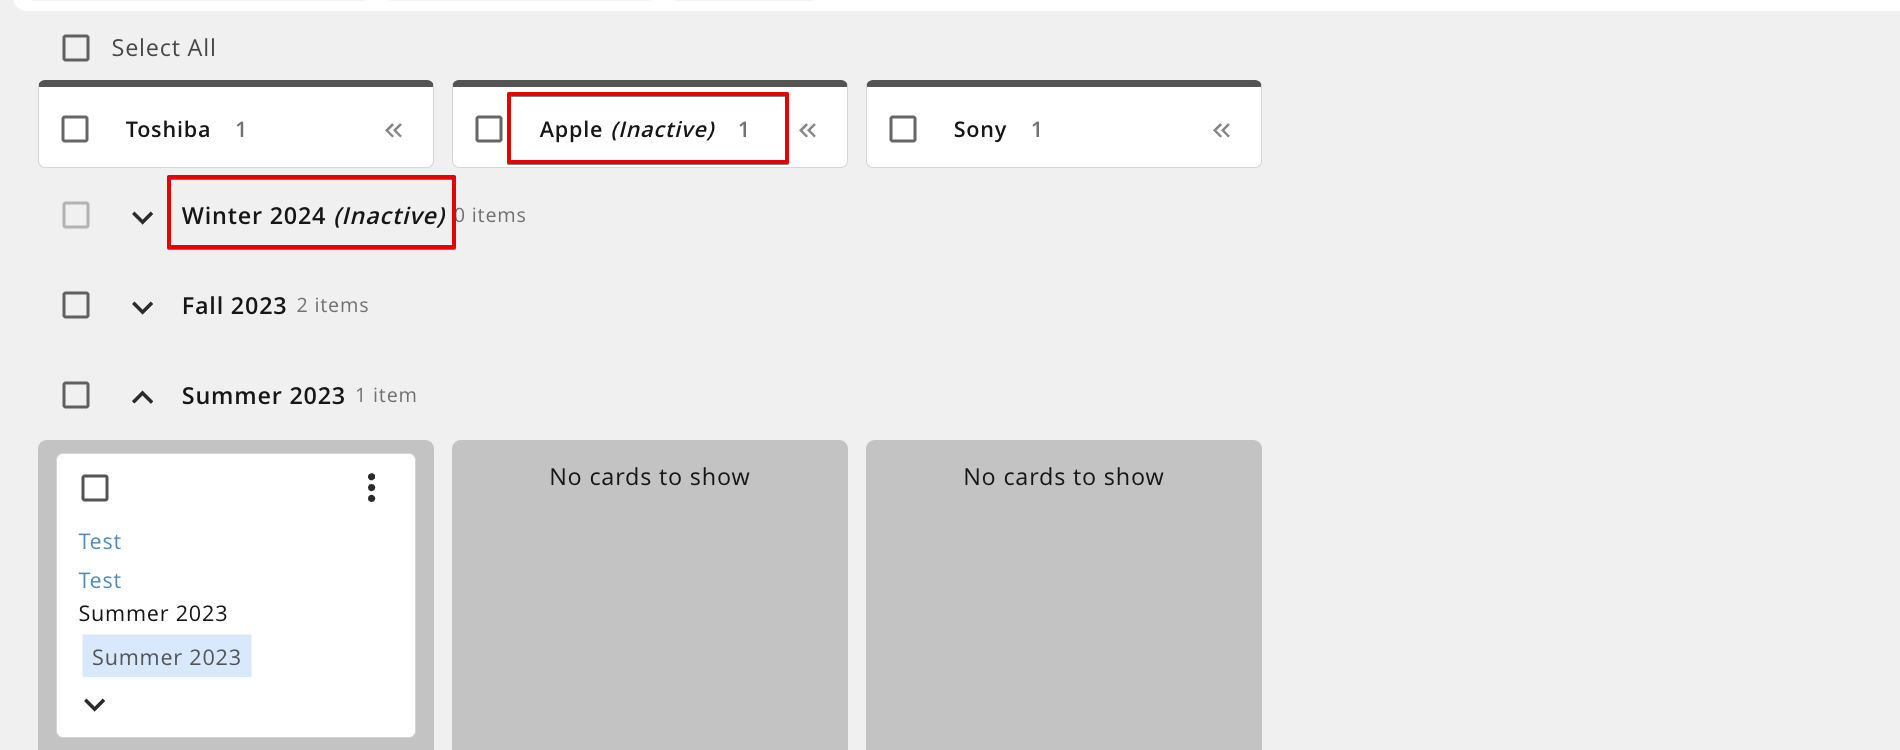
Visualization of inactive items.
In order to get an easy overview inactive items are marked with "Inactive" label for module link and reference fields in Module Views, Item Form, Wizard Form and Filters.In addition fields with inactive items are highlighted in module views, item views and wizard form.

Visualisation of inactive items in modules search result
In Kanban view inactive items will be marked as "Inactive" in column header/swimlane header if module link field was specified as "Create By" parameter in config
Visualisation of inactive items in Column/Swimlane header in Kanban view.