Overview
Important: Before enabling Microsoft Teams, an Encodify administrator must first ensure that it’s enabled within your infrastructure.
To configure a Notification Rule using the Microsoft Teams channel, three key steps must be completed:
Microsoft Teams App in Microsoft Developer Portal – Create and configure the app, which acts as the bridge between your system and Microsoft Teams. This step is covered in detail in this article.
Microsoft Teams Connected Service – Set up the connected service to allow secure communication between your system and the Teams app.
Notification Rule Configuration – Configure the rule for the relevant trigger, specifying recipients, channels, and message content so notifications are sent automatically when the event occurs.
Microsoft Teams App Configuration in Microsoft Developer Portal
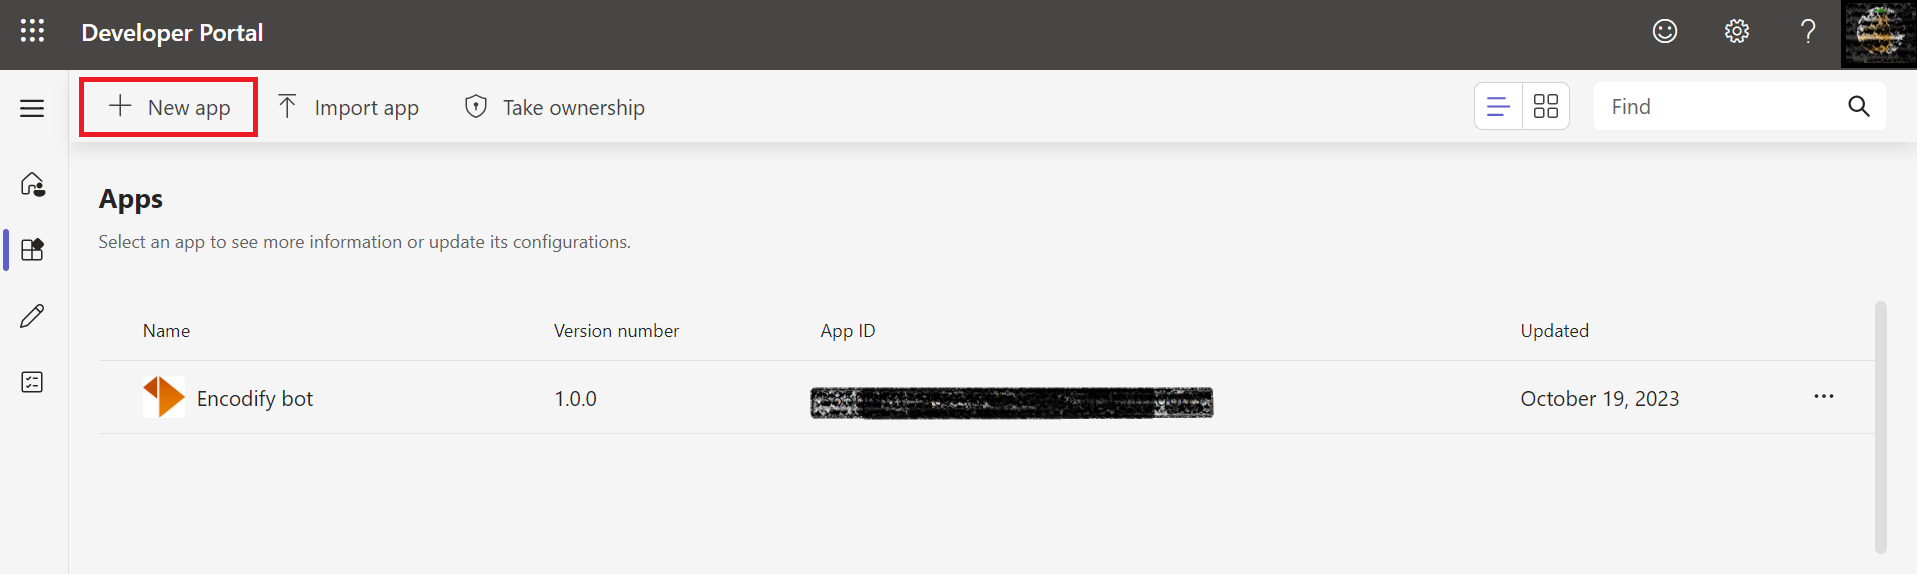
Step 1: Create a new app
Click + New App (or import an existing one).
Enter the App Name and click Add
Complete all required fields on the Basic Information tab.
Step 2: Configure Bot
Navigate to Tools → Bot Management.
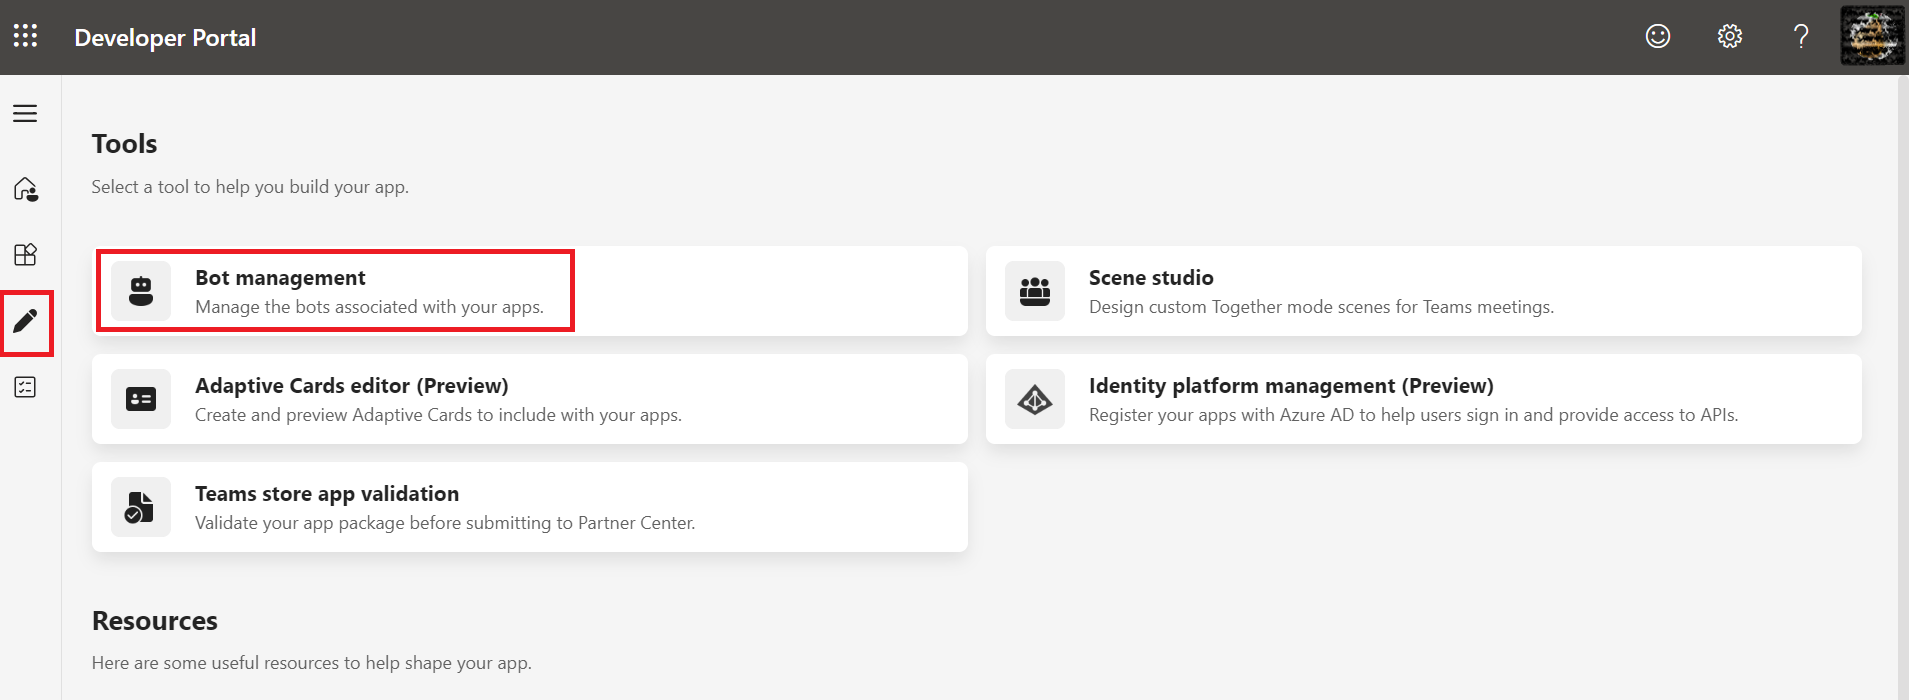
Click + New Bot, enter a Bot Name, and click Add.
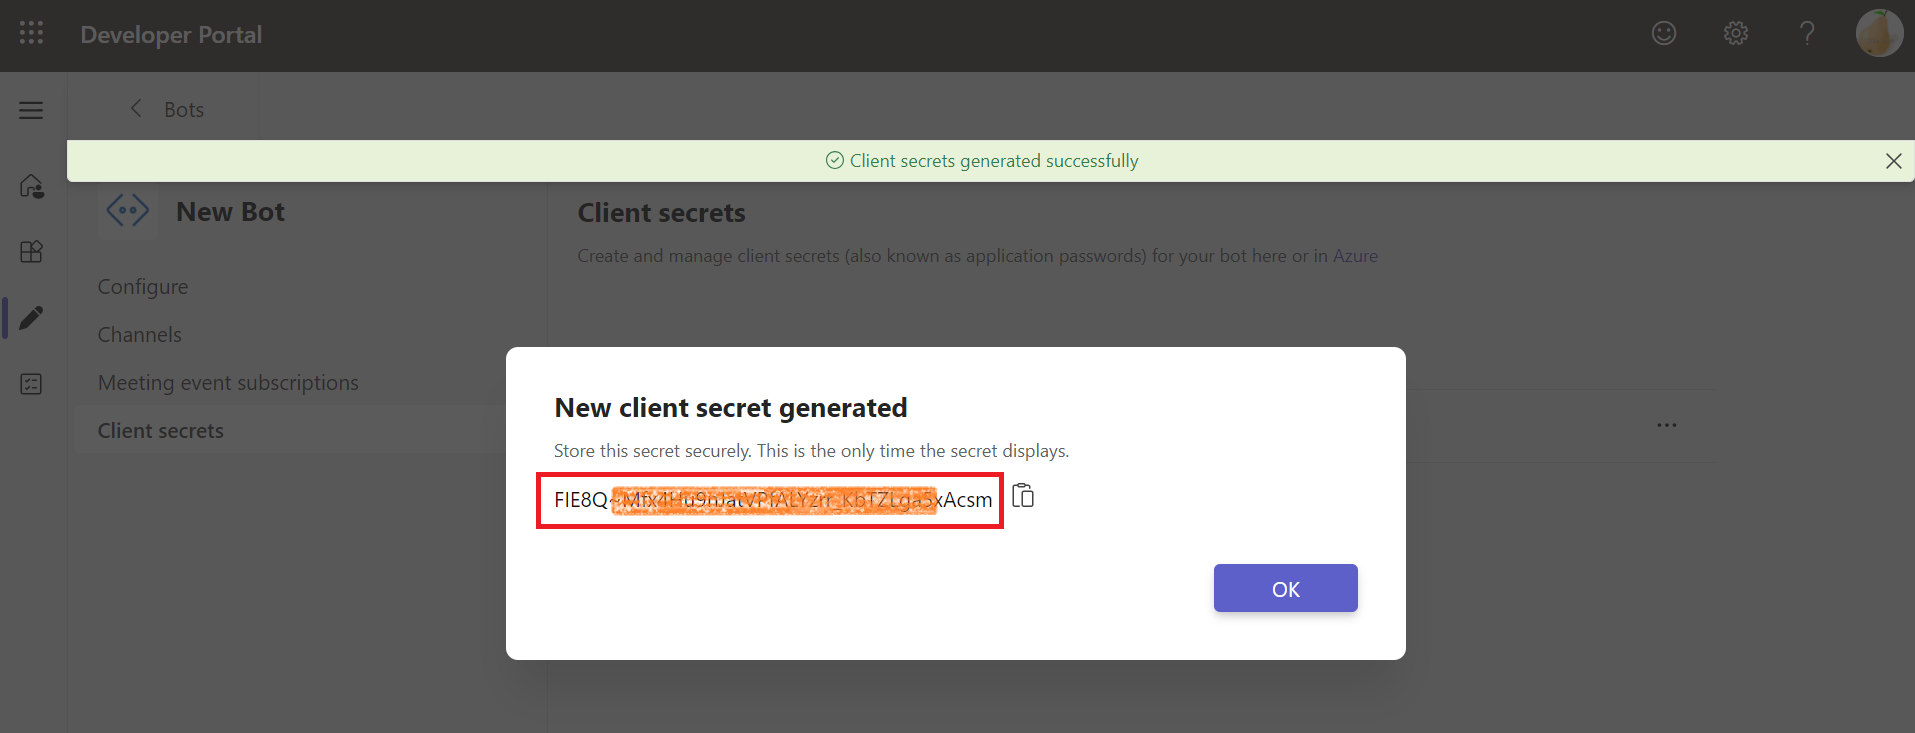
Click Client secret → Add a client secret for your bot.
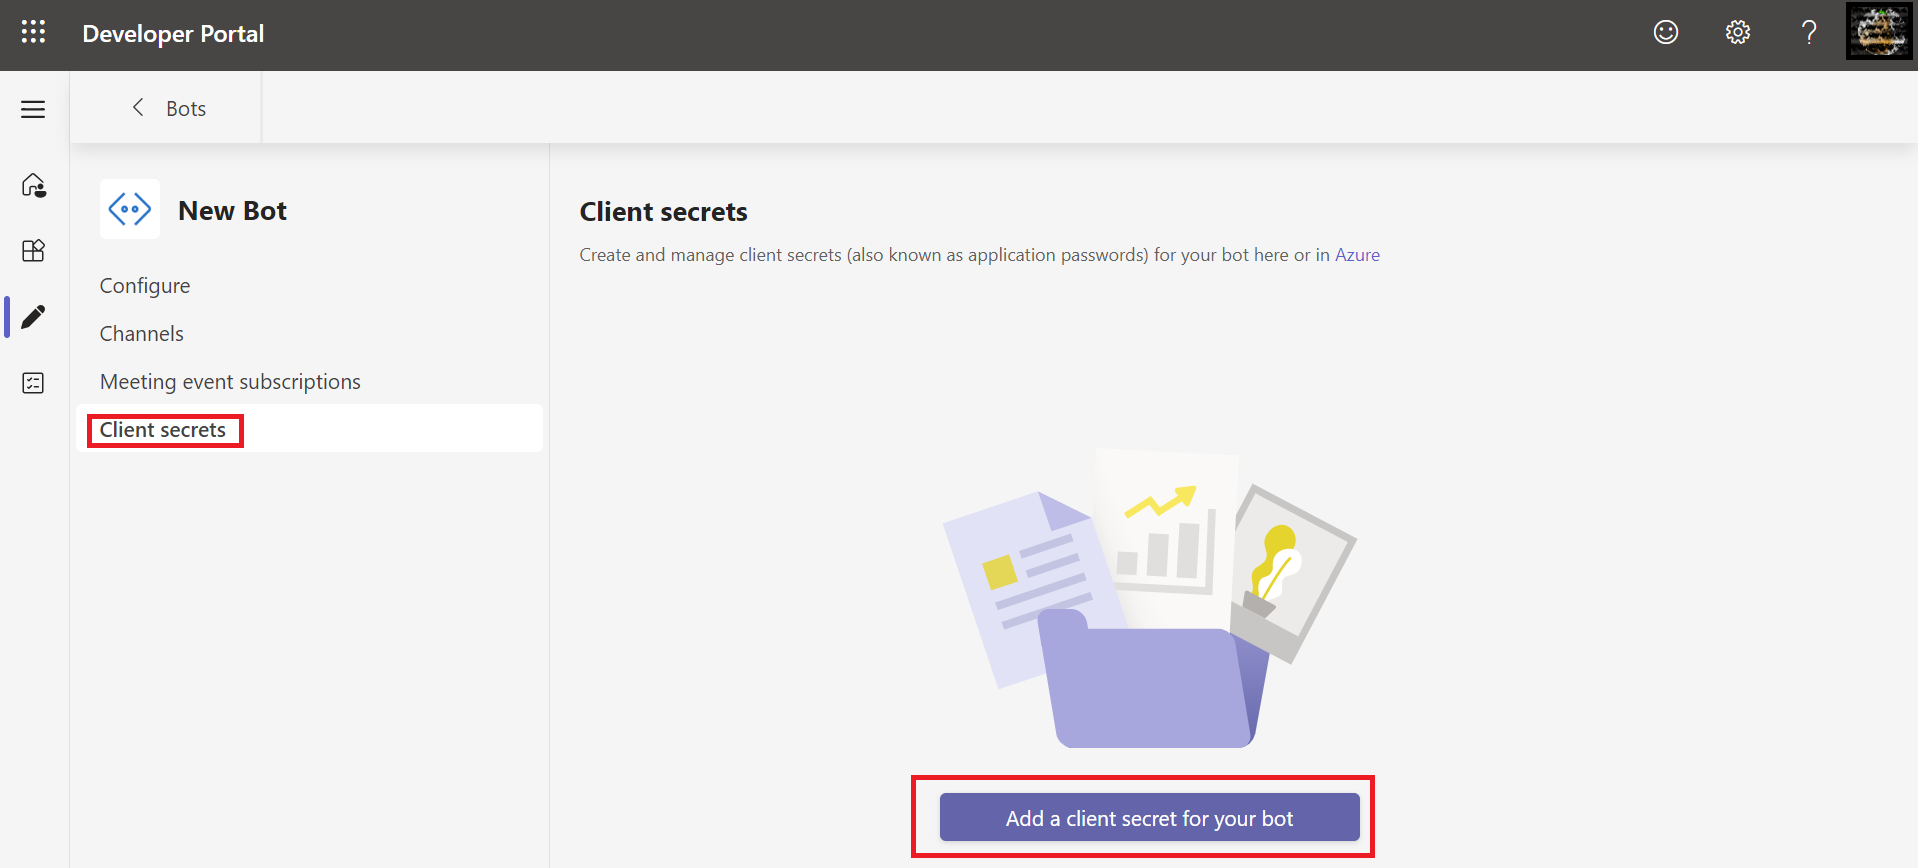
Store the generated Client Secret securely for later use.
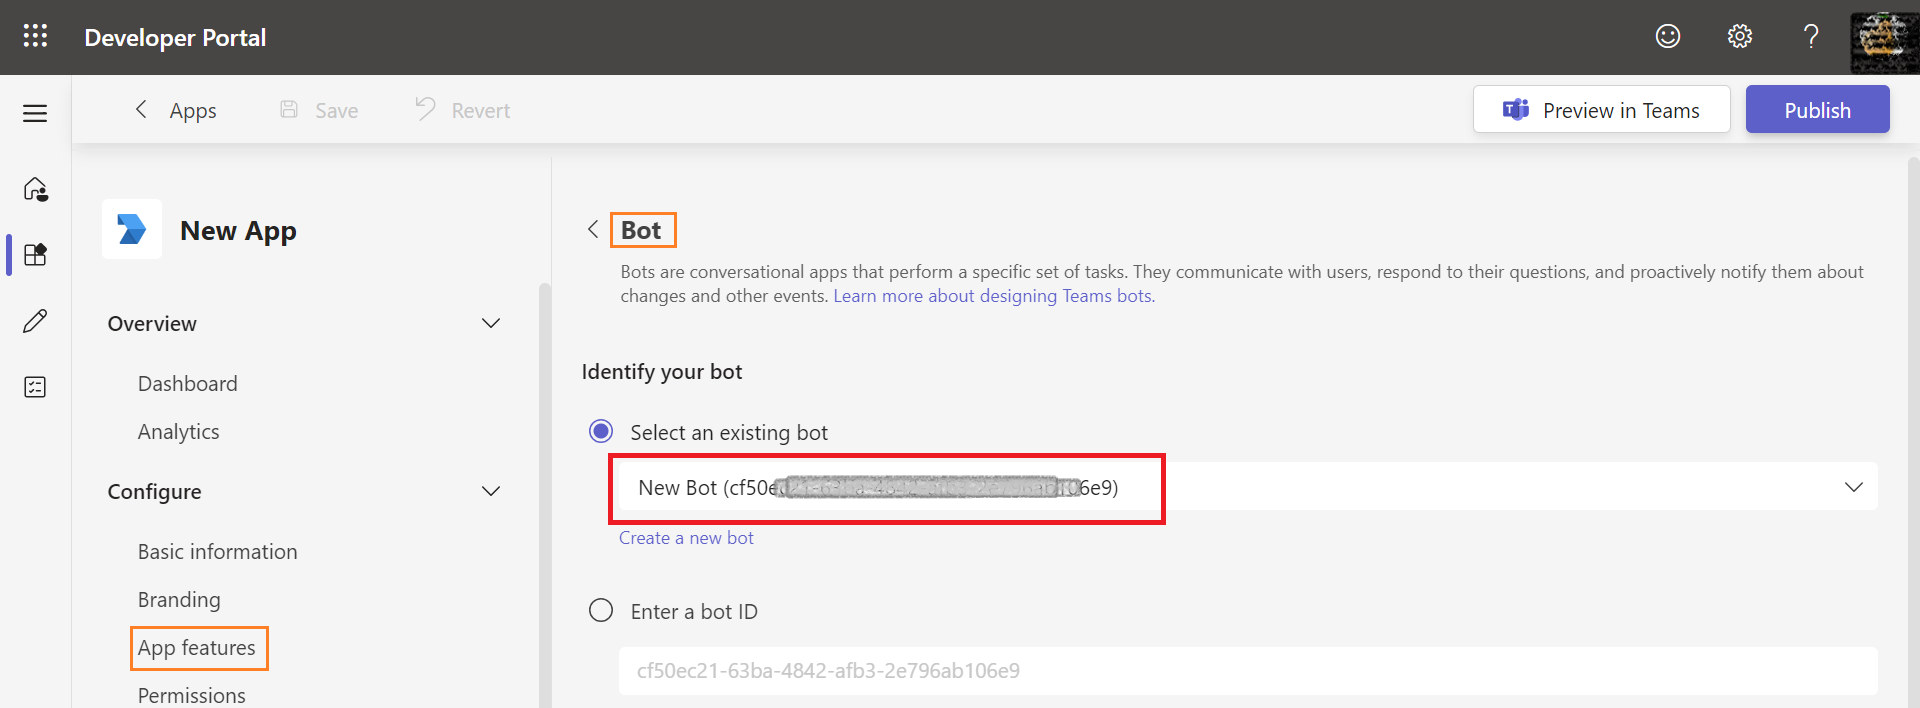
Step 3: Assign Bot to App
Navigate to Apps → {App Name} → Configure → App Features → Bot.
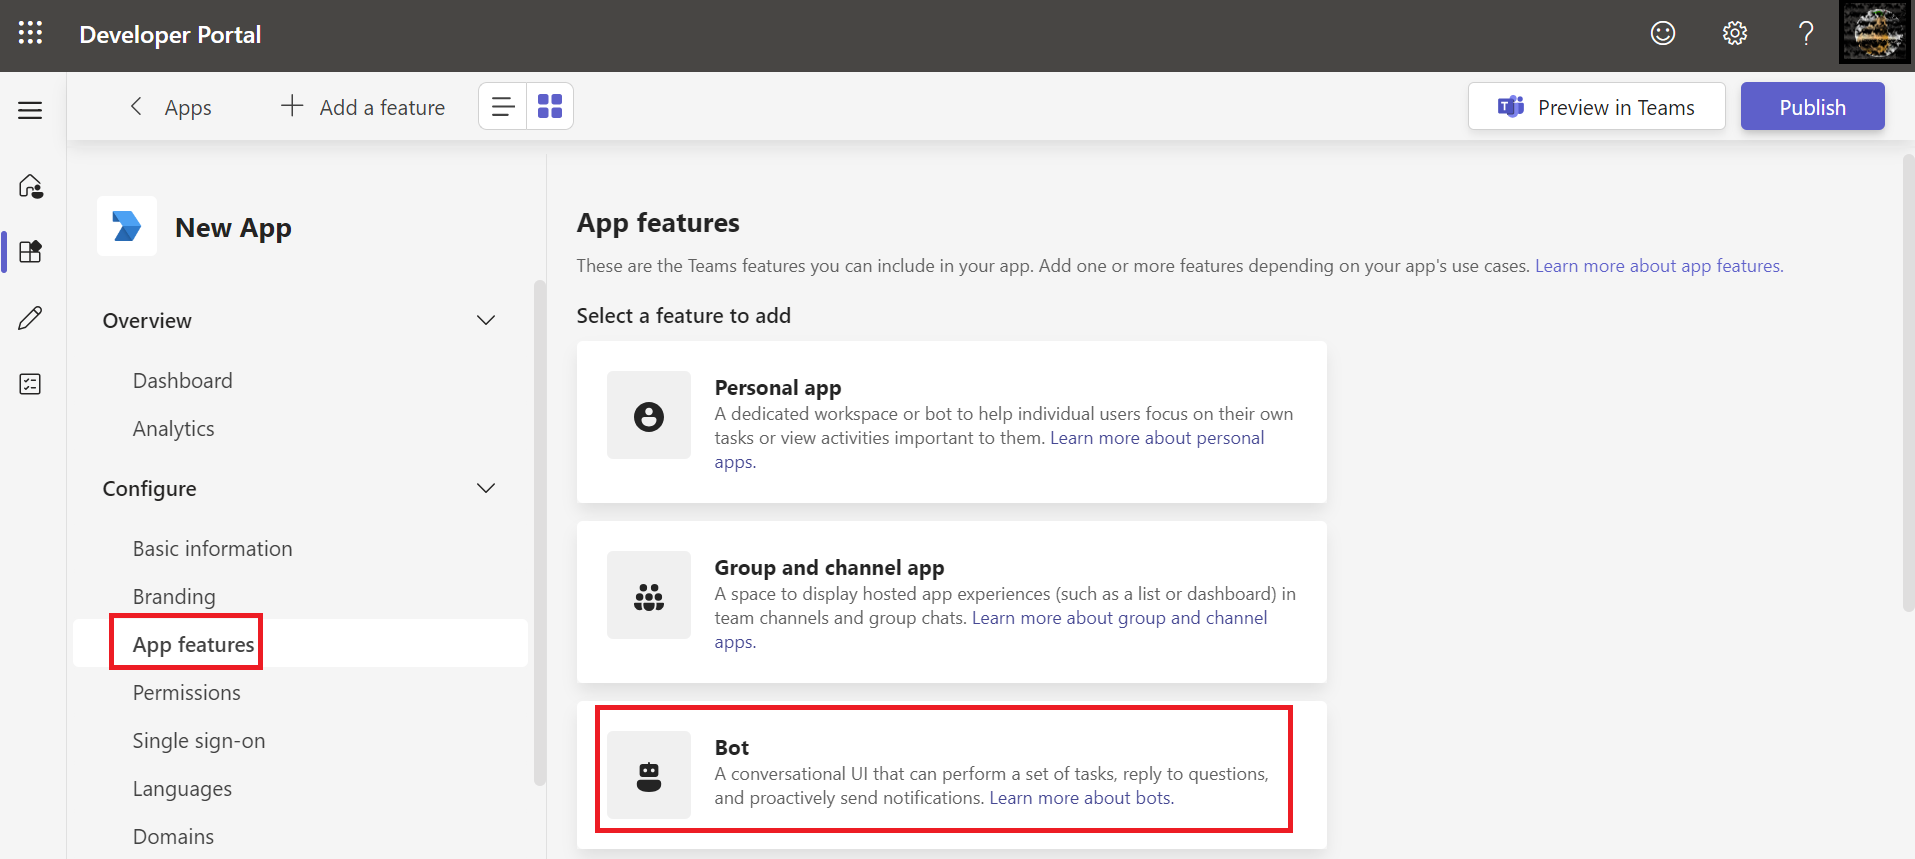
Ensure your bot is selected under Select Existing Bot.
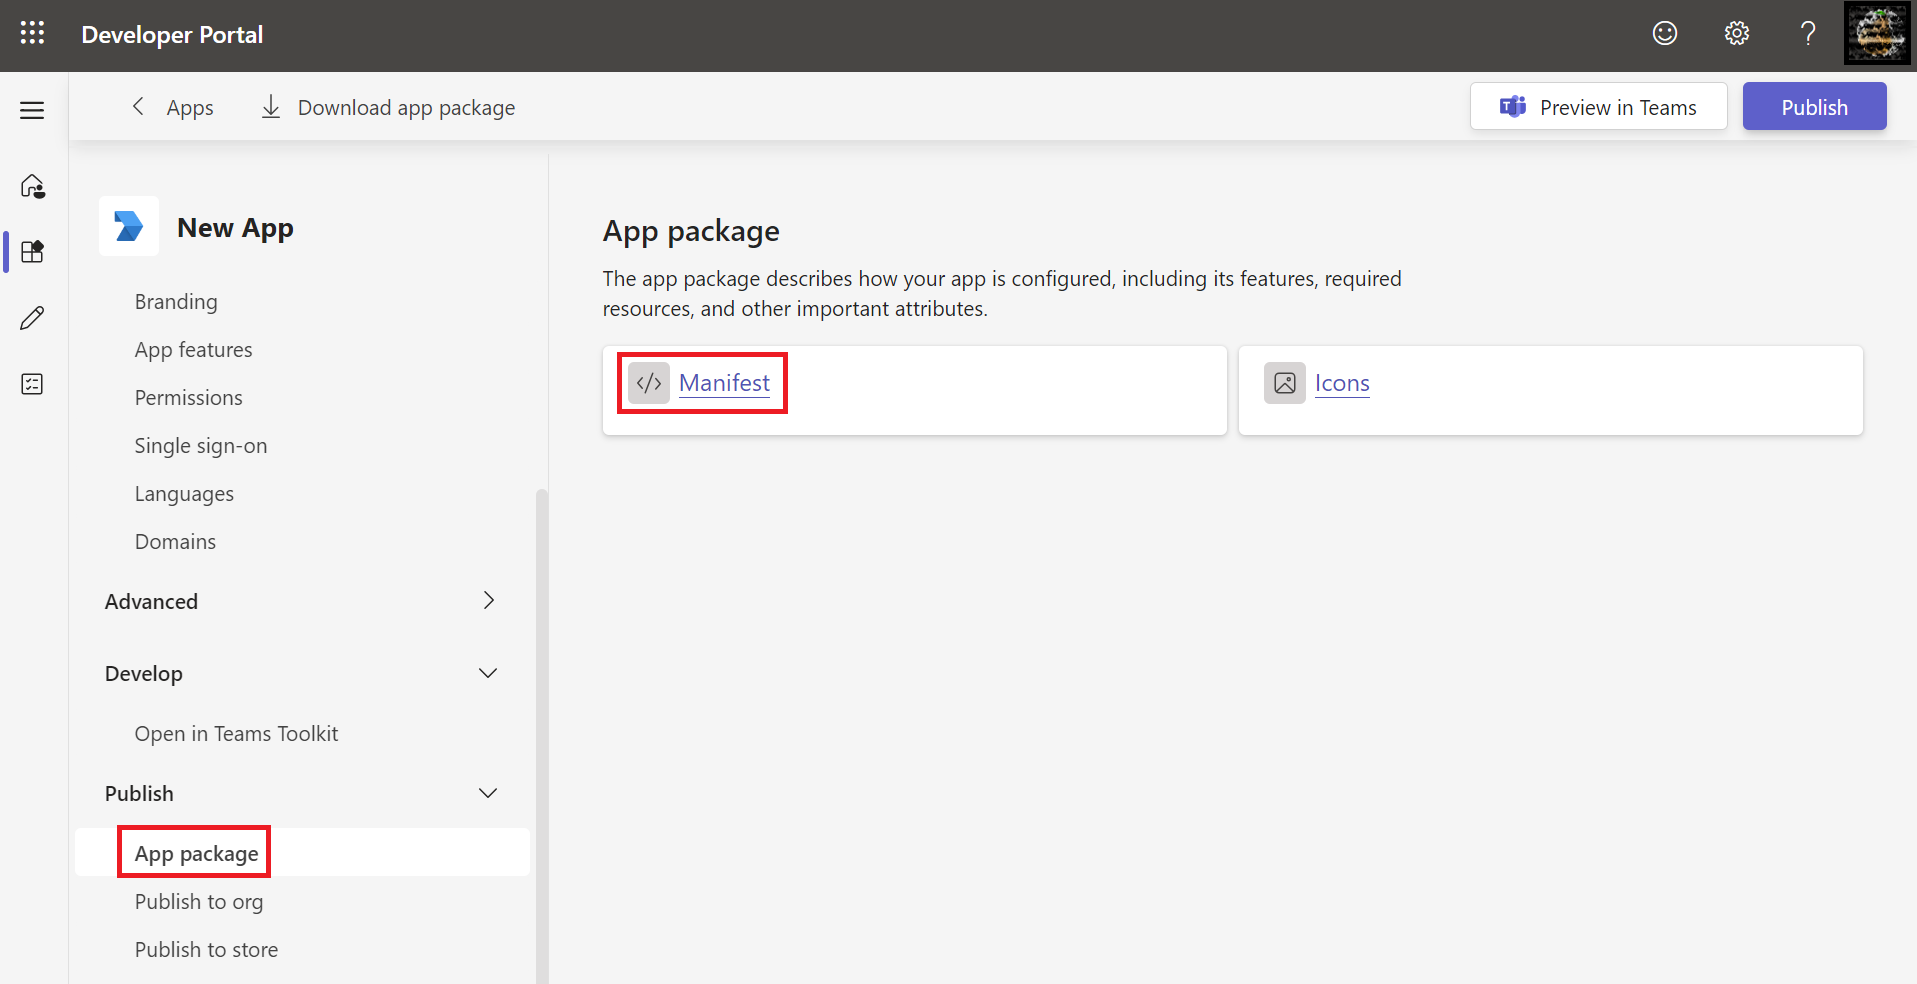
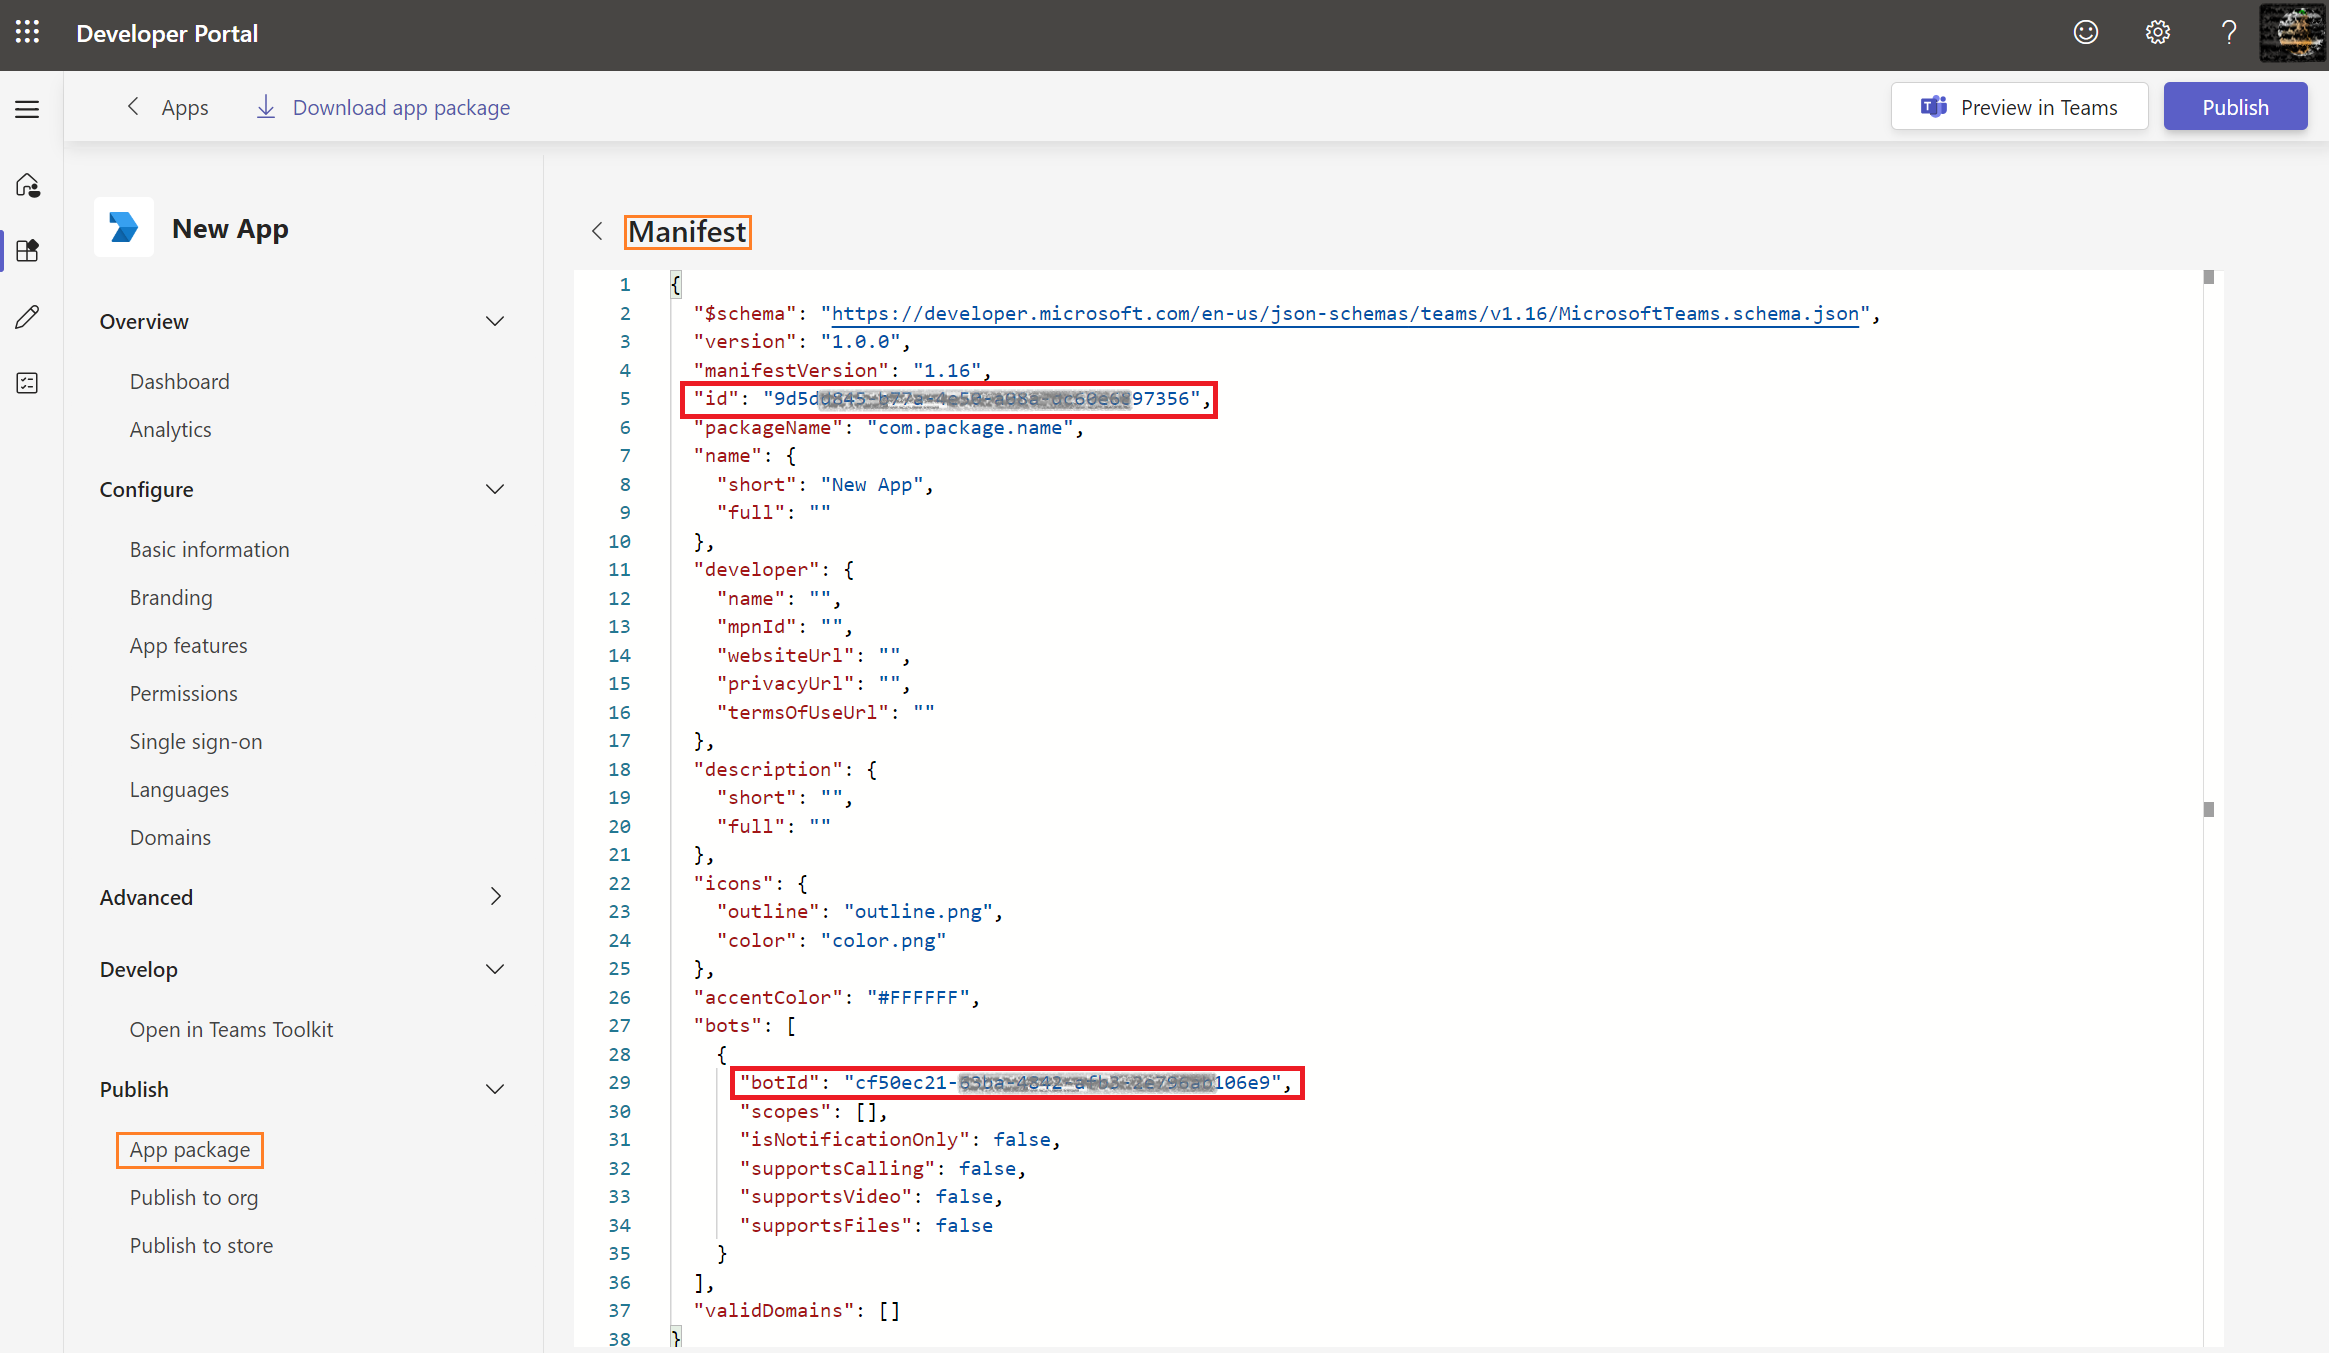
Step 4: Retrieve Manifest ID and Client ID
Navigate to App → App Package Editor → Manifest.
Note the Manifest ID and Client ID (Bot ID); these are required for the Microsoft Teams connected service.
Publish the application by clicking Publish → Publish to your org.
The publishing request must be approved by an admin via the Teams Admin Portal.
Microsoft Teams Bot Configuration in Microsoft Azure
Step 1: Locate the Bot Application
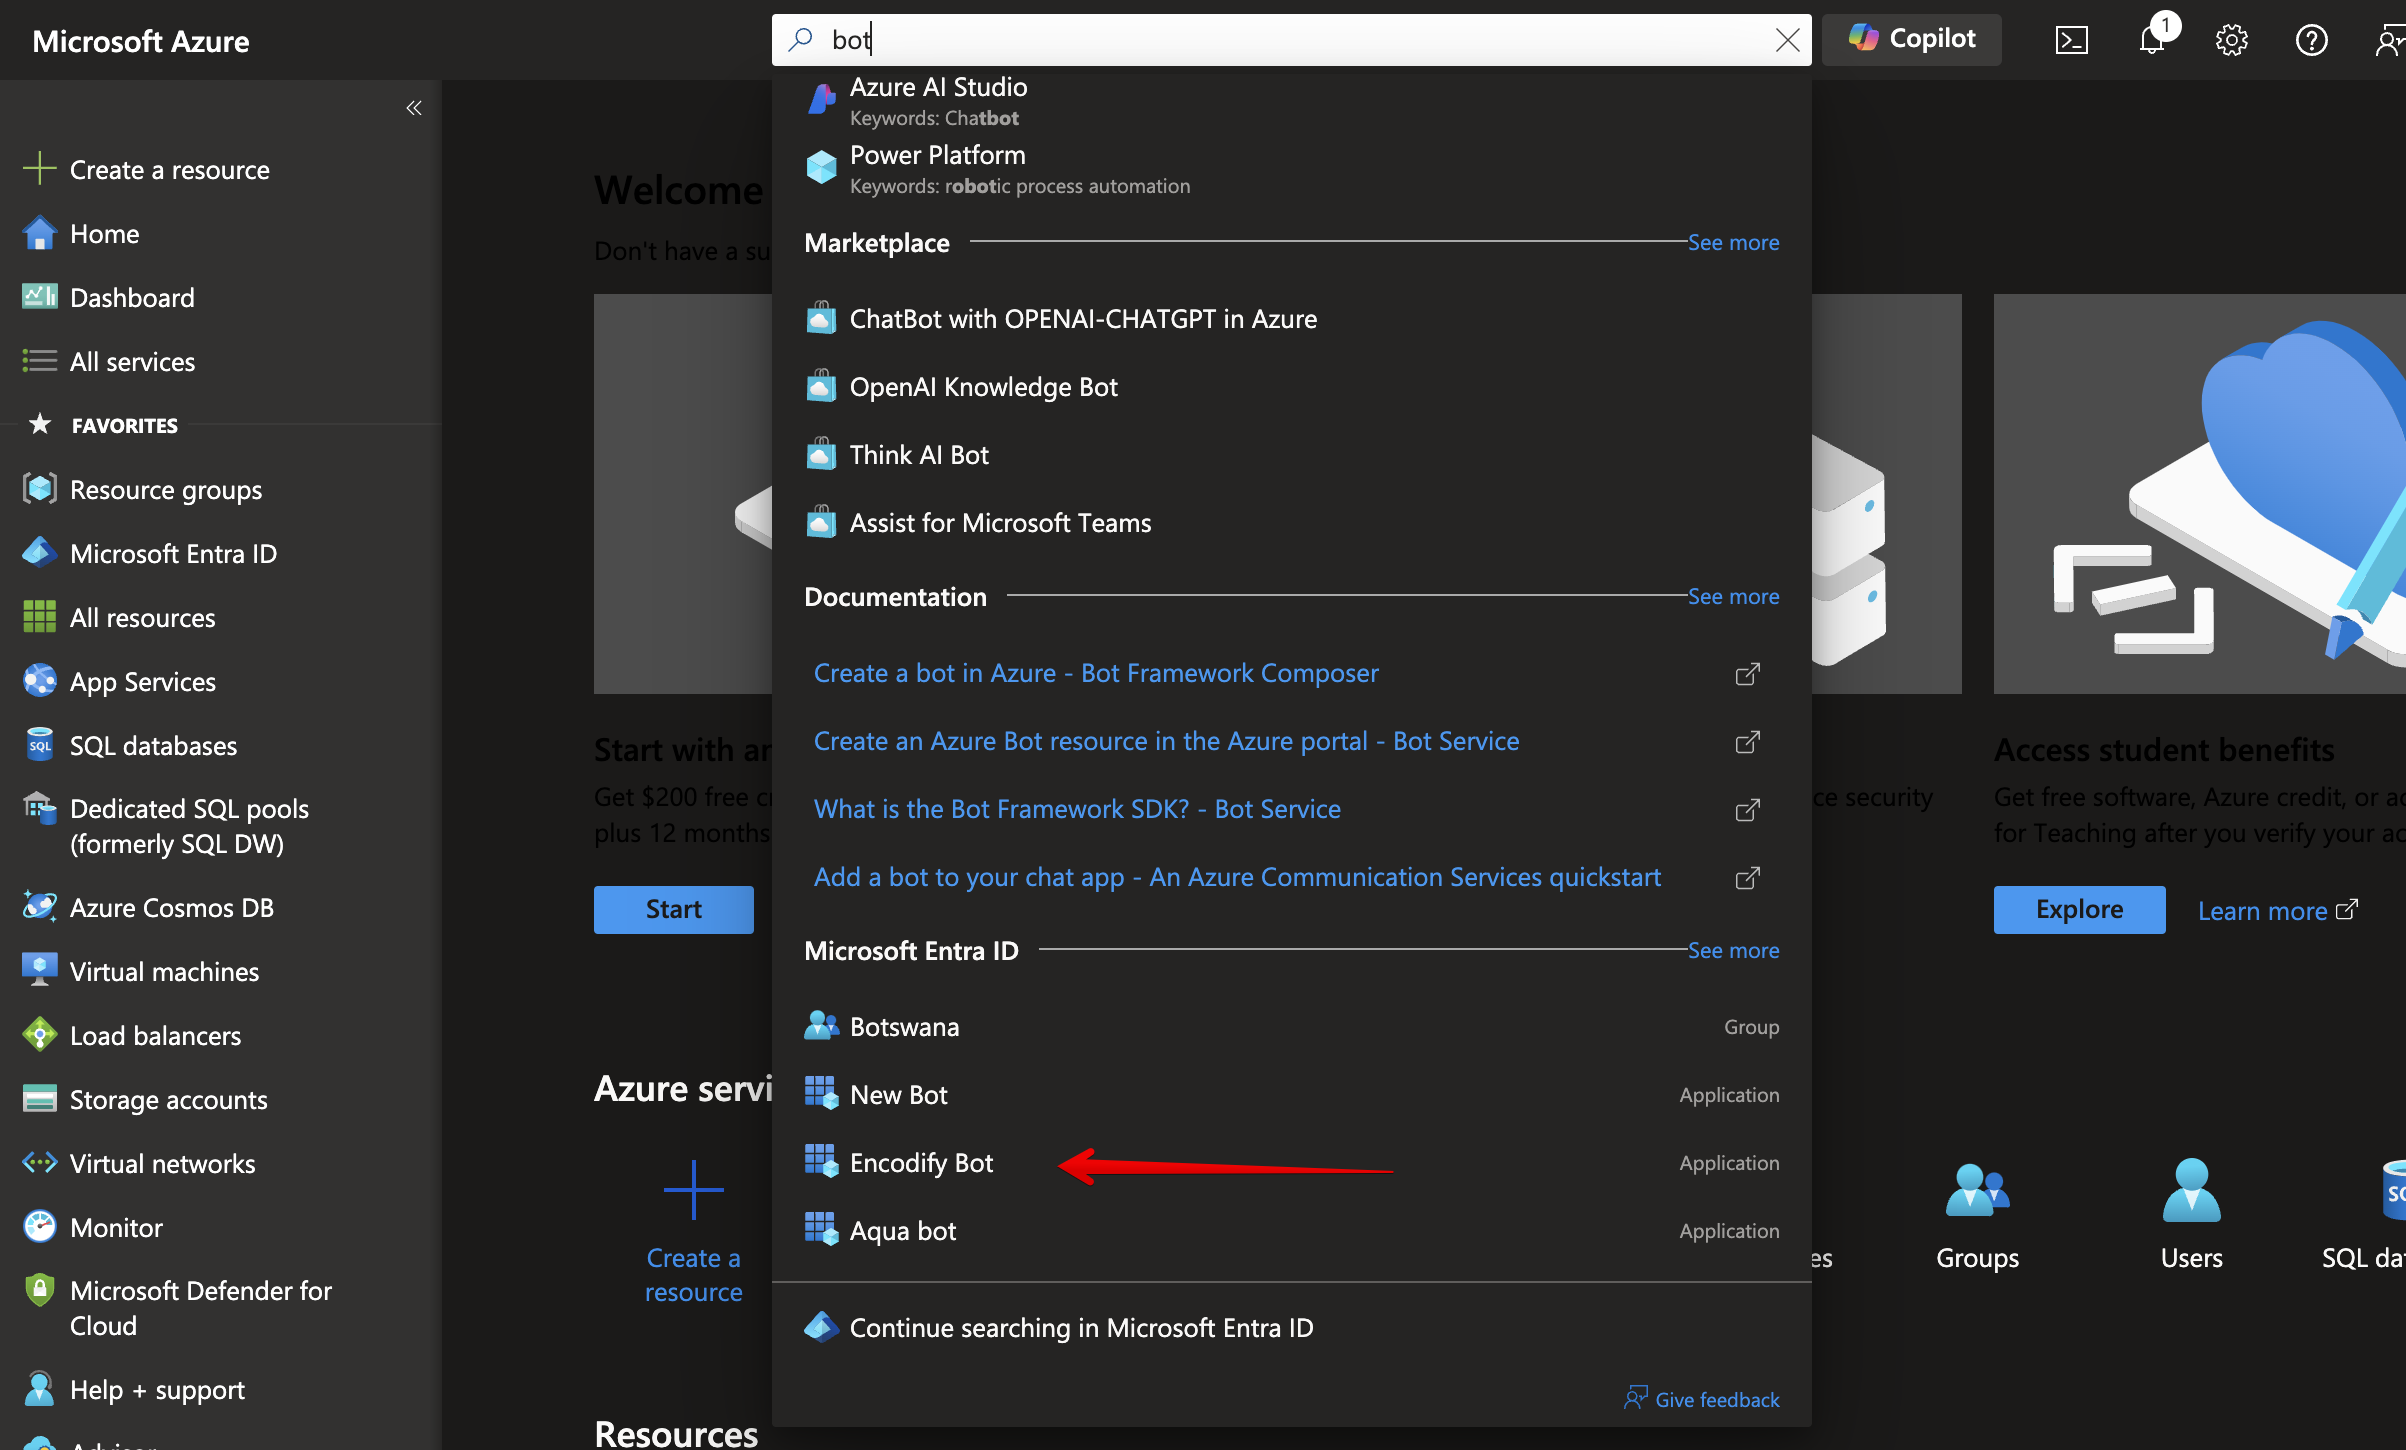
Go to Microsoft Azure → Enterprise Applications → All Applications.
Use the global search to find your Microsoft Teams Bot created in the Developer Portal.
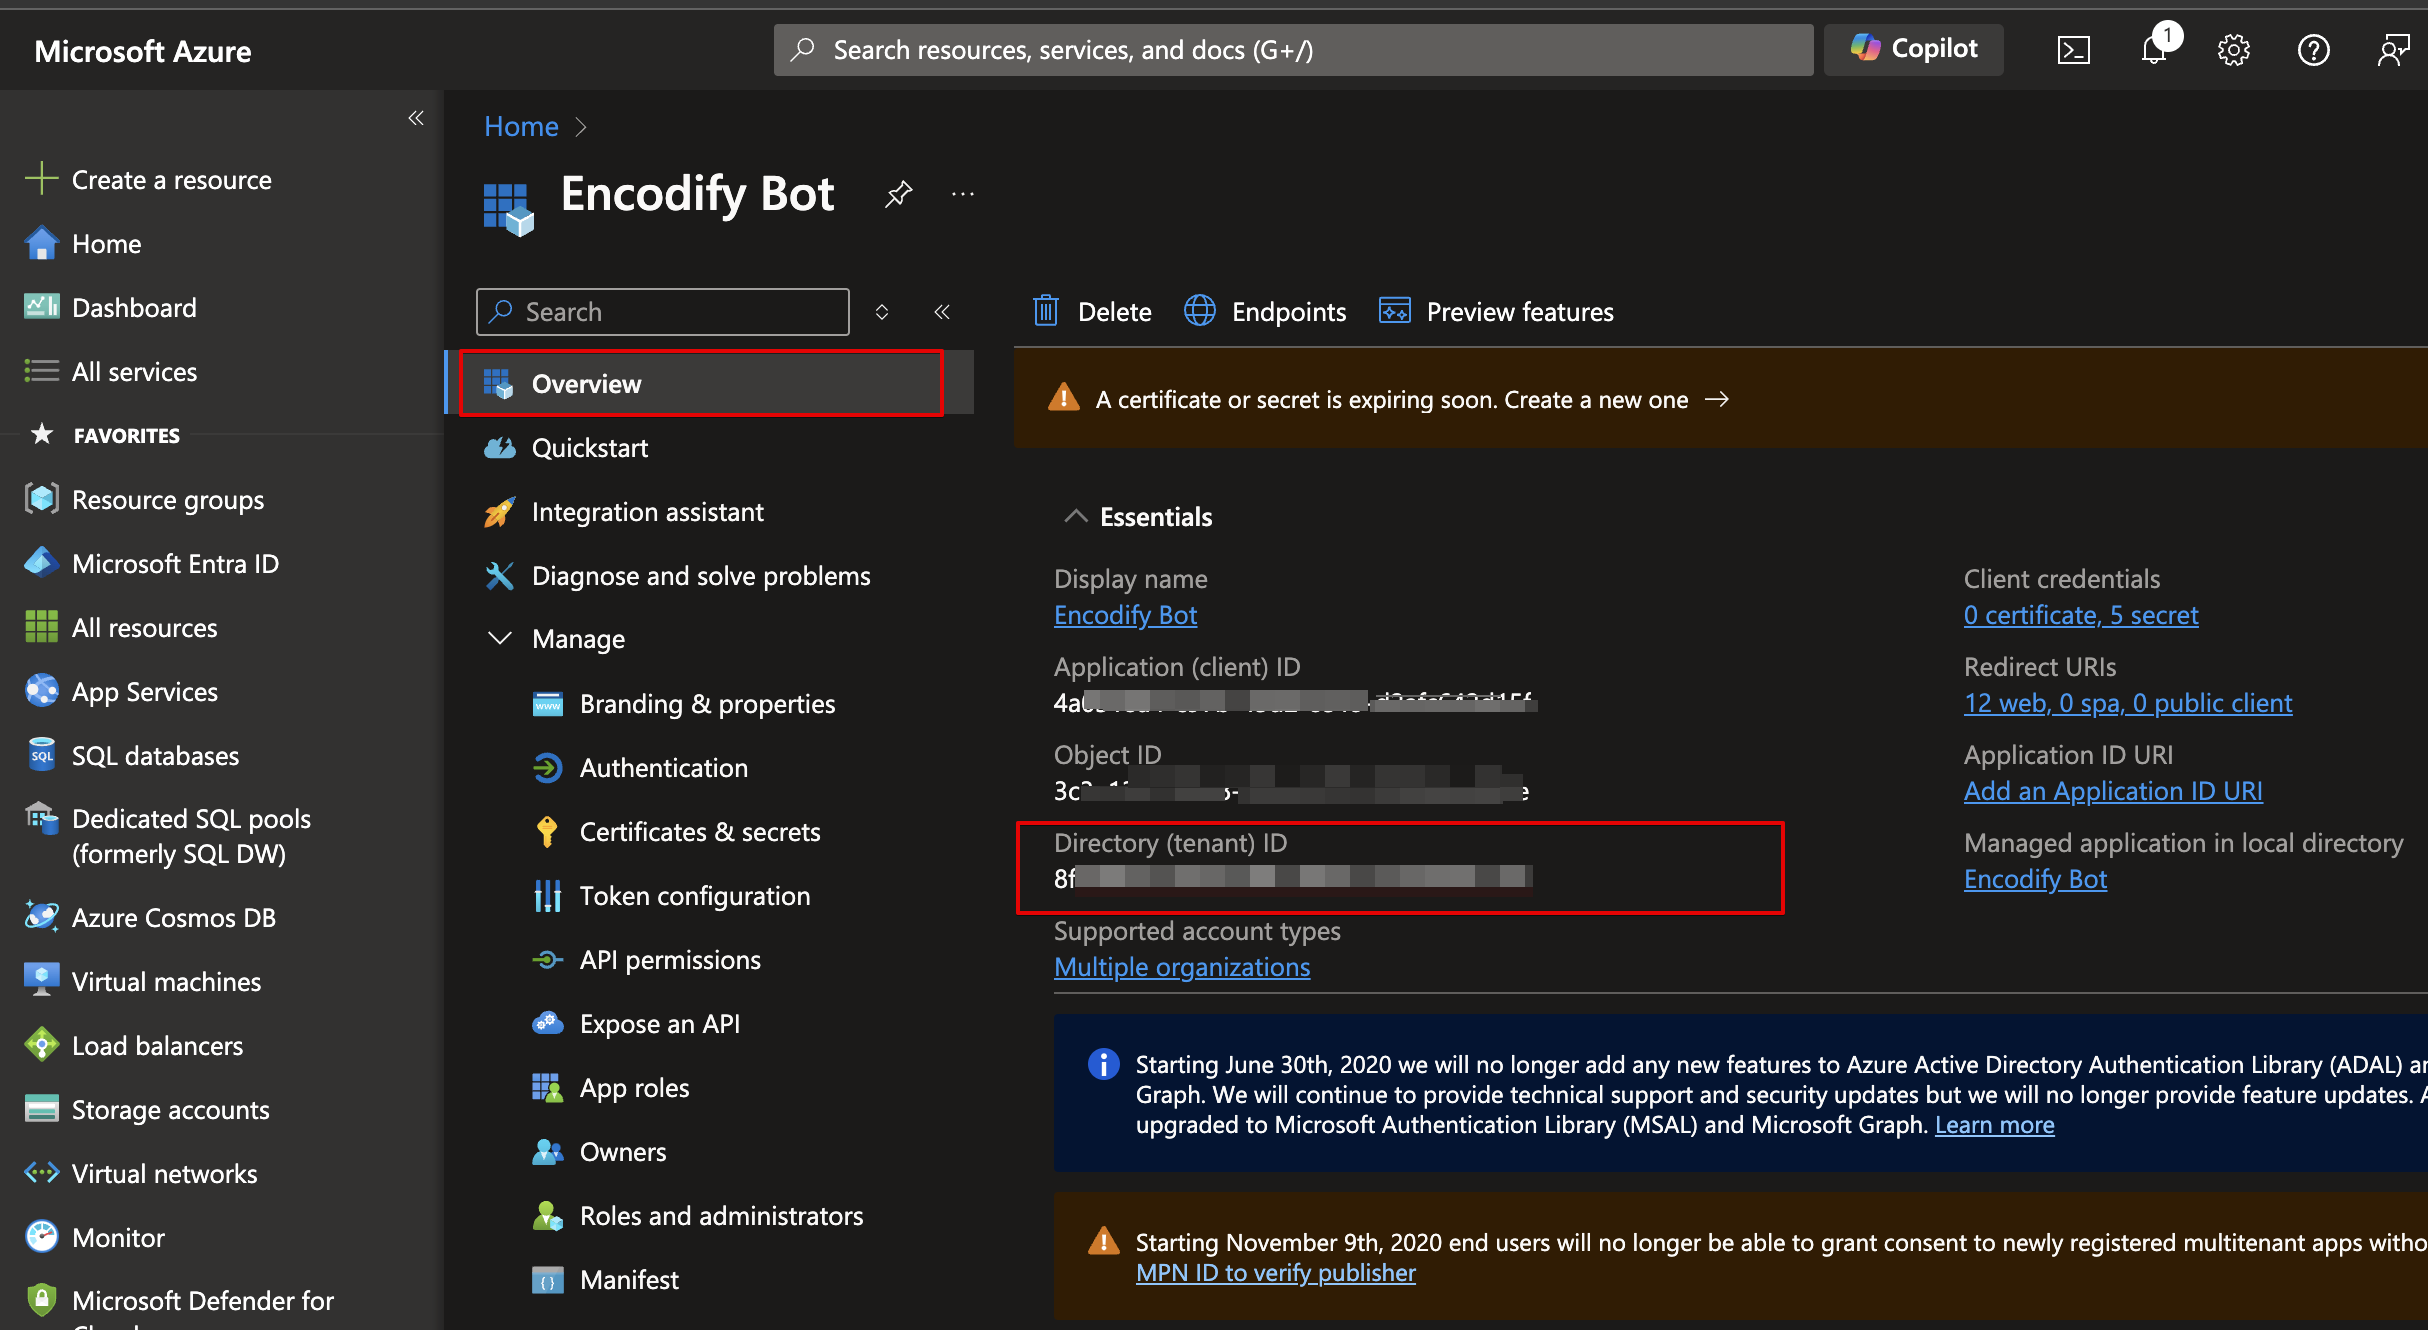
Step 2: Copy Directory (Tenant) ID
Select Overview under the Manage section.
Copy the Directory (Tenant) ID; it is required for the connected service configuration.
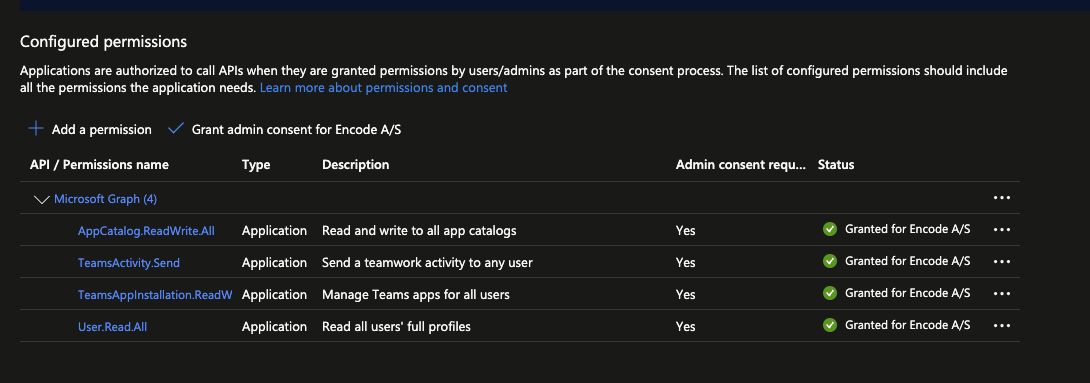
Step 3: Configure API Permissions
Switch to the API Permissions tab.
Add Microsoft Graph permissions with Application type and grant Admin Consent:
AppCatalog.ReadWrite.AllTeamsActivity.SendUser.Read.AllTeamsAppInstallation.ReadWriteForUser.All
Note:
AppCatalog.ReadWrite.Allis required to install the app for a user for the first time. This can also be performed manually or by an administrator.
Take careful note of the Client ID, Client Secret, Manifest ID, and Tenant ID during the app setup, as they are required to complete the Microsoft Teams Connected Service.