For the new Add-Ons menu to appear under the Users section in Site Configuration, the reporting functionality should be enabled in System.properties file. To enable the reporting functionality in the system, add the following to the System.properties file:
enableReportingToolForSites=*|[SiteID]You can specify multiple site IDs, just separating them with commas. If you want to make the reporting tool available for all the sites, type the wildcard sign (*) instead of the site IDs.
enableReportingToolForSites=3,78,323
enableReportingToolForSites=*
Note! Do not forget to restart the application server in order to apply the changes.
After the reporting functionality has been enabled in System.properties, the Add-Ons menu appears in Site Configuration.
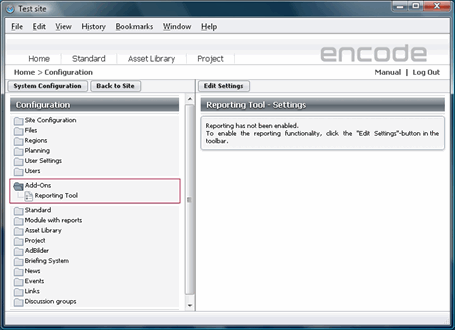
Fig.1.: Add-Ons menu for enabling reporting functionality
Create a Reporting Module
Before enabling and setting up the reporting functionality, Module that will contain templates should be created. In the reporting module, the following fields should be created:
Name field — text field that will contain the name of the report
Field for Storing Configurations — the field of the type File field that will contain the .xml files with report setup.
Field with Excel-Templates (xls) and Field with Excel-Templates (xlsx) — fields of the type File field that will contain
.xlsand.xlsxtemplates, uploaded by the user.
As soon as all the above-enumerated fields are created, the reporting tool can be enabled and basic setup can be performed. To enable and set up the reporting tool follow the steps described below:
Go to Site Configuration > Add-Ons > Reporting Tool and click Edit Settings.
In the Edit Settings window, select the Enable Reporting Tool check box. Fields for further configuration will appear.
In the Label on Download Button field, you can enter the name of the button that will generate reports, or leave the default name "Get Report".
In the Module Containing Templates drop-down list, select the reporting module that you’ve previously created. Report module can be of the Module type only, so when clicking the Module containing templates drop-down field, you will see the list of all the modules of the Module type available on the site.
In the Field for Storing Configurations, select the file field you‘ve previously created.
Select corresponding fields in the Field with Excel templates (xls) and Field with Excel templates (xlsx).
Define Export Sort Order:
- By Field Definition - order of fields in the exported report will follow field definition order
- By Template (Default) - order of fields in the exported report will follow the order saved in the XML template storing report configuration
8. It is possible to configure save of the generated report to a specific module. In order to configure this select module from the "Save Generated Report to Module" field and specify field to save the report to in the "Field for File" field.
9. Click Save Settings.

Fig.2.: Reporting tool settings