Organising your Saved Filters
In Encodify, saved filters can be organised into logical groups, making it easier to manage, access, and apply them based on your workflow. Both admin and non-admin users can group filters to suit their individual or team needs—whether that’s highlighting frequently used filters, structuring them by purpose, or decluttering the panel by archiving unused ones.
Saved filters are categorised into the following groups:
Favourite Filters – For quick access to frequently used filters
Custom Groups – User-defined categories for organising filters by purpose or context
Filters (Default) – The default group where newly created filters are placed
Archived Filters – A hidden group for filters no longer in active use
Default Filter Group
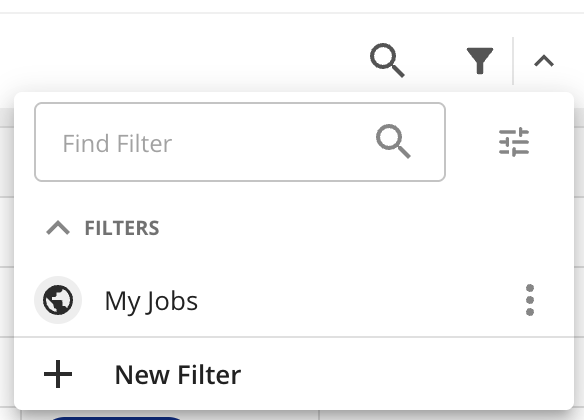
After saving a filter, it will automatically be assigned to the default group labelled Filters.
Mark Filter as Favourite
Saved filters can be added to the Favourites group to ensure your most frequently used filters are easily accessible. To mark a saved filter as a Favourite, follow these steps:
Navigate to the relevant Module and open the desired Module View.
Expand the list of Saved Filters.
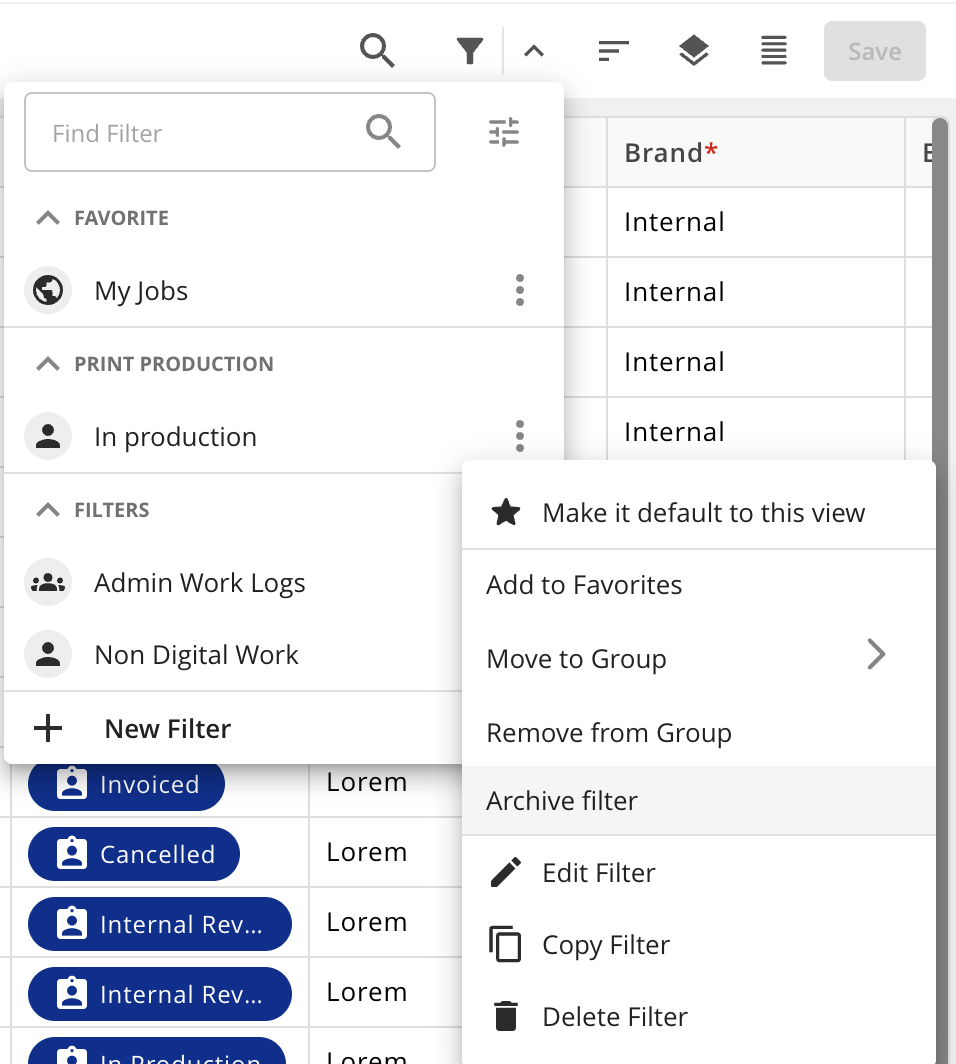
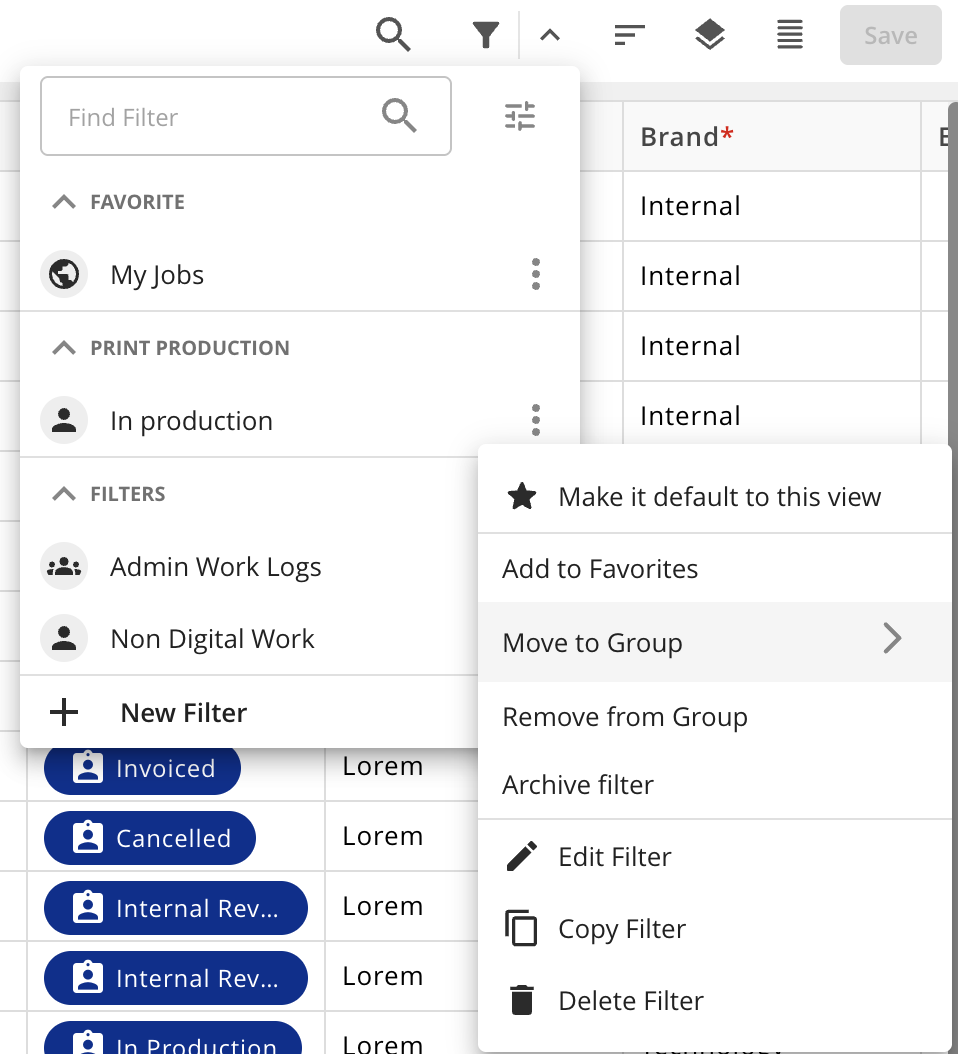
Click the actions menu next to the filter you want to mark as favourite.
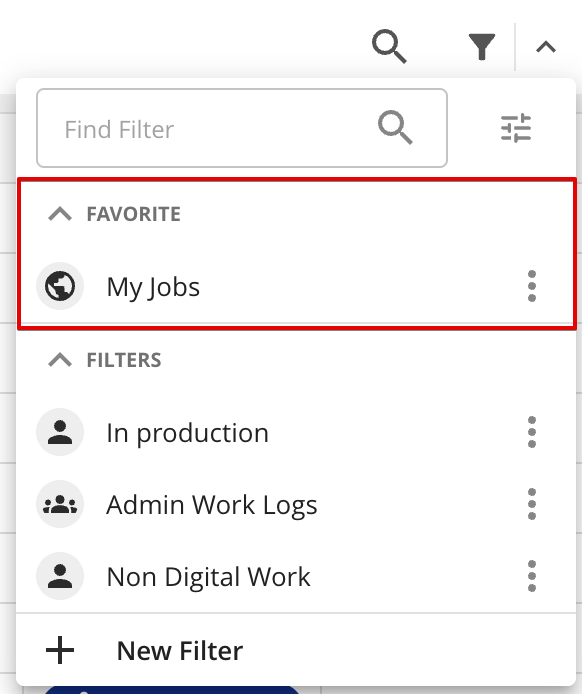
Select Add to Favourites – the filter will now appear in the Favourites group for quick access.
Creating a Custom Filter Group
Saved filters can also be added to custom user-defined groups, allowing you to organise your filters effectively based on their purpose. To create a custom group, follow these steps:
Navigate to the relevant Module and open the desired Module View.
Expand the list of Saved Filters.
Click the actions menu next to the filter you want to allocate to a custom user-defined group.
Select Add to Group → New Group.
Enter a name for the new group and click Save – the filter will now appear under your newly created group.

Edit Custom Filter Group
To edit a custom user-defined group, follow these steps:
Navigate to the relevant Module and open the desired Module View.
Expand the list of Saved Filters.
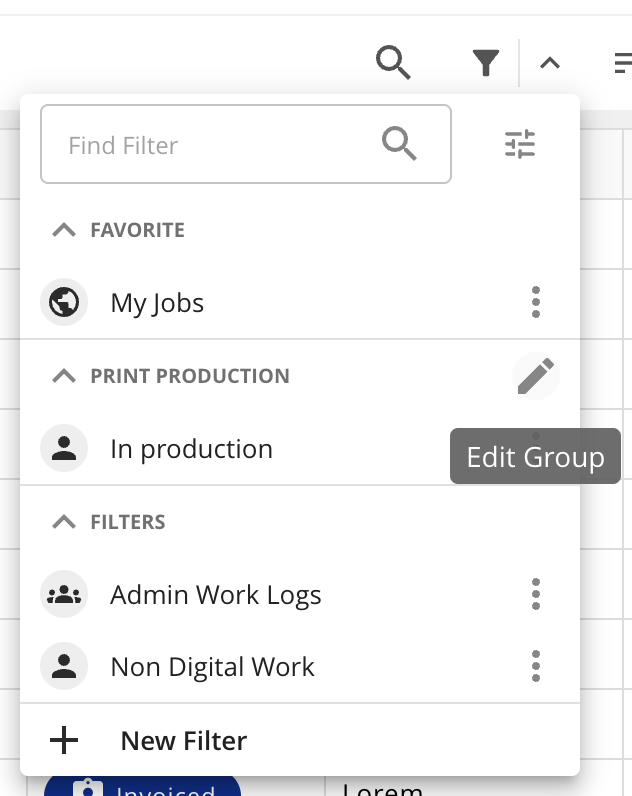
Hove over the custom user-defined group name and select Edit Group.
Adjust the name of the group and click Save – the filter will now appear under your adjusted group name.
Move to Group
To move a saved filter to another custom user-defined group, follow these steps:
Navigate to the relevant Module and open the desired Module View.
Expand the list of Saved Filters.
Click the actions menu next to the filter you want to allocate to a custom user-defined group.
Select Move to Group → New Group.
Enter a name for the new group and click Save – the filter will now appear under your newly created group.
Delete Custom Filter Group
To delete a custom user-defined group, follow these steps:
Navigate to the relevant Module and open the desired Module View.
Expand the list of Saved Filters.
Hove over the custom user-defined group name and select Edit Group.
Click Delete – the filter will now appear under default filter group
Remove to Group
To remove a saved filter from a custom user-defined group, follow these steps:
Navigate to the relevant Module and open the desired Module View.
Expand the list of Saved Filters.
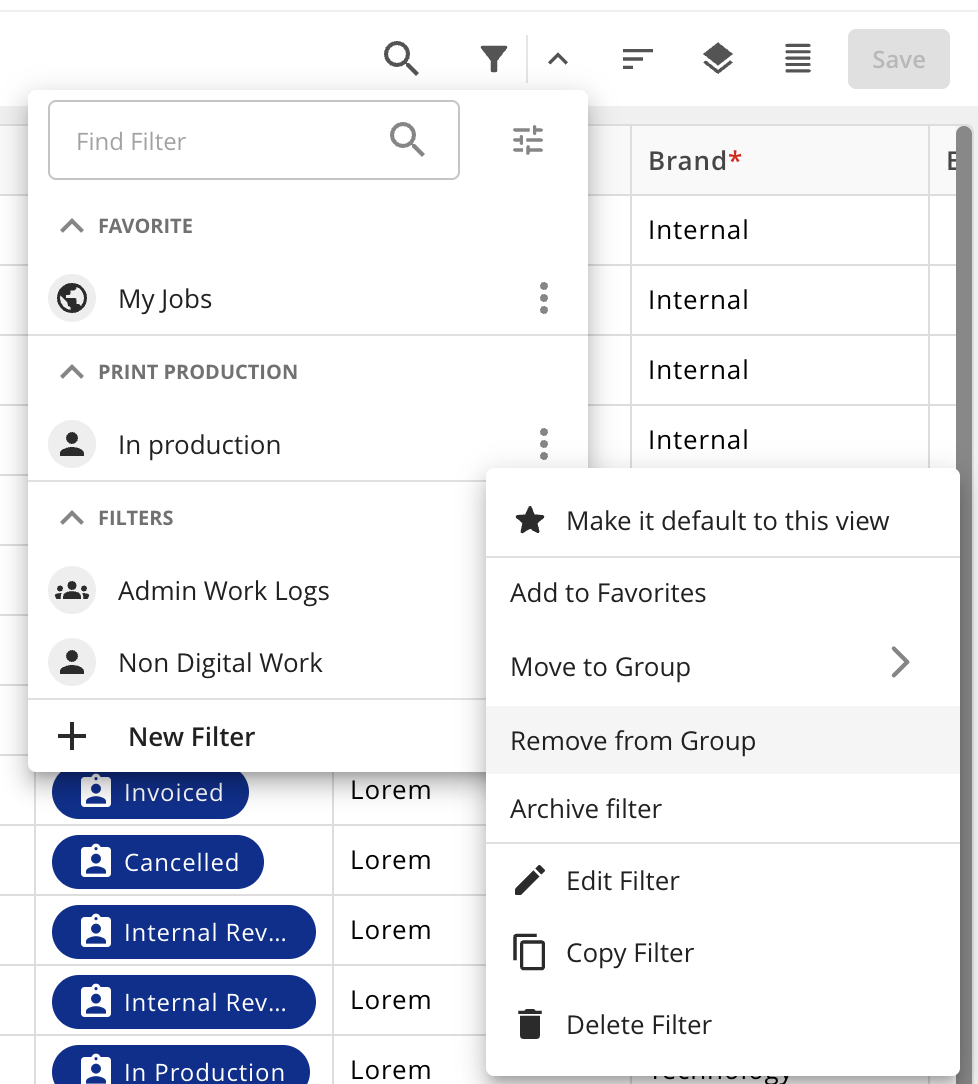
Click the actions menu next to the filter you want to mark as favourite.
Select Remove from Group – the filter will now be removed from the previously associated custom user-defined group.
Archive Filter
When you no longer need a saved filter, you can archive it. By default, all archived filters are hidden from the panel. To archive a saved filter from a custom user-defined group, follow these steps:
Navigate to the relevant Module and open the desired Module View.
Expand the list of Saved Filters.
Click the actions menu next to the filter you want to archive.
Select Archive filter - the filter will now be moved to the Archived group and hidden from view unless the Show Archived Filters option is enabled.