Overview
Bulk Upload allows you to create multiple items with files and shared metadata in one step. Instead of uploading and editing each item individually, you can drag-and-drop files, apply metadata once, and generate all items together. This is especially useful for handling large sets of files quickly and consistently.
Understanding Bulk Upload
Note: A user will need to have Read, Upload and Bulk Upload access to be able to edit metadata in bulk.
Where to find Bulk Upload
Bulk Upload allows you to create multiple items with files and metadata at once, directly from a module view. To get started, click the Bulk Upload button in the toolbar.
You can use Bulk Upload in two ways:
Upload from module view – Select the files to upload (via drag and drop or file browser). Before saving, you can add or remove files, then complete the metadata form for the new items.
Upload using an existing item as a template – From the Actions menu of a specific item, select Bulk Upload. The metadata form will be prefilled with the values from the selected item, ensuring consistency across the new records.
Note: If the module has dependencies or pre-filling rules, these will override manually entered values during bulk upload.
Bulk Upload Wizard
Upload from Module View
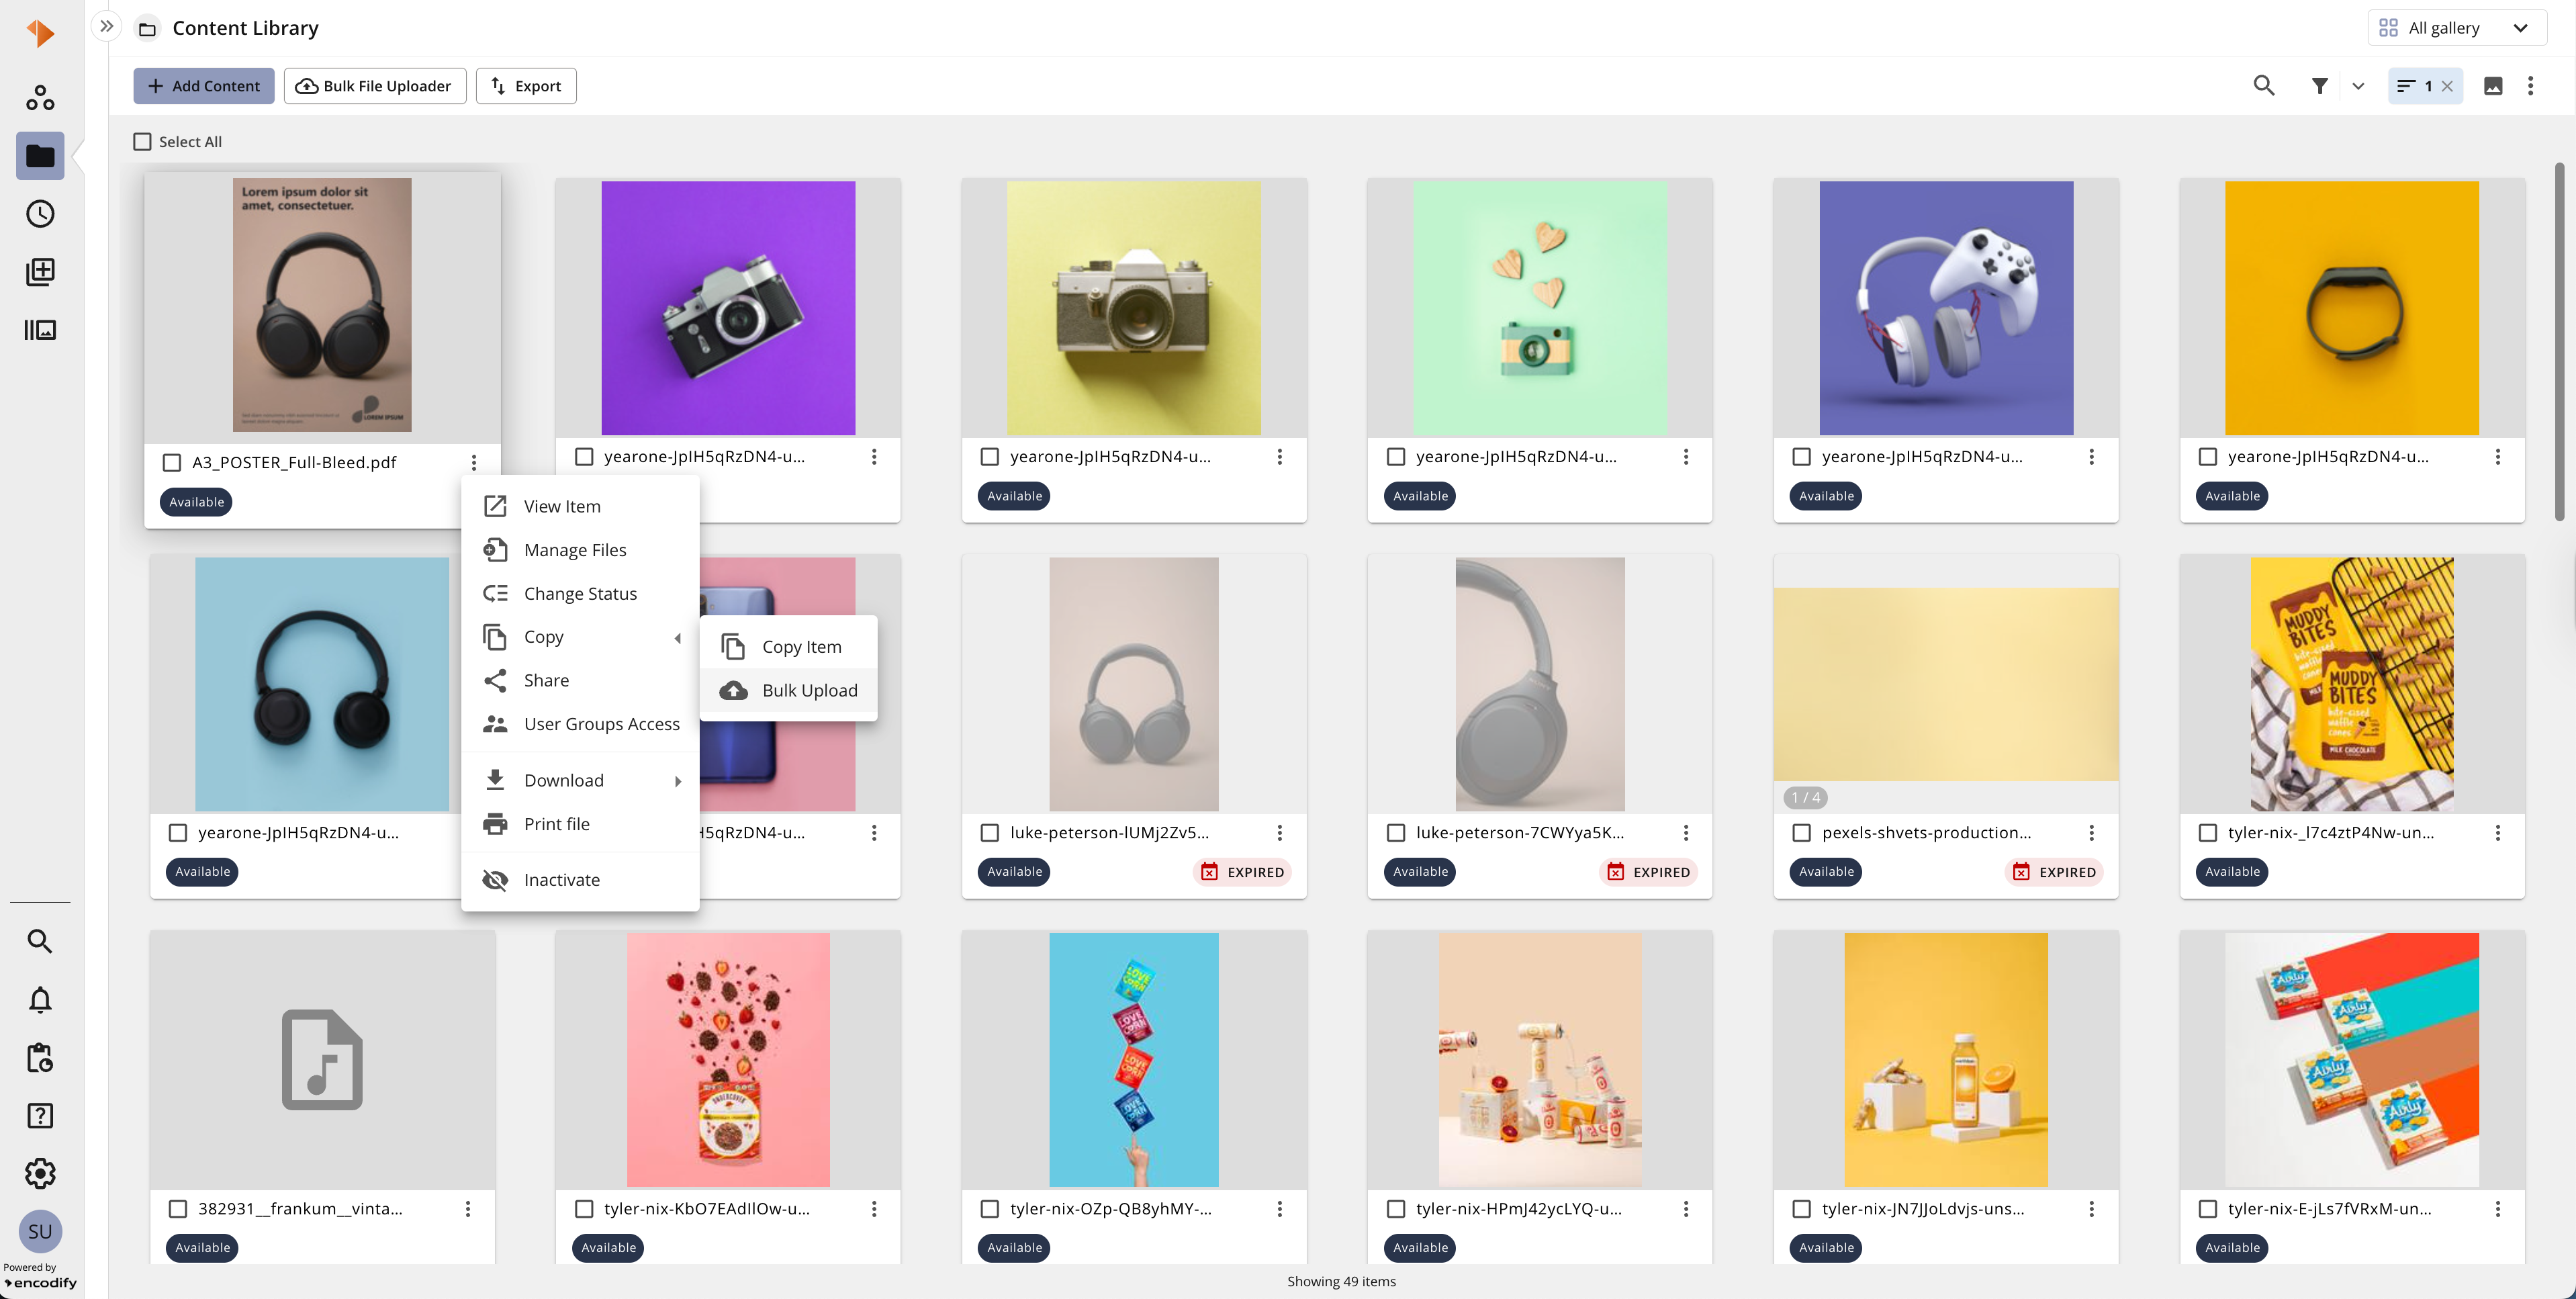
The Bulk Upload Wizard can be launched from any module view by clicking the .png) button.
button.
An image highlighting the Bulk File Uploader button from a module view
The table below provides a quick overview of the Bulk Upload Wizard when uploading from a module view:
Action | Guide |
|---|---|
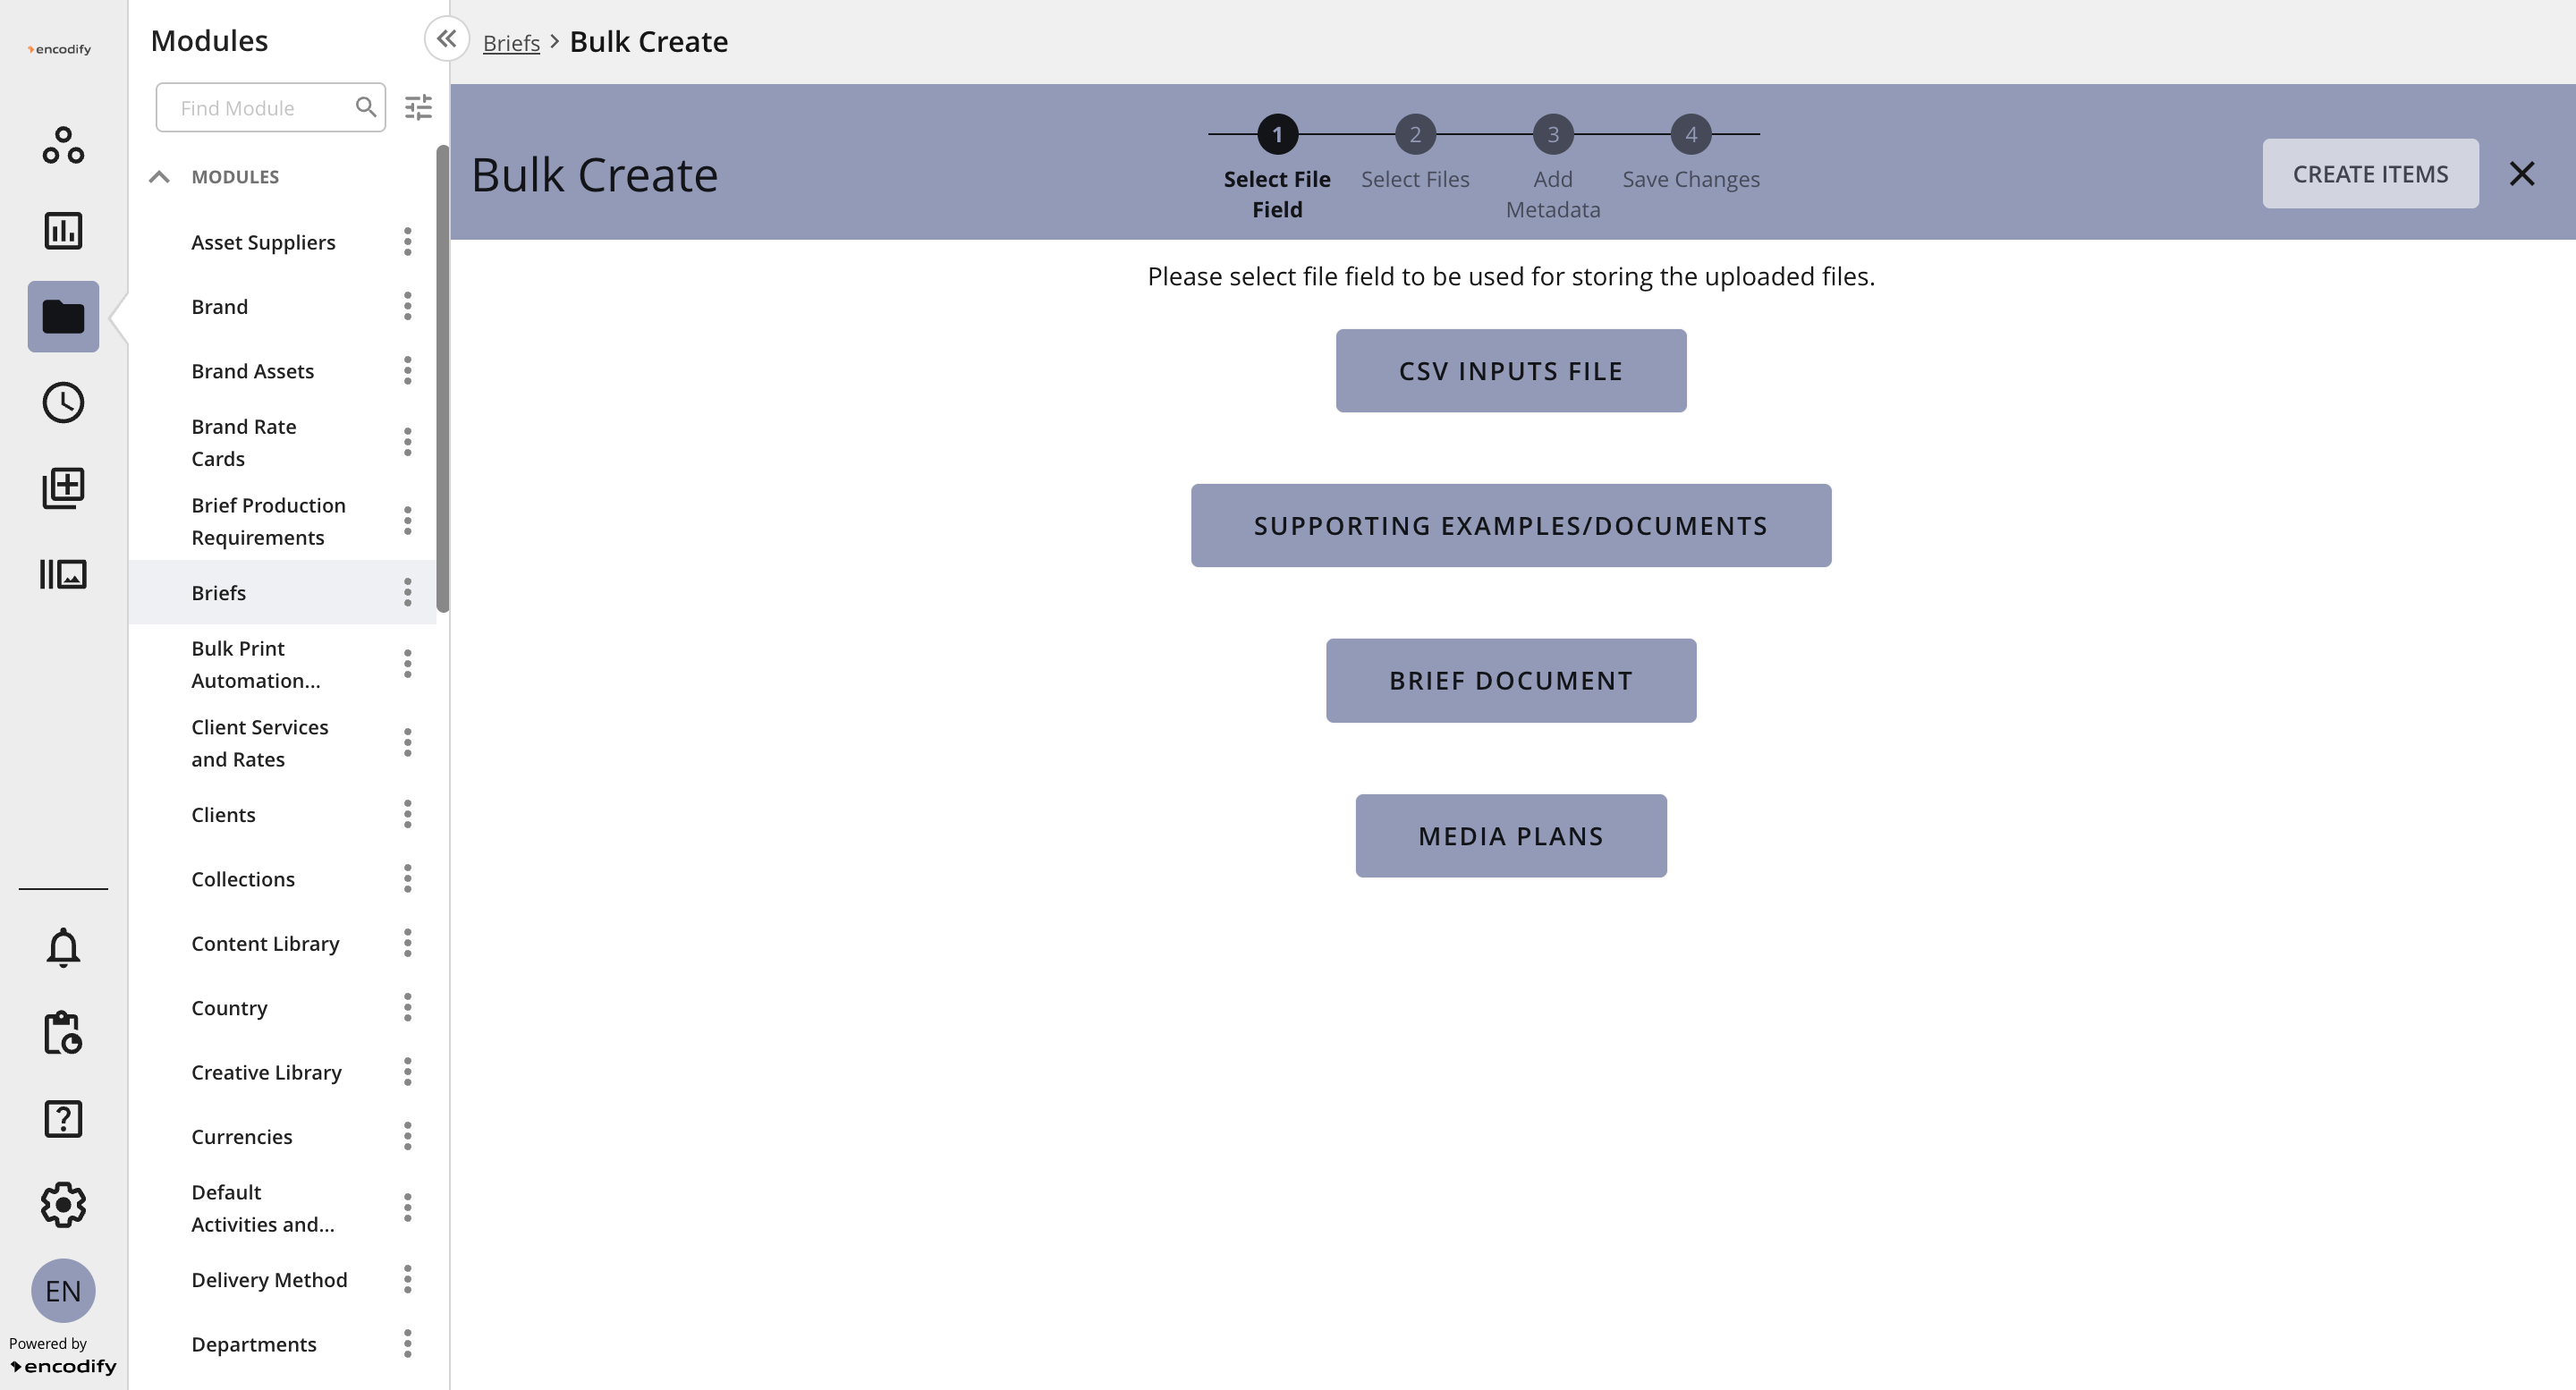
Step 1 – Select the File Field Select the file field within the module where the uploaded files should be stored. This step is only required if the module has multiple file fields, ensuring the system uploads the files to the correct location. |
|
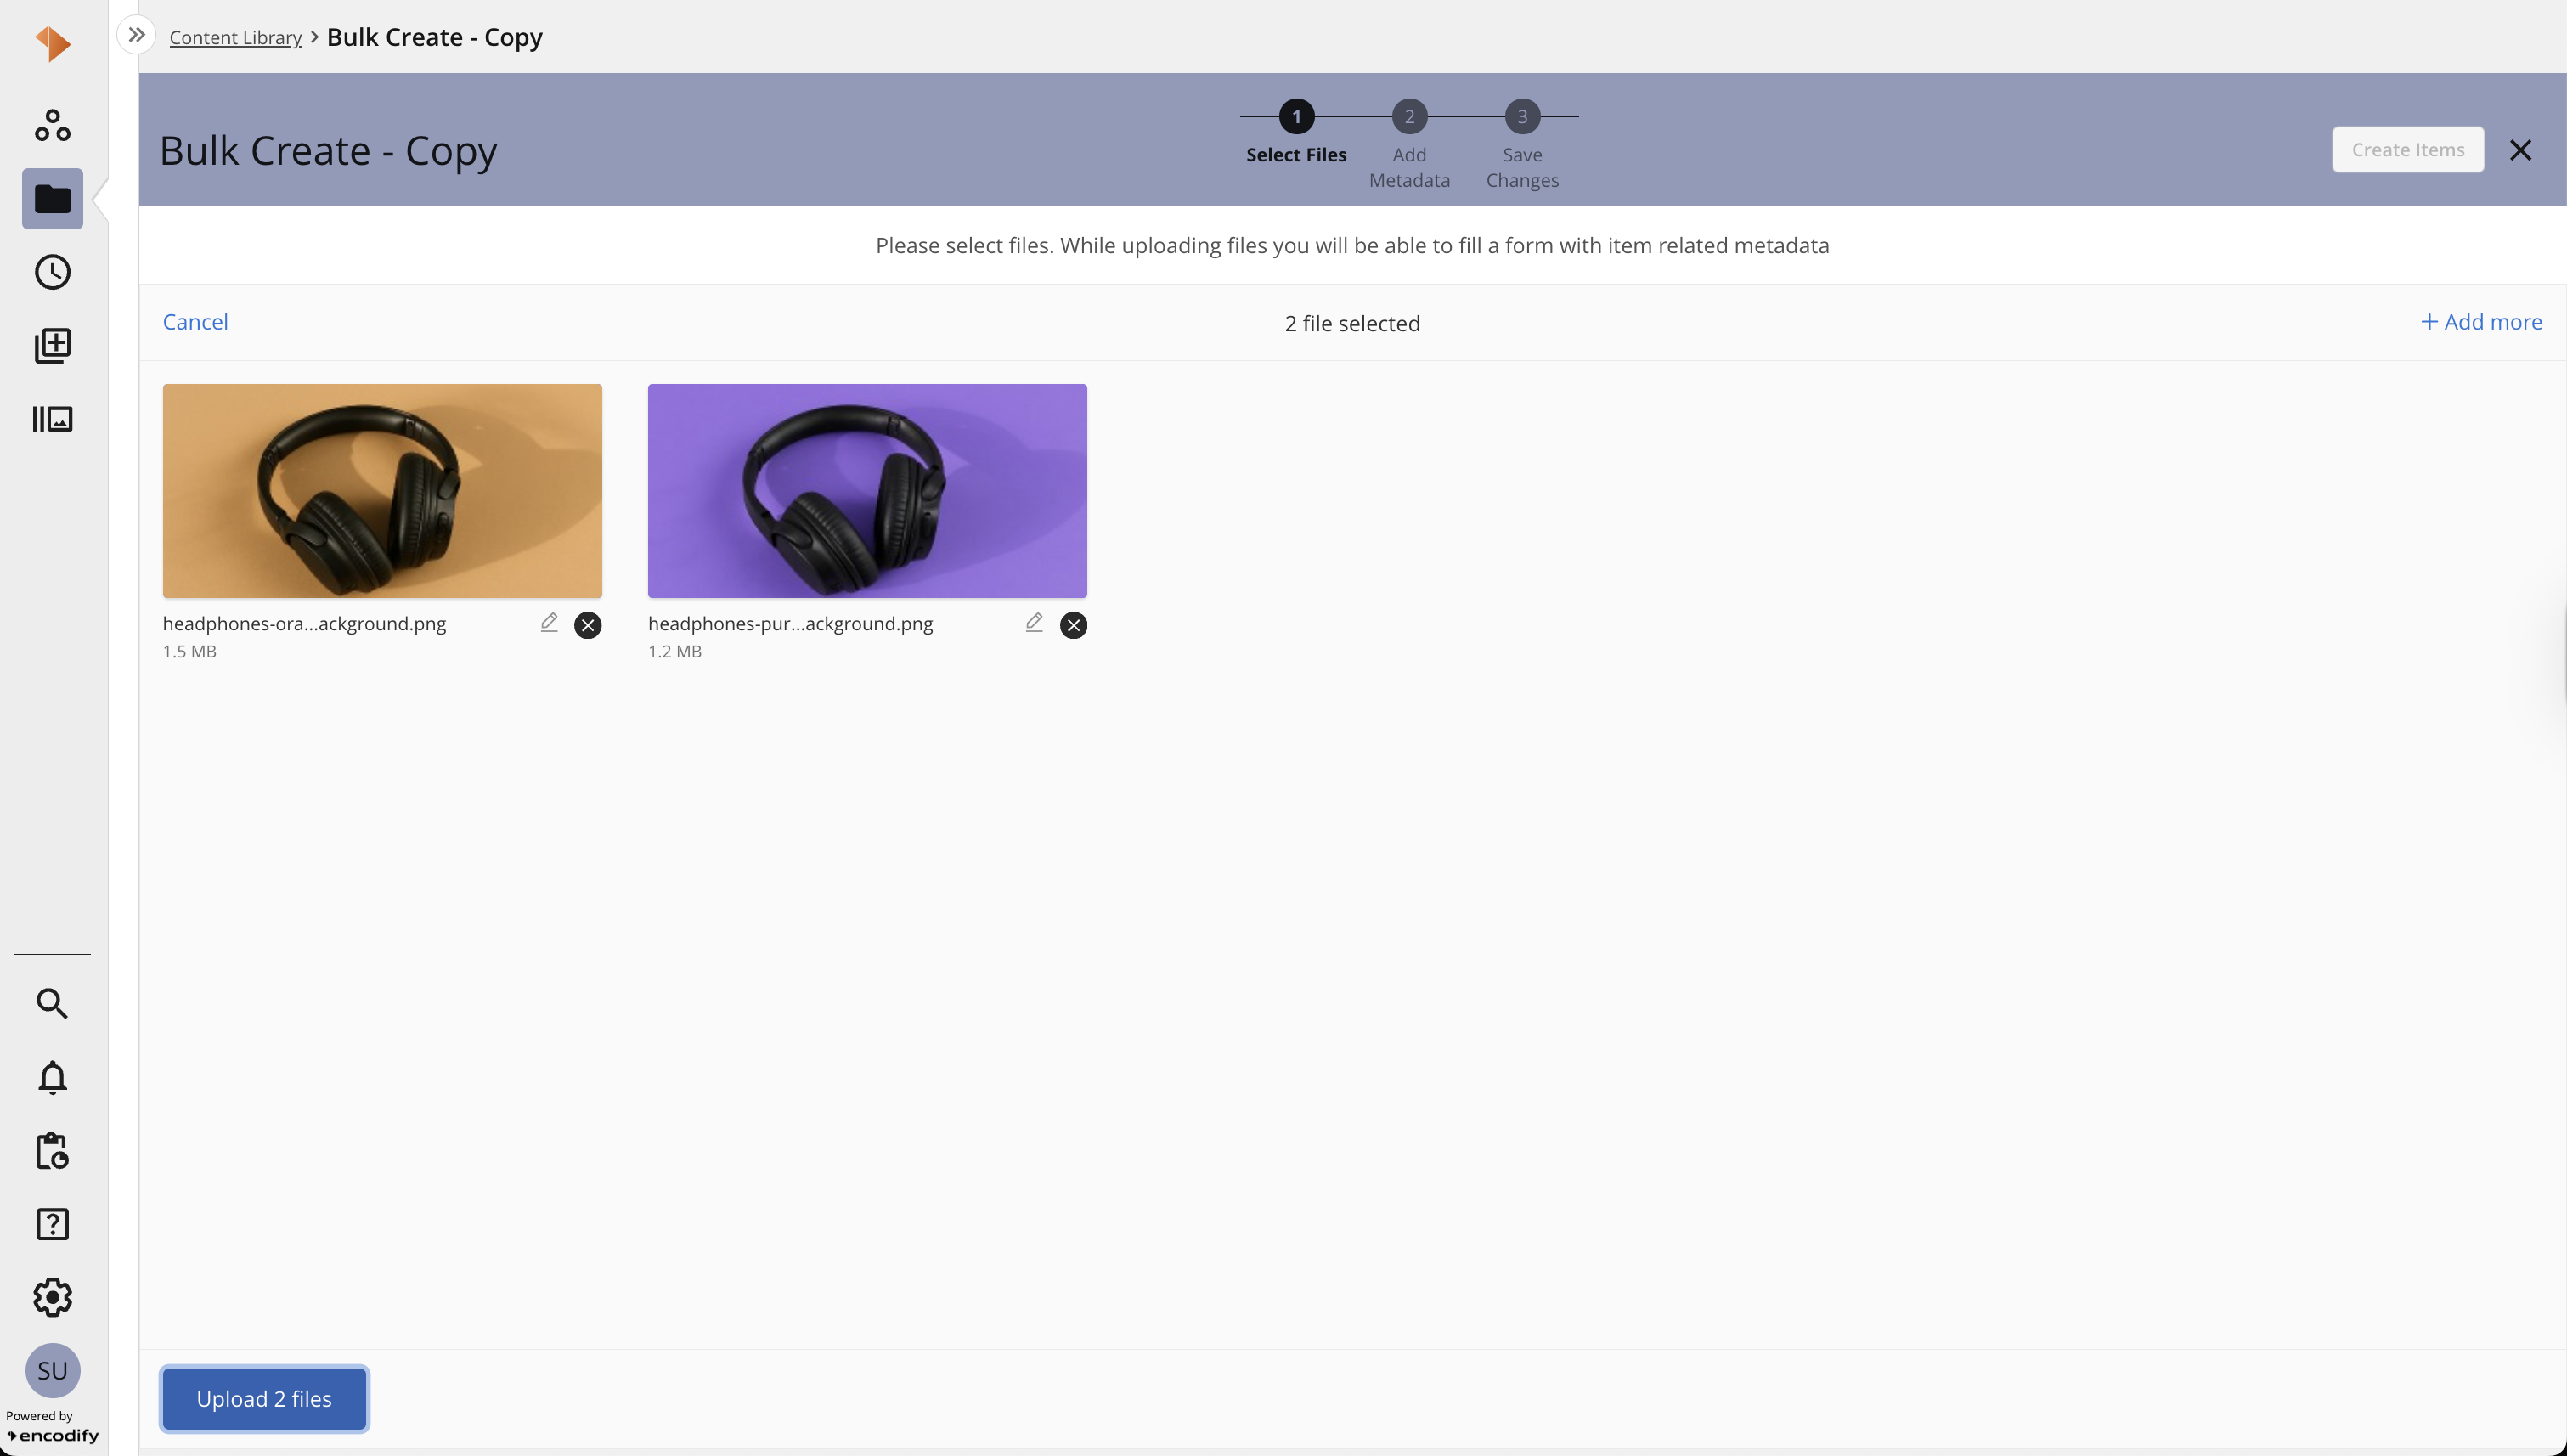
Step 2 – Select Files Drag and drop files, or browse your local computer to select them for bulk upload. Before saving, you can add or remove files from the panel and adjust filenames as needed. |
|
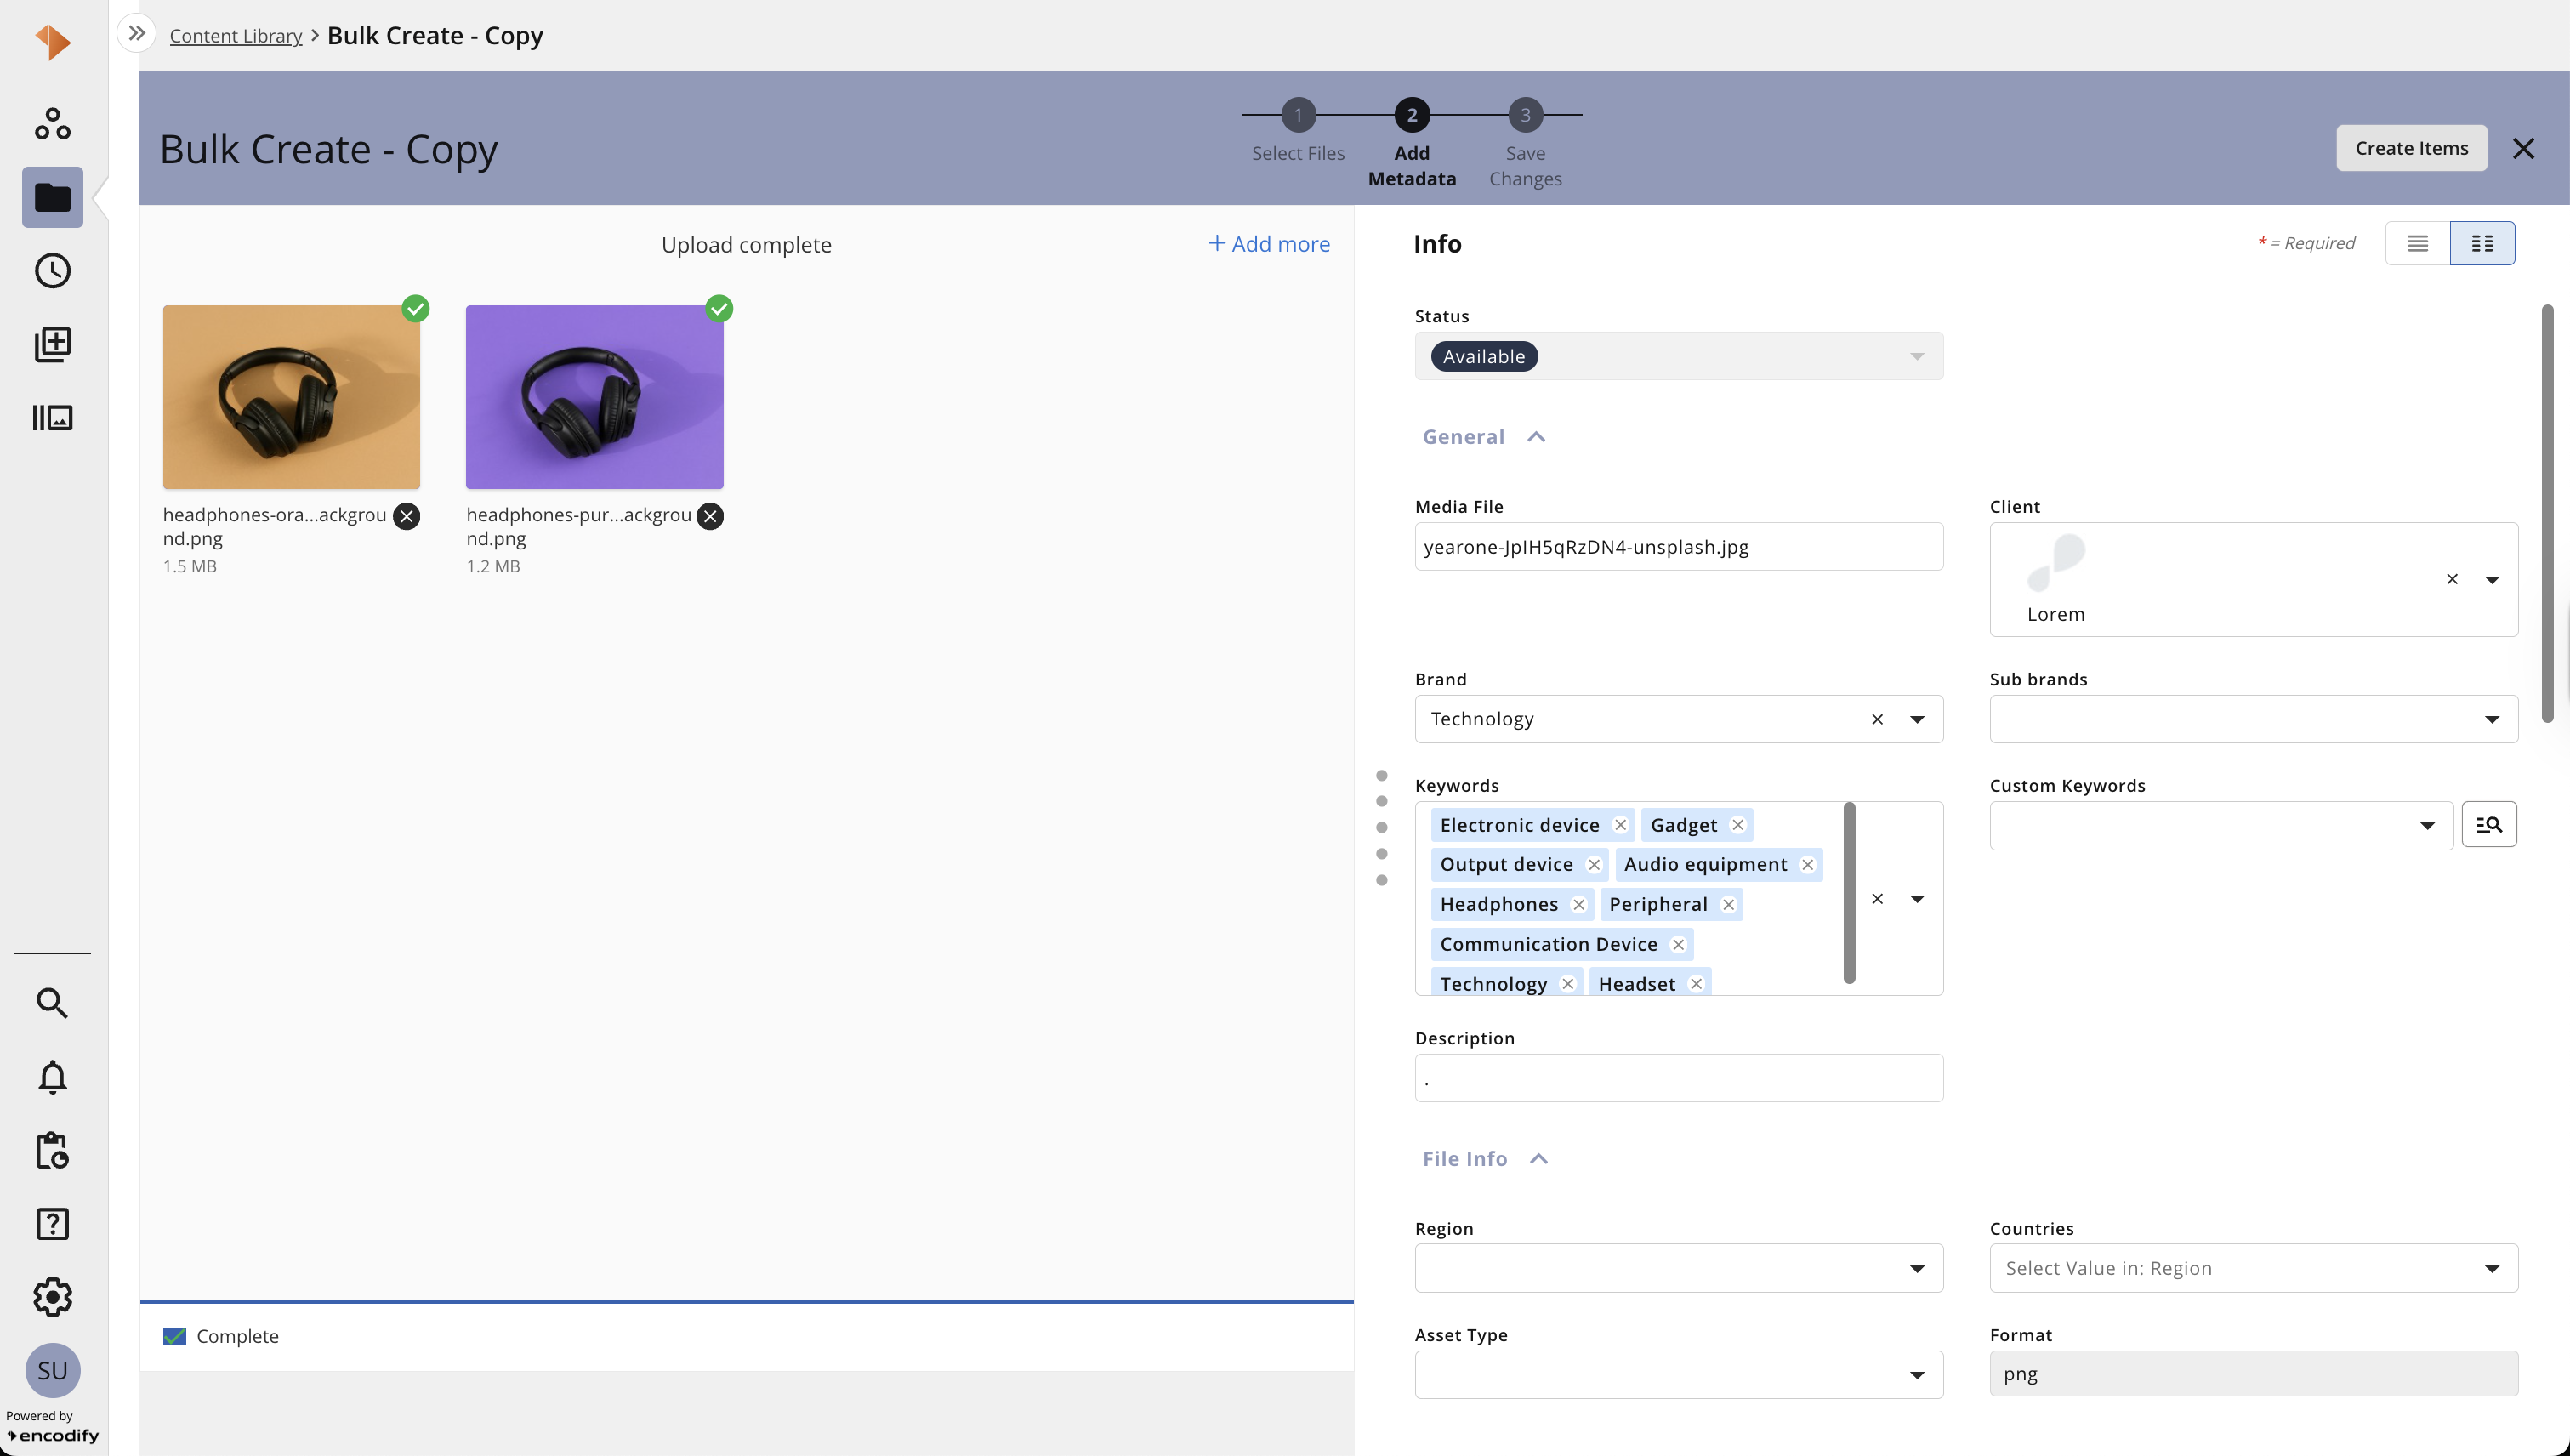
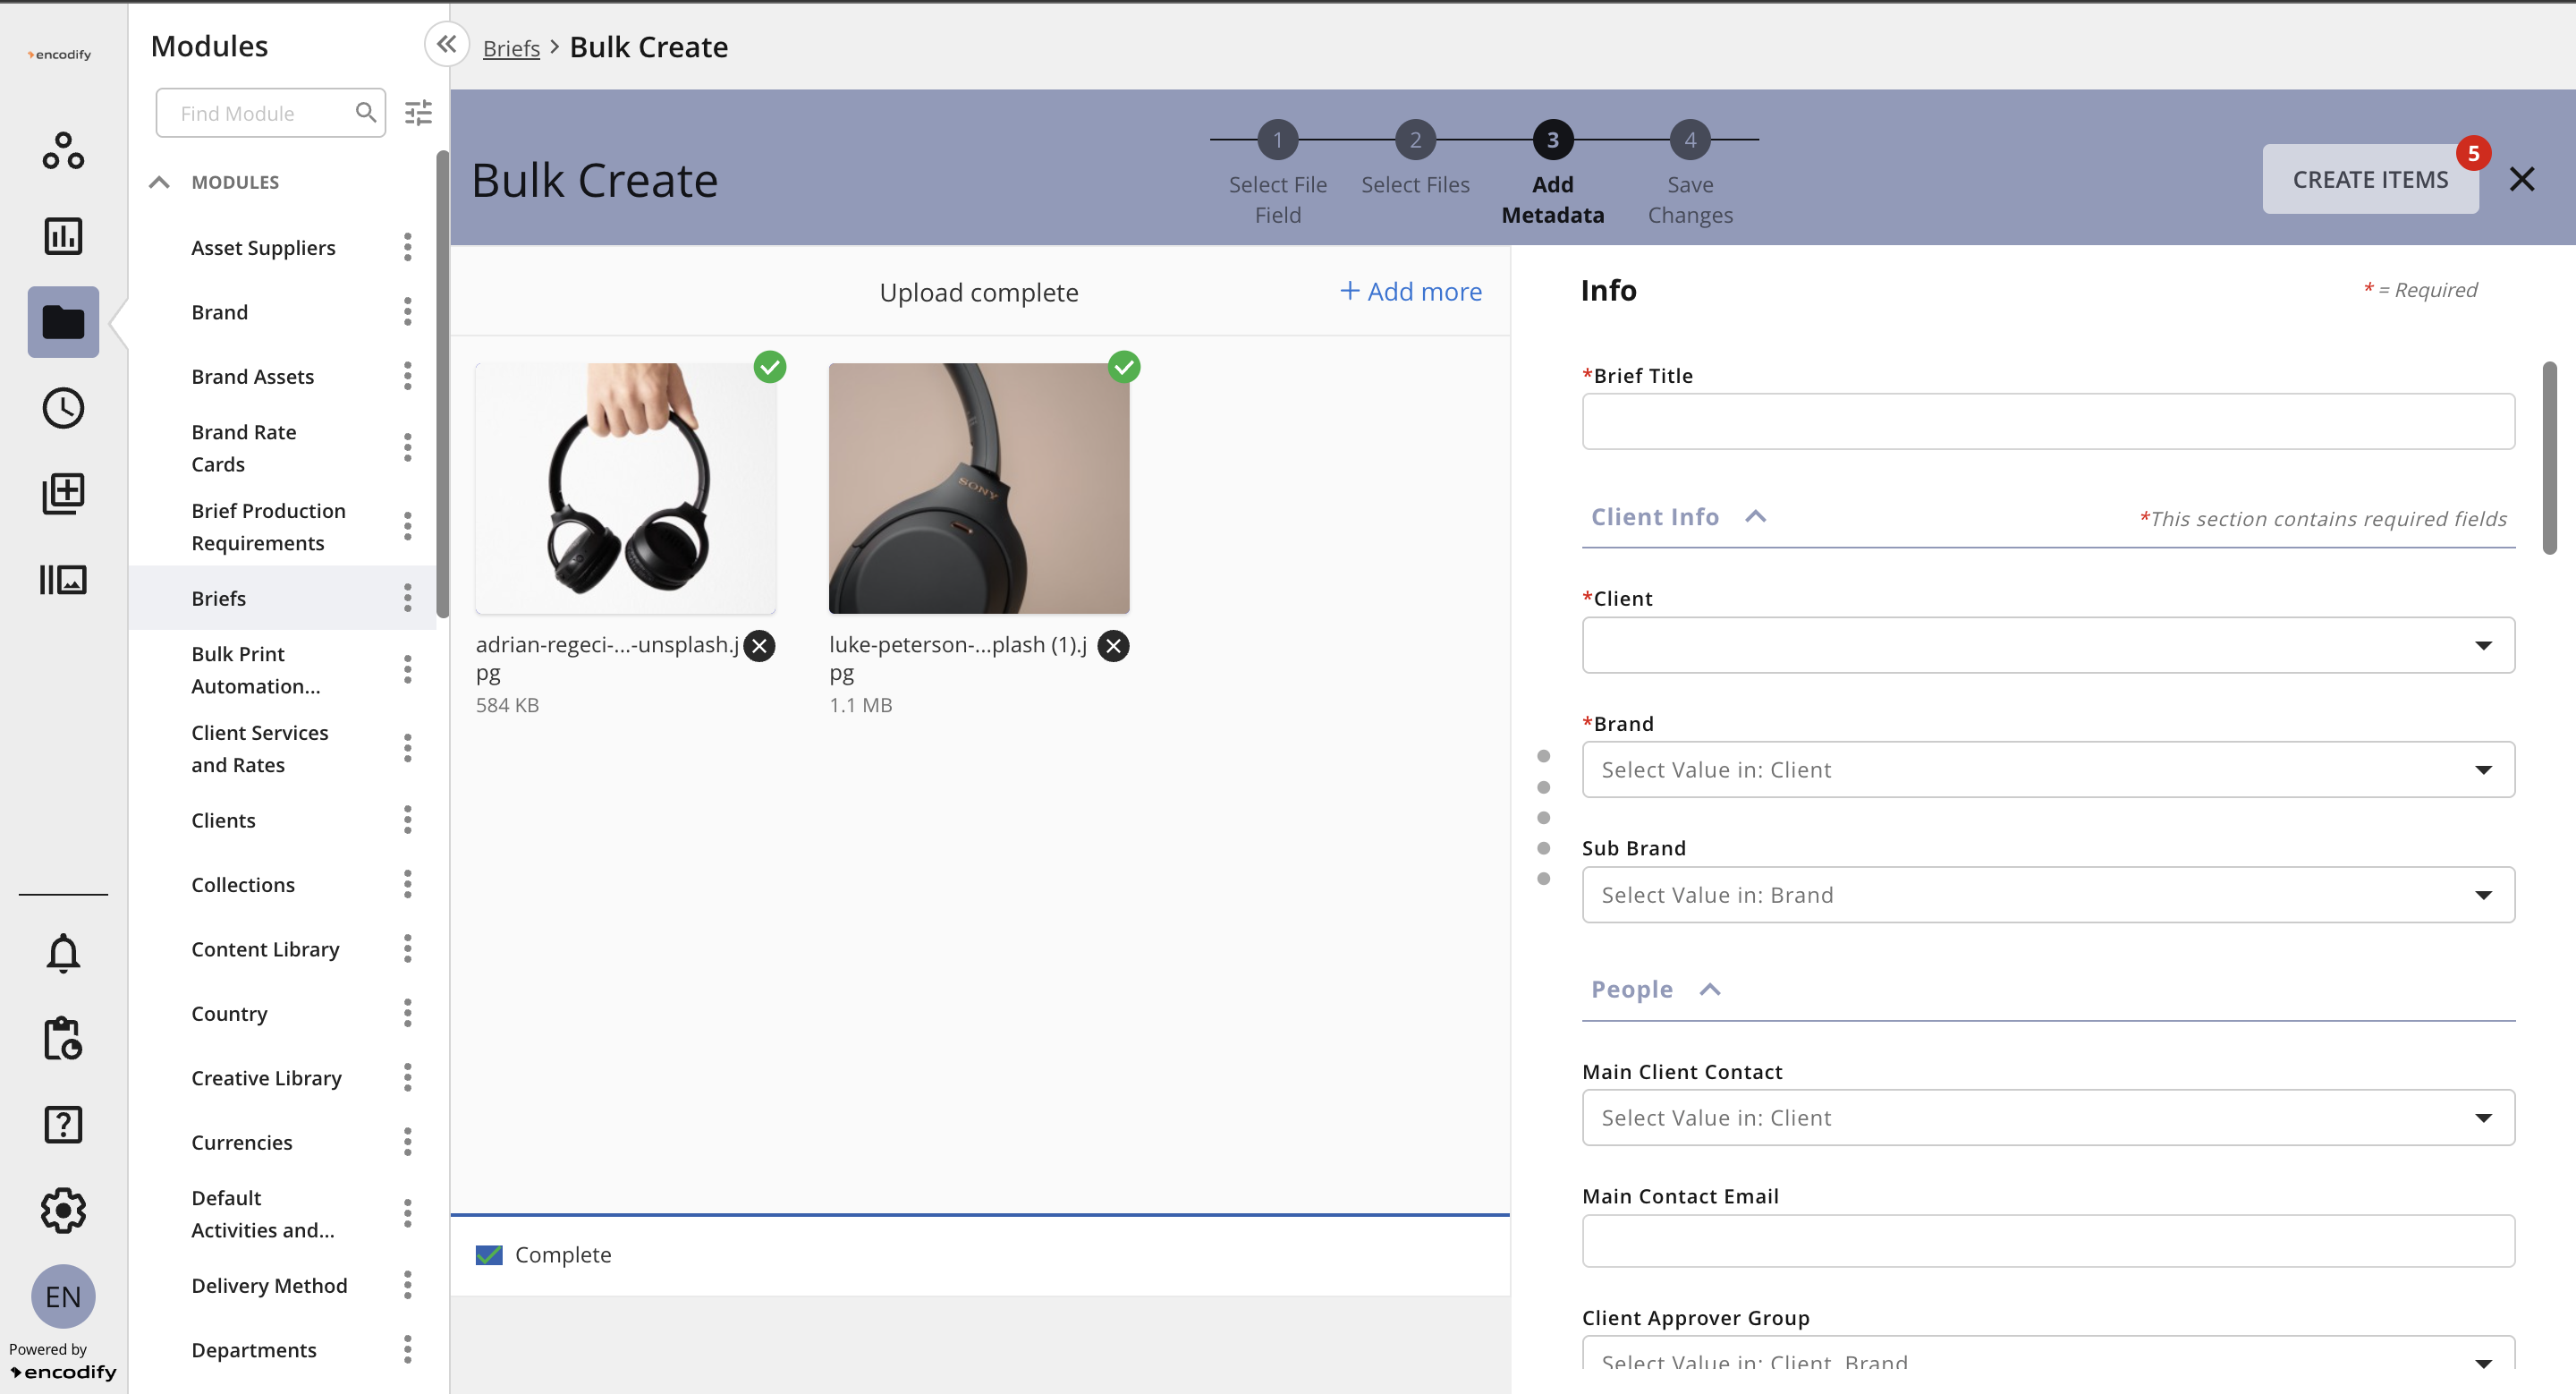
Step 3 – Add Metadata Enter the required metadata. The values you provide will be applied to all uploaded items, ensuring consistency across the batch.. |
|
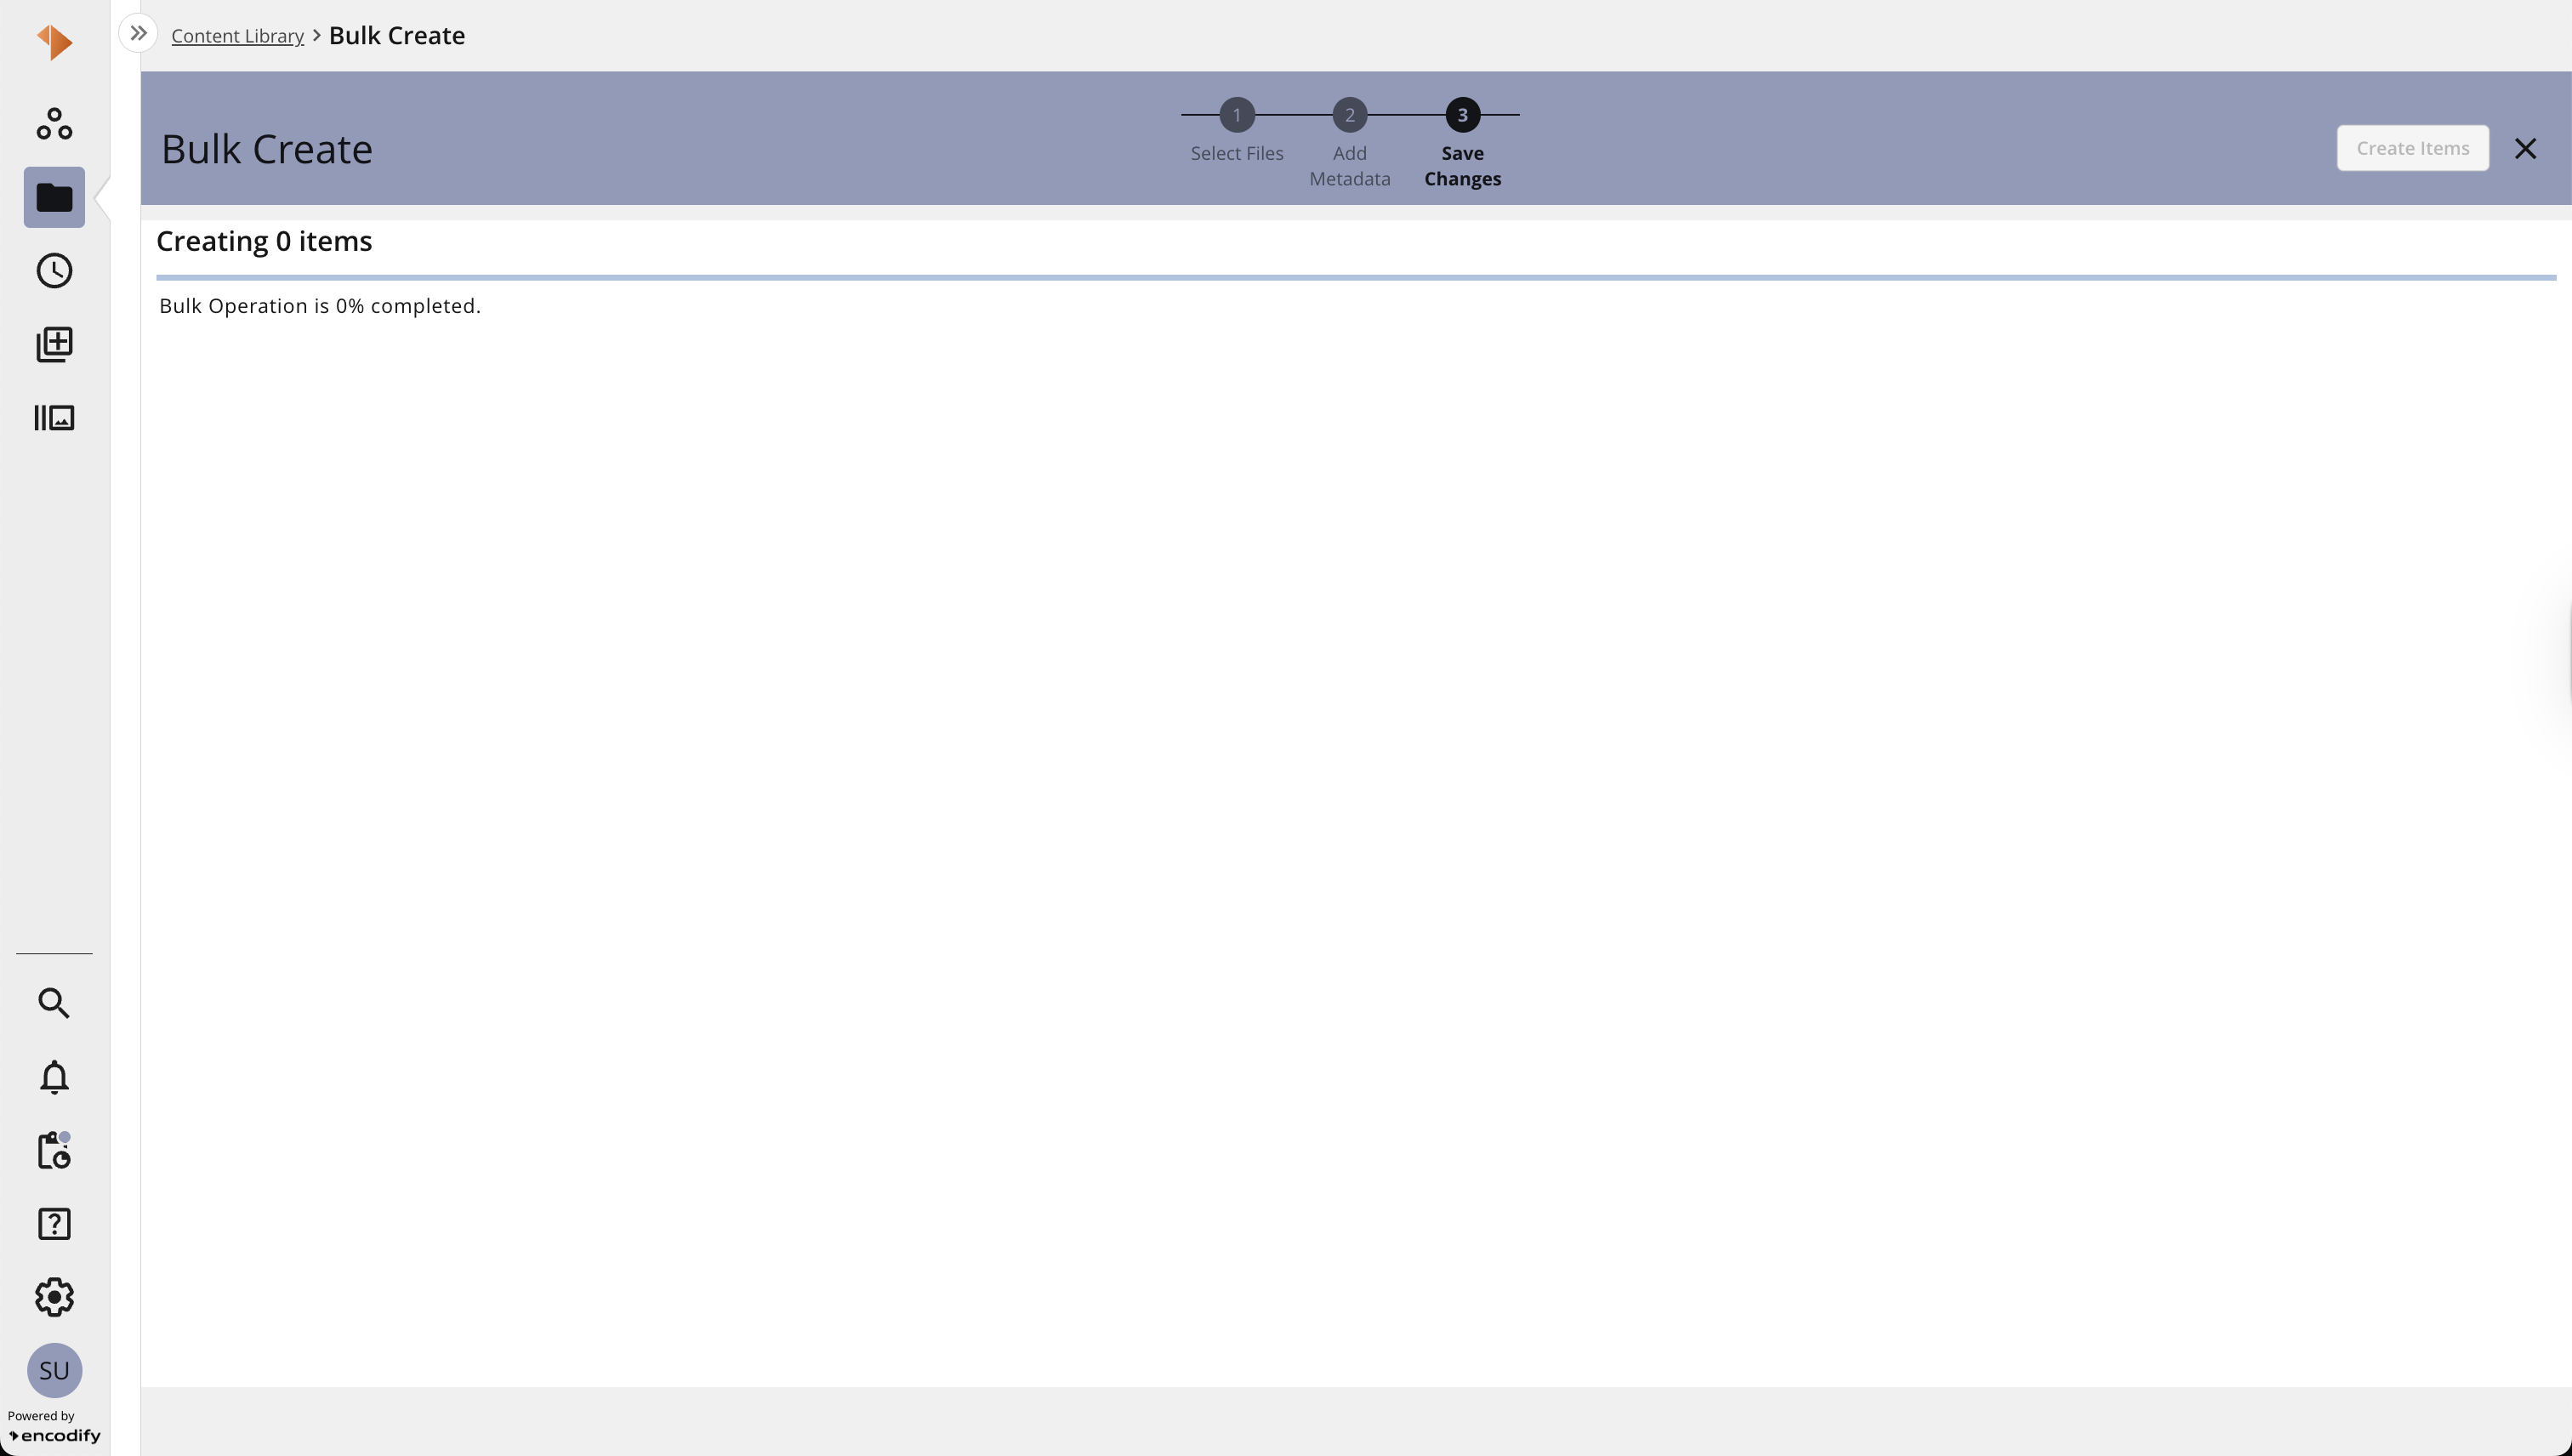
Step 4 – Save Changes Confirm and save your edits. A progress indicator will display while the updates are applied. Once complete, you may choose to make further changes if required. |
|
.png)
Upload using an existing item as a template
The Bulk Upload Wizard can also be launched from the actions menu of a specific item by clicking the ![]() button.
button.
An image highlighting the Bulk Upload option within the actions menu
The table below provides a quick overview of the Bulk Upload Wizard when using an existing item as a template:
Action | Guide |
|---|---|
Step 1 – Select the File Field Select the file field within the module where the uploaded files should be stored. This step is only required if the module has multiple file fields, ensuring the system uploads the files to the correct location. |
|
Step 2 – Select Files Drag and drop files, or browse your local computer to select them for bulk upload. Before saving, you can add or remove files from the panel and adjust filenames as needed. |
|
Step 3 – Add Metadata Review and adjust the metadata as needed. When the bulk upload is initiated from a template item, the fields are pre-filled with the template item’s values, ensuring consistency across all newly created records. |
|
Step 4 – Save Changes Confirm and save your edits. A progress indicator will display while the updates are applied. Once complete, you may choose to make further changes if required. |
|