What are Reasons
For each status transition, it is possible to configure predefined Reasons, which serve as supplementary metadata. These reasons help support business processes by providing clarity and justification for actions such as rejection, ensuring transparency and consistency in decision-making.
How to configure Reasons
Follow these steps to configure Reasons:
Navigate to Site Configuration → Site Configuration → Modules.
Click Create Module
Set the Type to Module.
Specify a Name for the module (e.g., Reasons).
Select a Template (e.g. Without Media Settings and Audit Fields)
Click OK to confirm the creation of the module
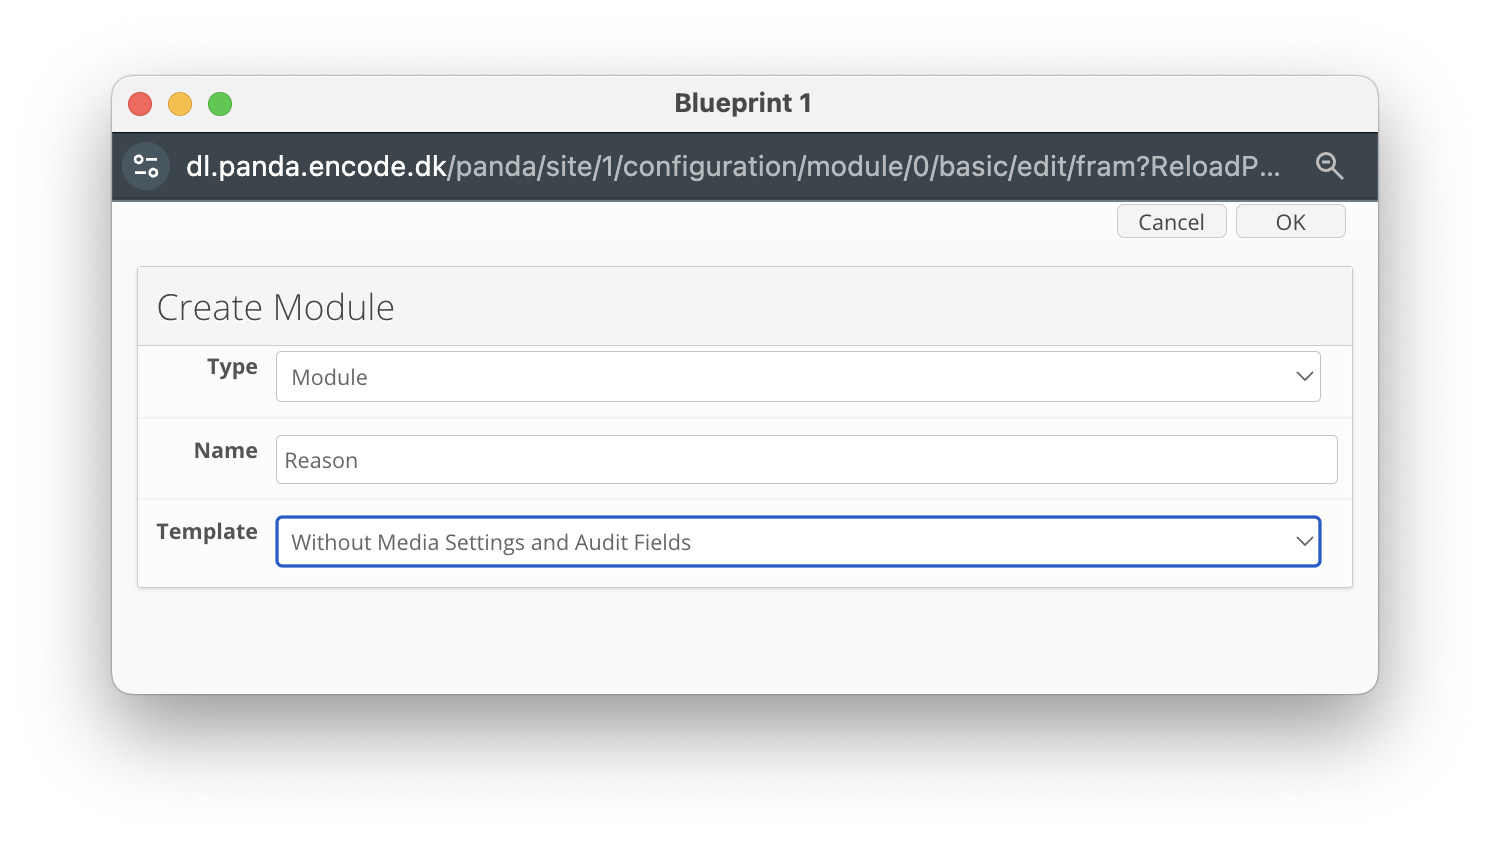
An image highlighting the creation of reasons module
Navigate to Site Configuration → {Module} → Field Definition
Click New Field
Create a Text Field with a given Field Name (e.g. Reasons)
Click OK to create the field
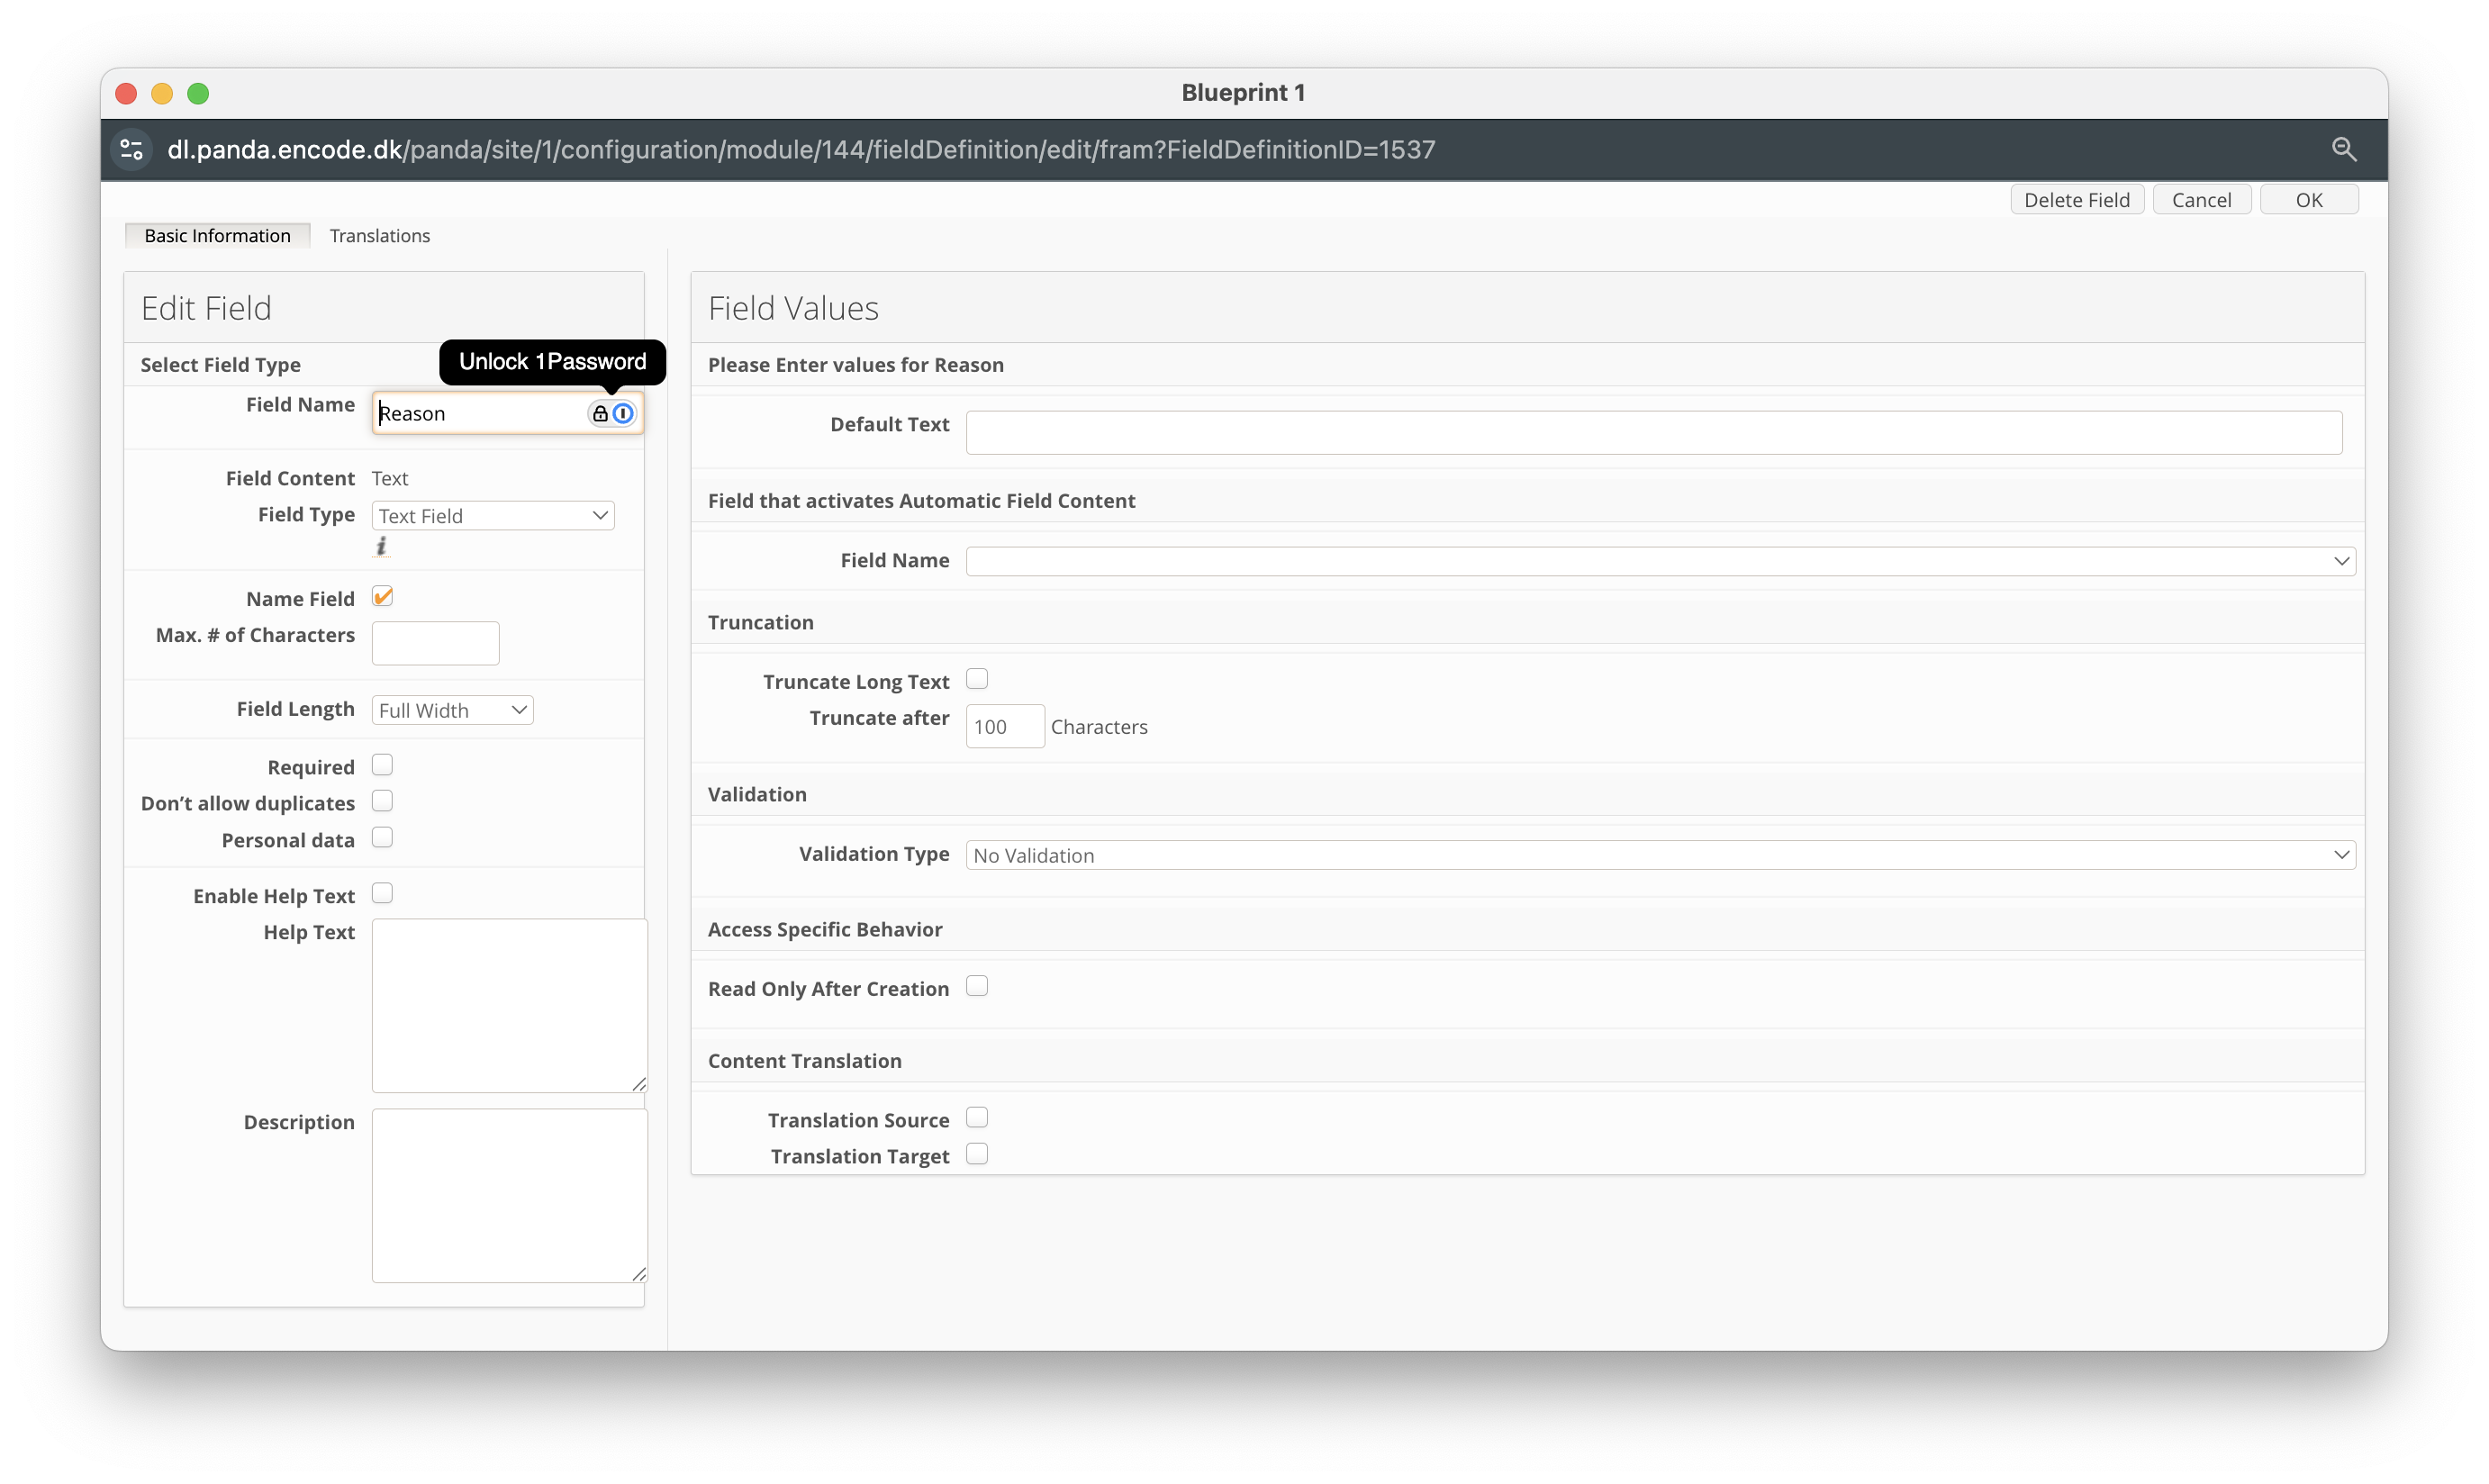
An image highlighting the creation of Reason field
Once you have created the field, navigate to the source module and define a list of specific reasons relevant to the transition. Once completed, you can assign a reason to a specific transition by following the steps below:
Navigate to Site Configuration → {Module} → Workflow.
Create a new workflow transition or edit an existing one.
Locate the Enable Reasons option and specify whether selecting a reason should be optional or mandatory during the status transition.
In the Reasons Module field, select the module that contains the list of available reasons.
In the Available Reasons field, choose the specific reasons applicable to this status transition.
Select the User Module Field.
Click OK to finalise the configuration.
An image highlighting an example of reasons configuration against a specific transition