How to create a Spreadsheet View
To create a Spreadsheet View, follow these steps:
Navigate to the Module View Library (see Manage Views for more details)
Locate Spreadsheet and click on the card.
Click Add New Spreadsheet to open the configuration wizard.
Enter a Name and, optionally, a Description.
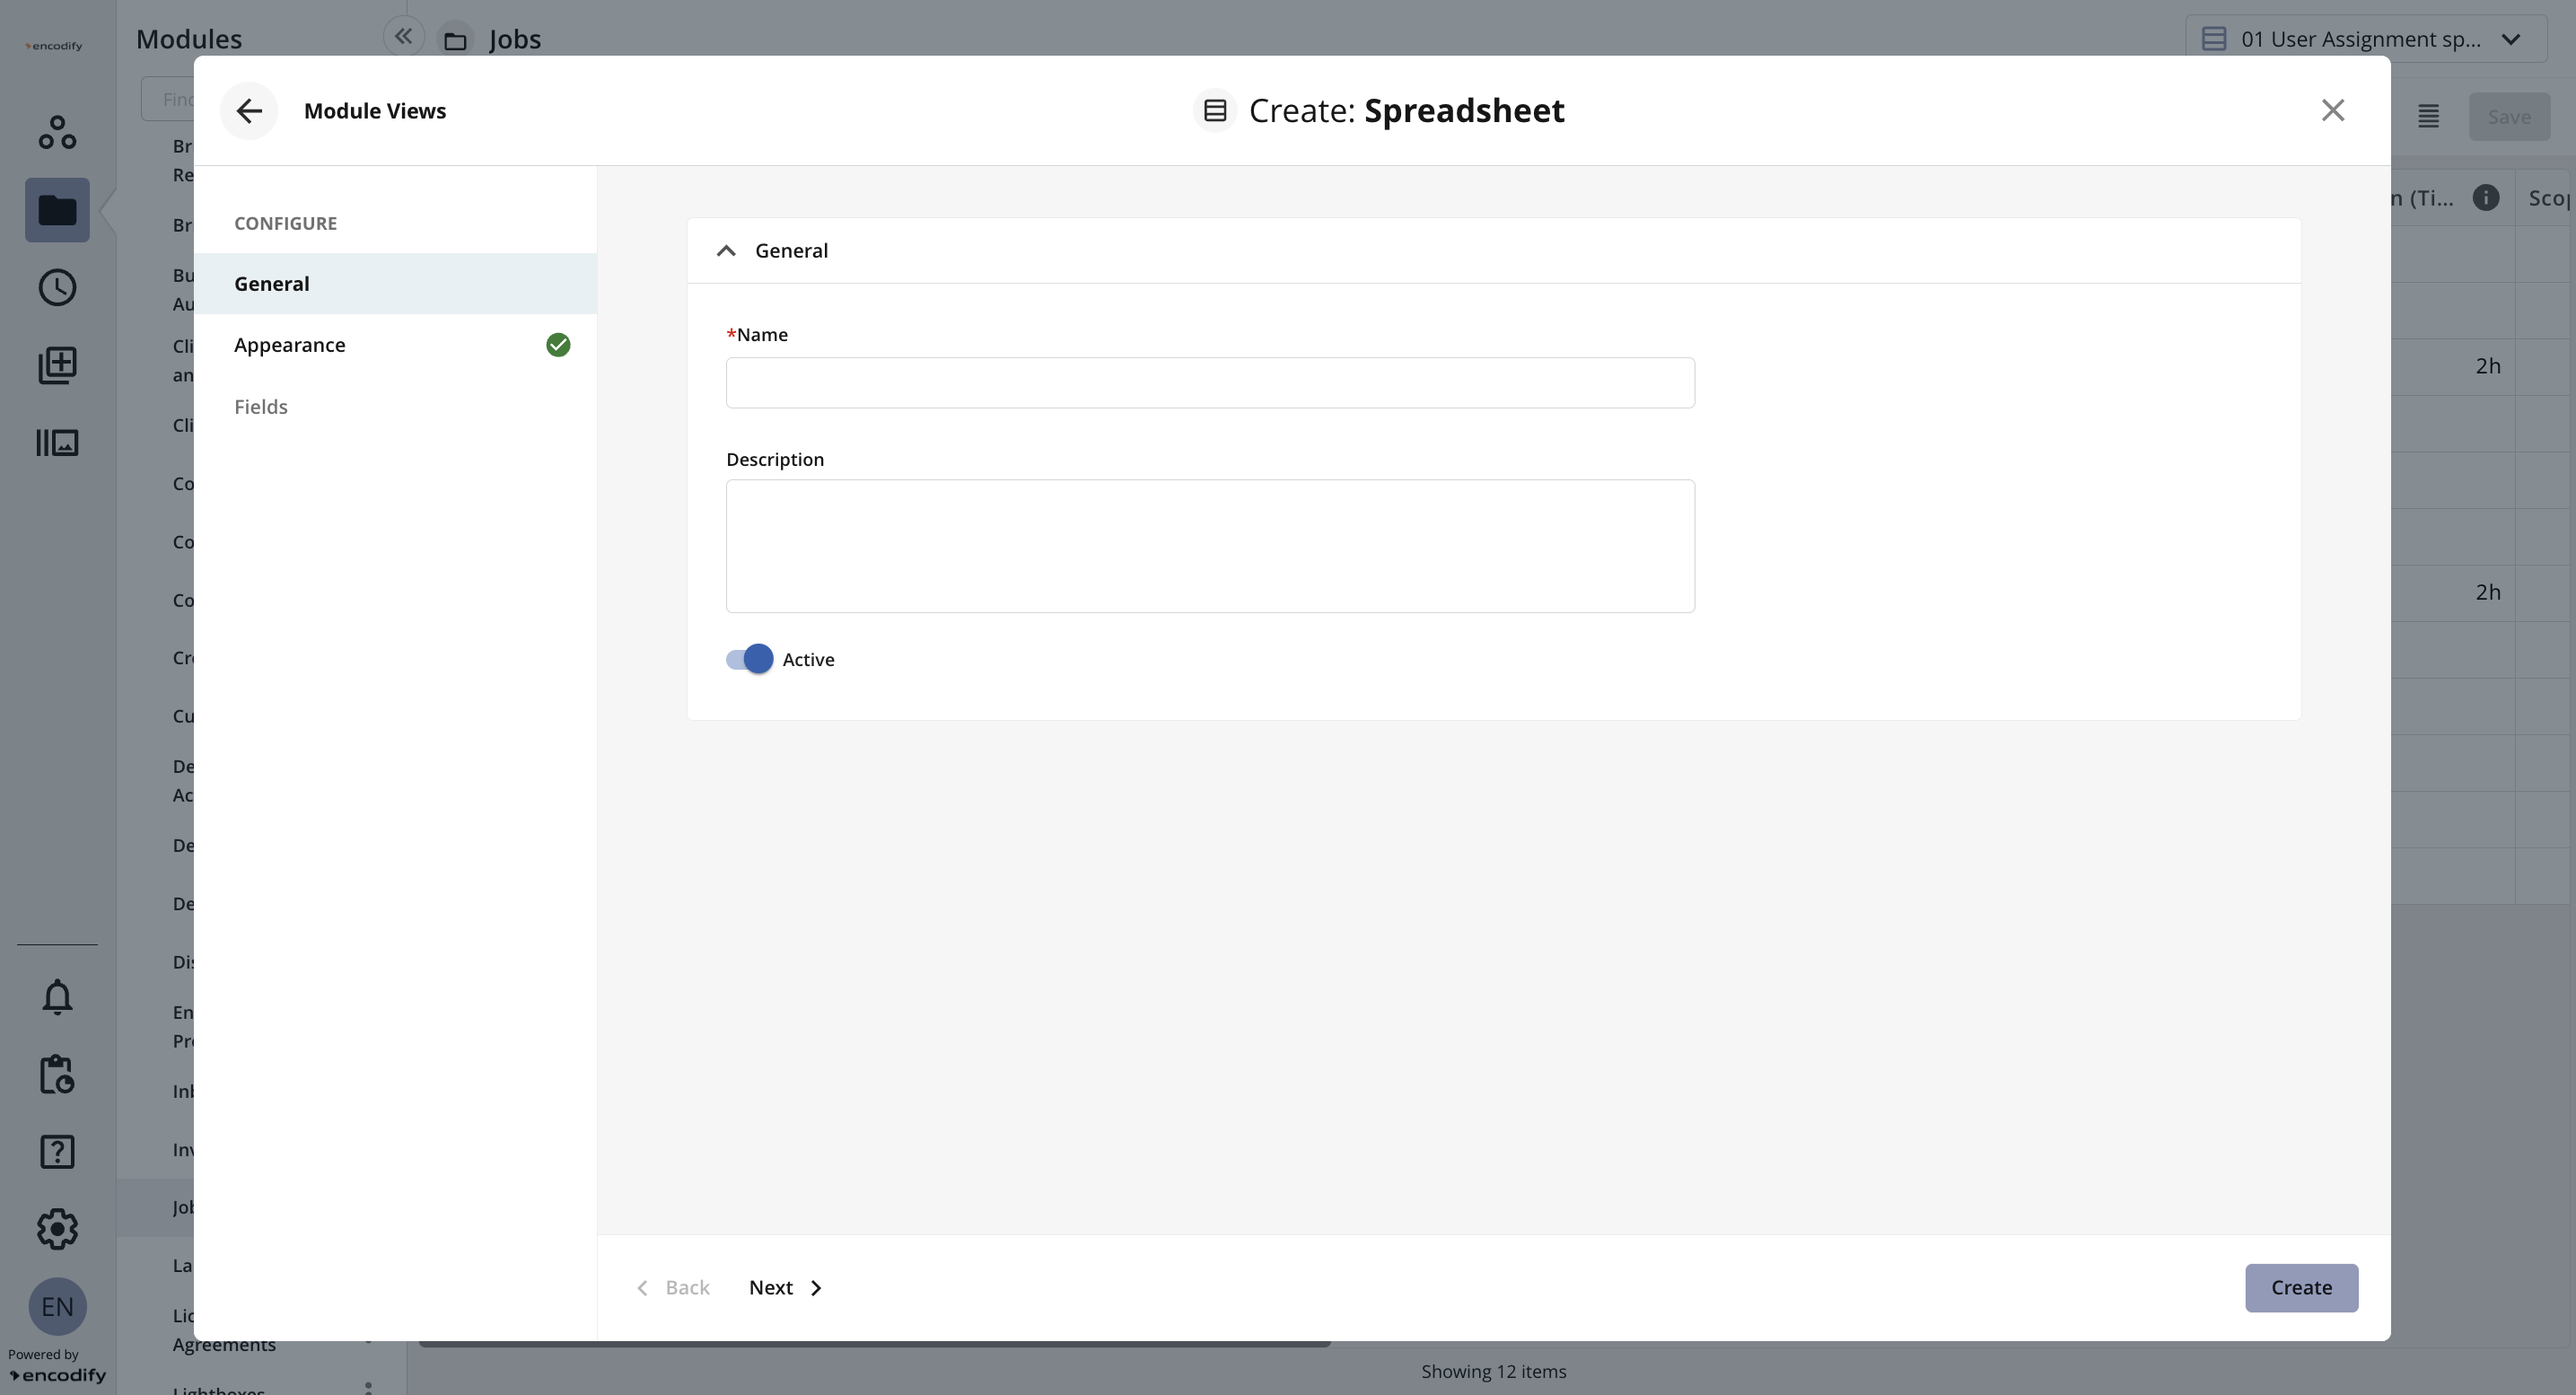
An image highlighting the General settings of Spreadsheet View
Navigate to the Appearance tab or click Next.
Add the desired Sort Order by specifying up to five fields along with their corresponding sort direction (ASC/DESC).
In the Create Groups by dropdown, select the field you want to use for grouping.
Decide whether to show or hide Empty Groups.
In the Fields for Totals, select one or more numeric fields if you want to display a sum row within the inline modules.
Choose whether to enable or disable Preview Media Files.
.png)
An image highlighting the Appearance settings of Spreadsheet View
Navigate to the Fields tab or click Next.
Here, you can customise which fields to display in the view by simply dragging them from the Available Fields list to the Fields to Show list. Adjust the display order according to your needs.
Click Create to confirm your settings and create the view.
.png)
An image highlighting the Fields settings of Spreadsheet View