Configuring SAML for Encodify through MS AD FS On-Premise
Common settings
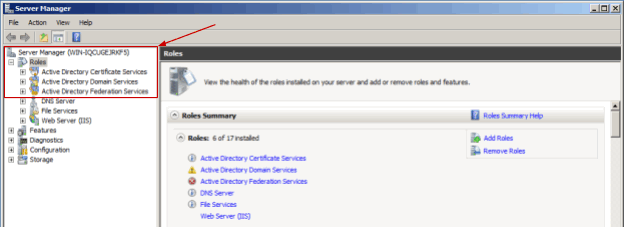
To use AD FS 2.0 Windows Server 2008 should be configured to maintain the following roles:
Active Directory Certificate Services
Active Directory Domain Services
Active Directory Federation Services
You can check and install roles in Server Manager (go to Start menu, type “Server Manager” in Search field and click on the Service Manager program found).
Configuring the roles is out of scope of this manual, for more details please refer to Microsoft documentation.
Assuming that you have already installed AD FS 2.0 to your Windows Server. If not, please refer to the Microsoft Install the AD FS software documentation. You can download AD FS 2.0 software from Active Directory Federation Services 2.0 RTW page.
Receiving the Federation Metadata URL
Get the Federation metadata link on Windows Server with AD FS installed, to use for configuring Identity Provider profile in Encodify System. It will look like the following: https://{ServerName}/FederationMetadata/2007-06/FederationMetadata.xml
The
{ServerName}can be found on Server Manager overview screen:Go to Start menu, type “Server Manager” in Search field and click on the Server Manager program found);
Find Full Computer Name in the Computer Information section;
Specify this full name as a
{ServerName}into the Federation metadata link.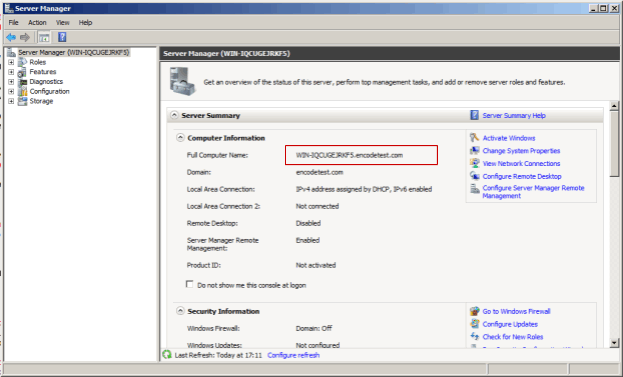
For example, you will get the following URL: https://WIN-IQCUGEJRKF5.encodetest.com/FederationMetadata/2007-06/FederationMetadata.xml
Configuration of SAML Application
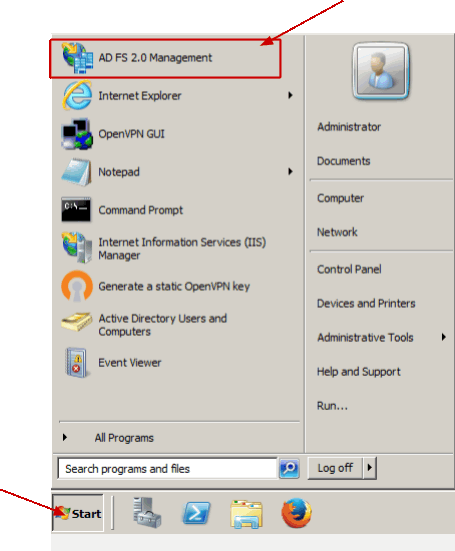
Start AD FS 2.0 Management tool from Windows Start menu.
Expand Trust Relationships > Relying Party Trust and click Add Relying Party Trust.
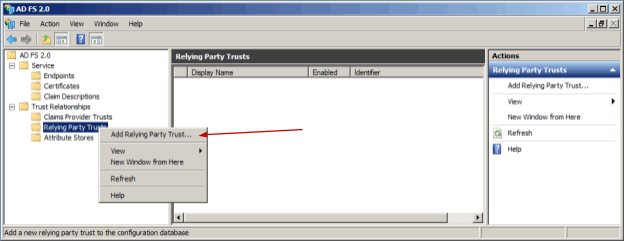
Click Start in opened Add Relying Party Trust Wizard
Insert the following link to Federation metadata address field: https://{EncodifyServer}:{port}/{worker}/saml/metadata for example, https://qa.test.com:443/qa/saml/metadata. Note, that AD FS 2.0 requires secure HTTPS protocol in the URL, so you have to run your Encodify system on the secure domain. Otherwise, you will not be able to finish the configuration.
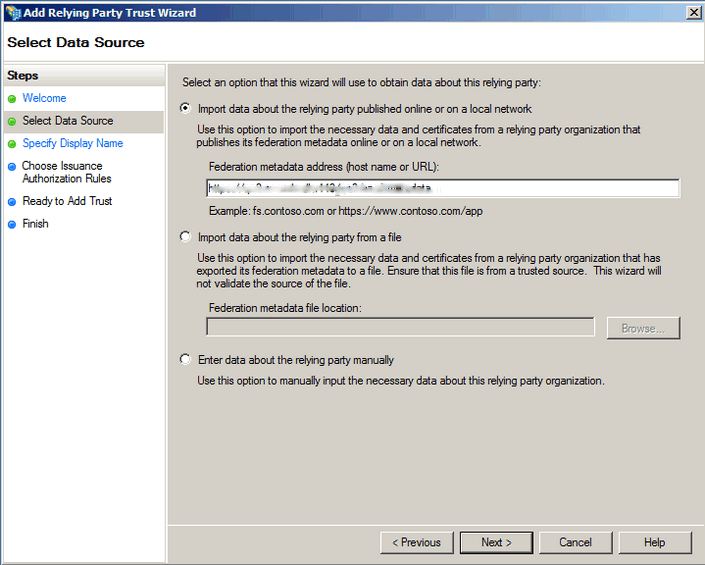
Click Next several times confirming the default settings until the configuration is done. In the last screen leave the checkbox Open the Edit Claim Rules dialog enabled. Click Close.
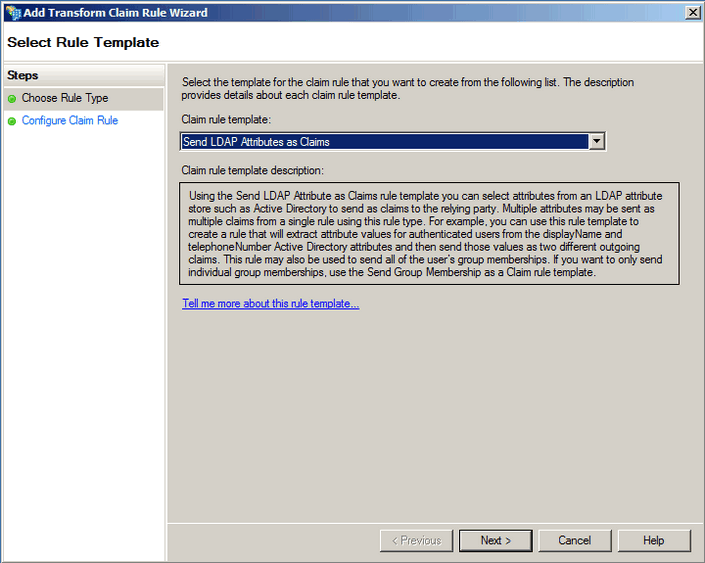
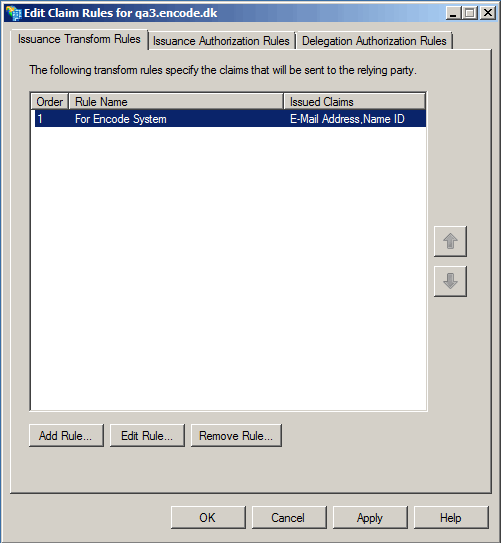
In the opened Edit Claim Rules window click Add Rule.
In the opened Add Claim Rule Wizard select Claim rule template as Send LDAP Attributes as Claims. Click Next.
Configure Claim rule:
Specify a name for claim rule (e.g. “For Encodify System”)
Select attribute store Active Directory
Map LDAP attributes to outgoing claim types:
LDAP attributes | Outgoing Claim Type |
|---|---|
E-Mail-Addresses | E-Mail Address |
E-Mail-Addresses | Name ID |
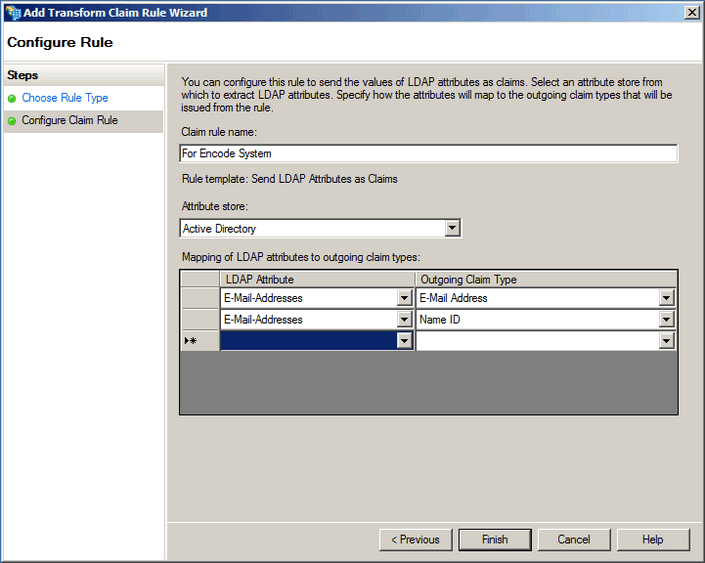
Click Finish.
Confirm changes In Edit Claim Rules window by clicking Apply and then OK.
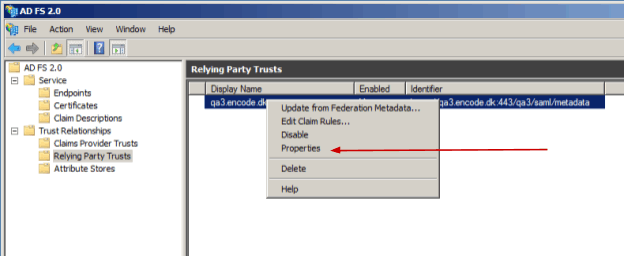
In AD FS 2.0 management window do the right click on the added Relying Party Trust record and select Properties.
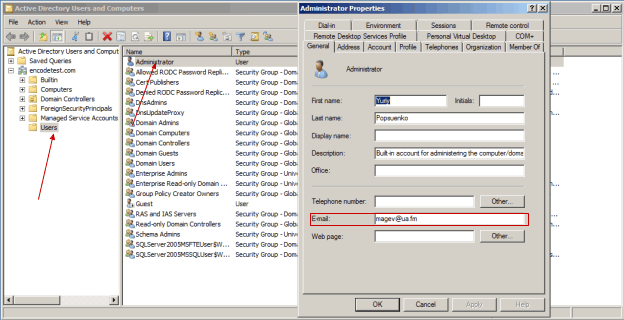
Check that user that will login to Encodify system via SAML has a valid email address. You can do this in Active Directory Users and Computers manager (go to Start menu, type “Active Directory Users and Computers” in Search field and click on the Active Directory Users and Computers program found). Double-click the user name and verify her E-mail field.